


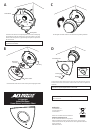
Locate the corner mount in the required position. Use screws and wall plugs
(as appropriate to the wall surfaces) to fix the corner mount on the wall.
Access to the screw positions is gained through the open front aperture of
the corner mount.
A
B
C
D
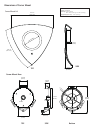
Install the dome camera on the corner mount by first arranging the cables.
Fit and tighten the dome camera on the coner mount by rotating clockwise.
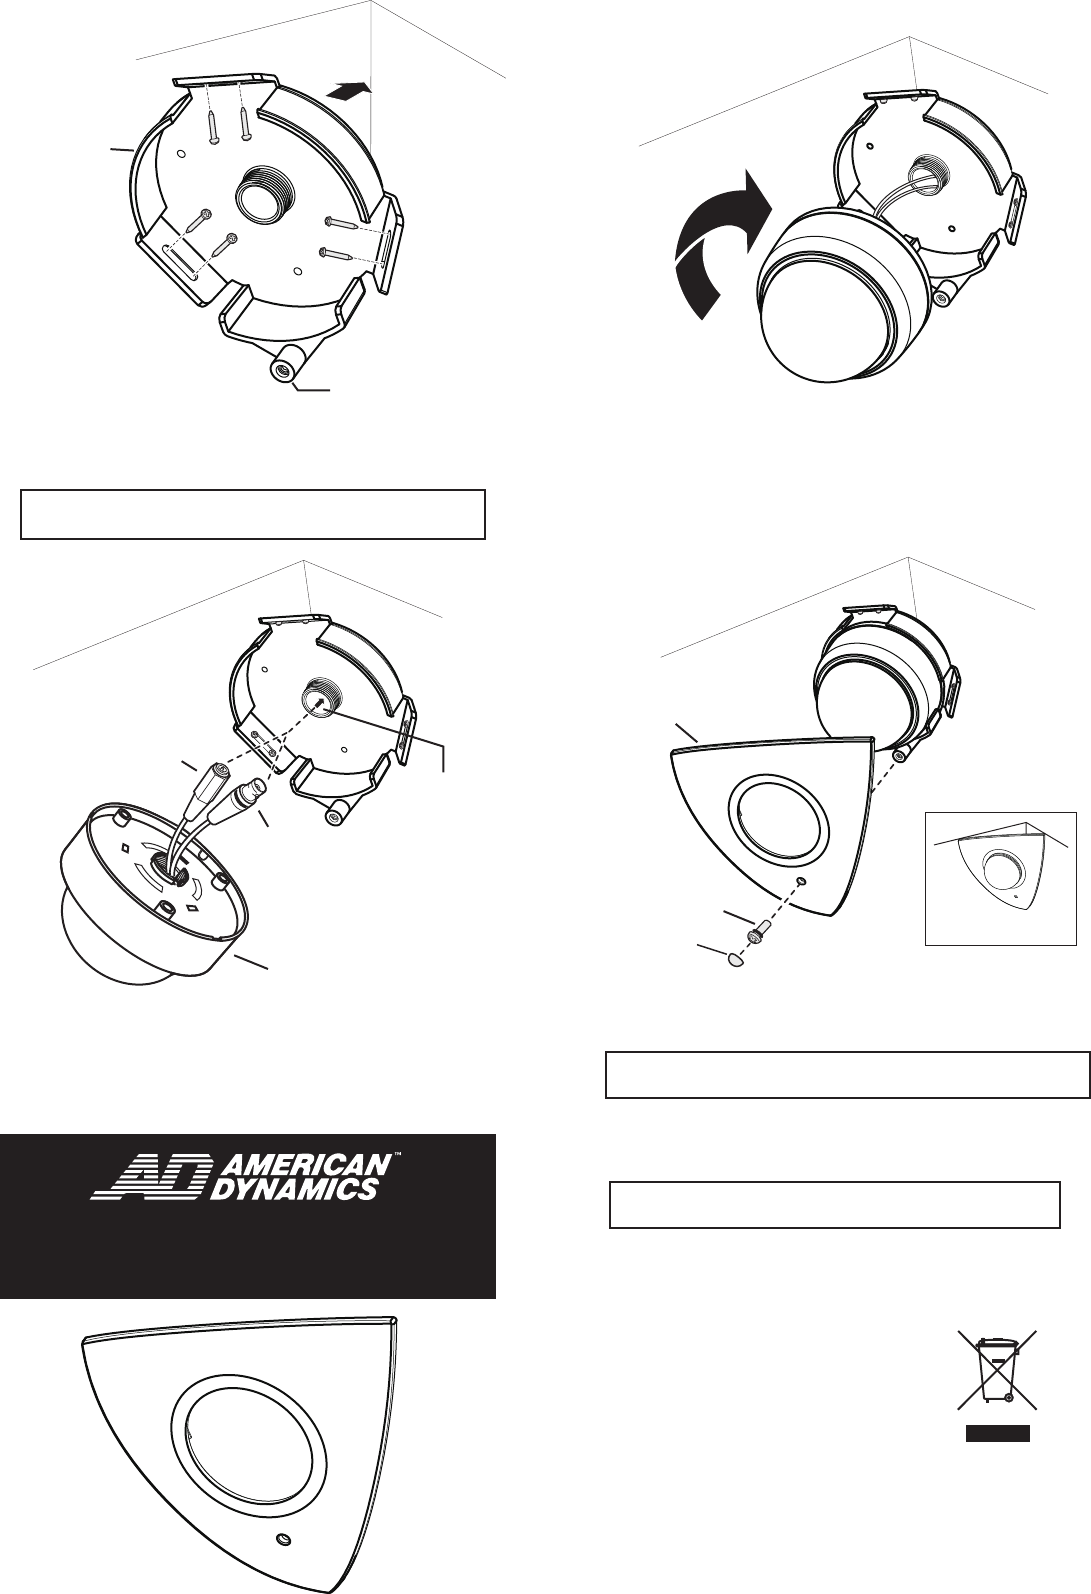
Installation Completed.
Note: The securing hole should be on the bottom side of the corner mount
(as picture shown above).
Cover the dome camera with the corner mount lid. Insert and tighten the securing
screw to fix the lid to the corner mount. Insert the white screw cover to complete the
installation.
Securing Hole
Corner Mount
Securing Screws
Securing
Screws
Power Input
Connector
Video Connector
Corner Mount Lid
Securing Screw
Cable Entry
Dome Camera
E
Packing List
• Corner Mount x 1
• Corner Mount Lid x 1
• Screw Pack x 1
Please visit our website for more information:
www.americandynamics.net
© 2007 Sensormatic Electronics Corporation.
Product specifications subject to change without notice. Certain product
names mentioned herein may be trade names and/or registered trademarks
of other companies.
ADCPWMCRNR
Indoor Mini Dome
Corner Mount Installation Sheet
8200-0865-01 Rev A
The ADCPWMCRNR Corner Mount is designed for use with all Discover
Indoor Mini-Domes.
Note: The lid is designed so that when placed on the base it has some free
movement to try and compensate for un-even walls.
Screw Cover