


10 Chapter 2
iMovie HD Tutorial
4
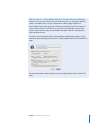
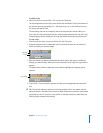
Click the pop-up menu labeled “Where” and choose a folder to store your movie
project.
The default location is the Movies folder in your home folder. Saving your movie in this
folder will allow other iLife applications, such as iDVD or GarageBand, to find it easily.
5
Click Create.
A new project file for your iMovie HD project is created in the location you chose.
Eventually it will contain all the video clips, transitions, effects, and audio used in your
movie.
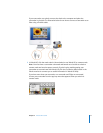
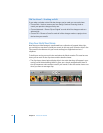
Step Two: Import Video Into iMovie HD
iMovie HD can transfer, or
import,
video in many video formats and from many different
types of camcorders, including DV camcorders (including those that support
widescreen) and high definition (HDV) camcorders. In most cases, iMovie HD can
automatically recognize and import the video you’re using, so you don’t have to pay
attention to video formats.
In this step, you will import your own video into your iMovie project. If you have a
camcorder with a FireWire connection, follow the instructions to connect your
camcorder and import the video using the capture controls in iMovie HD. If you have
another type of digital video device or have footage in a file on your computer, see the
instructions on page 13.
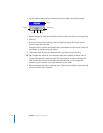
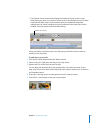
To import video from a camcorder:
1
Set the camcorder to VTR mode (some camcorders call this Play or VCR) and turn it on,
if necessary.
2
Connect your camcorder to your computer using a FireWire cable.