


Chapter 2 iMovie HD Tutorial 17
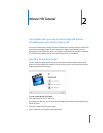
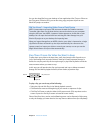
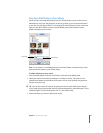
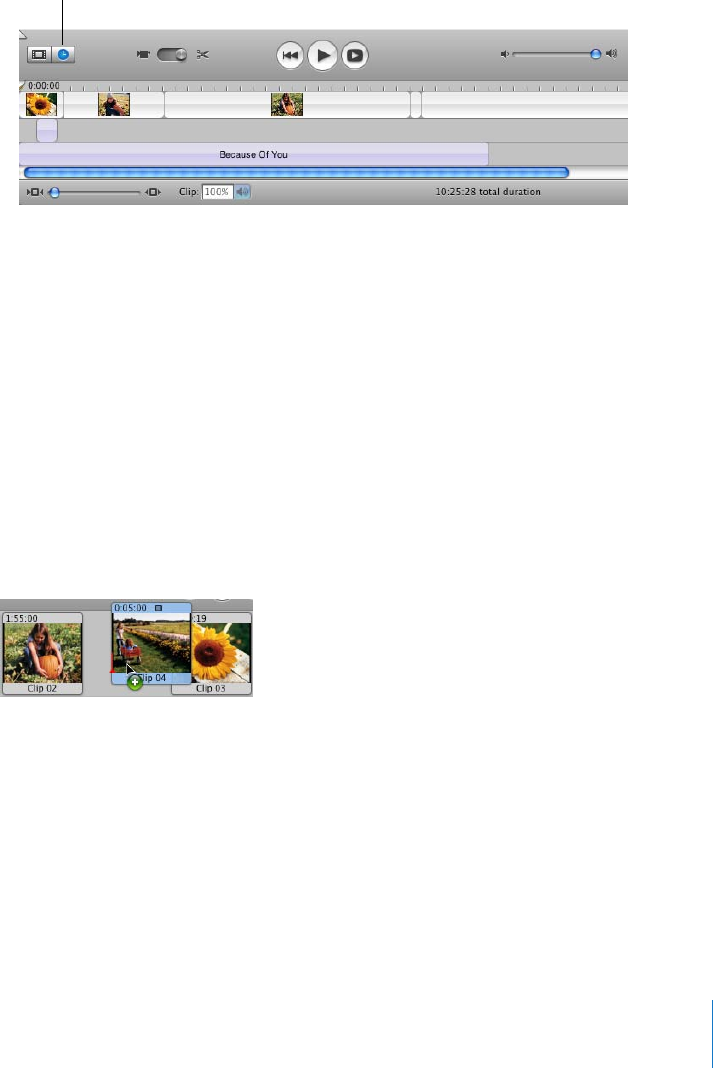
 The timeline viewer, shown below, displays the elements of your movie in more
detail, letting you zoom in on sections of the movie. It also displays the movie’s video
track and two audio tracks. The three tracks allow you to add and manipulate
multiple layers of sound, including the sound contained in the video clips. Use the
timeline viewer for precise video and audio editing.
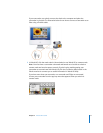
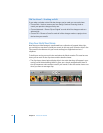
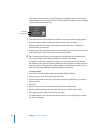
When you build a movie from clips in the Clips pane, you’ll find it easier to start by
working in the clip viewer.
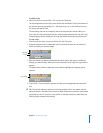
To add clips to your movie:
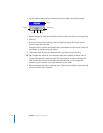
1 Click the clip viewer button below the iMovie monitor.
2 Select a clip in the Clips pane and drag it to the clip viewer.
3 Repeat step 2 for all the clips you want to add.
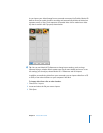
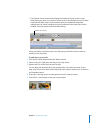
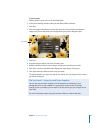
You can drag clips between other clips, placing them in the order you want. As you
drag a clip in front of or behind other clips, they move aside to make room, as shown in
the illustration below.
4 Drag clips in the clip viewer to rearrange them into the order you want.
5 Choose File > Save Project to save your movie project.
Timeline viewer button