


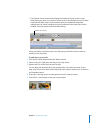


Chapter 2 iMovie HD Tutorial 21
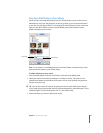
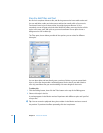
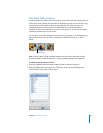
To pan a photo:
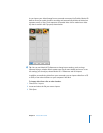
1 Select a photo in your movie or in the Media pane.
2 In the Photo Settings window, select the Ken Burns Effect checkbox.
3 Click Start.
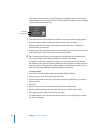
4 Click the image in the iMovie monitor, then press the mouse button and drag the
image until you see the place in the image where you want to begin the pan.
5 Click End.
6 Drag the image to where you want to end the pan.
7 Move the duration slider to set the length of time you want the pan to take.
8 Click Play to see how the effect looks. Repeat the steps above, if necessary.
9 Click Apply when the effect looks the way you want.
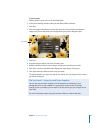
The photo appears as a clip at the end of your movie. You can drag the clip to where
you want it to appear.
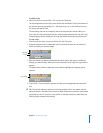
Pan control
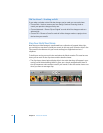
Did You Know?—Using Pan and Zoom Together
You can use pan and zoom together to draw attention to something in your
photograph, such as one member in a group photo. If your photo is not large
enough to use a pan effect, you can zoom in at the start to give you a larger area to
work with.
For more information about using the Ken Burns Effect, see iMovie HD Help.