


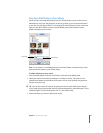

Chapter 2 iMovie HD Tutorial 23
3 Type the text you want to appear in the text fields below the list of titles.
If the title style can have more lines of text, you see a plus sign (+) next to the text field.
Click it to add another line of text. You can do this as many times as you need to, or
until the plus signs stop appearing. To remove lines of text, click in the field you want
to remove and click the minus sign (–).
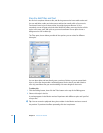
4 Choose a font style from the Family pop-up menu. Try different fonts until you find one
you like.
5 Choose a style for the title (for example, bold or italic) from the TypeFace pop-up menu.
6 Move the Size slider left or right to set the font size.
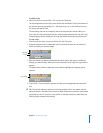
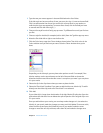
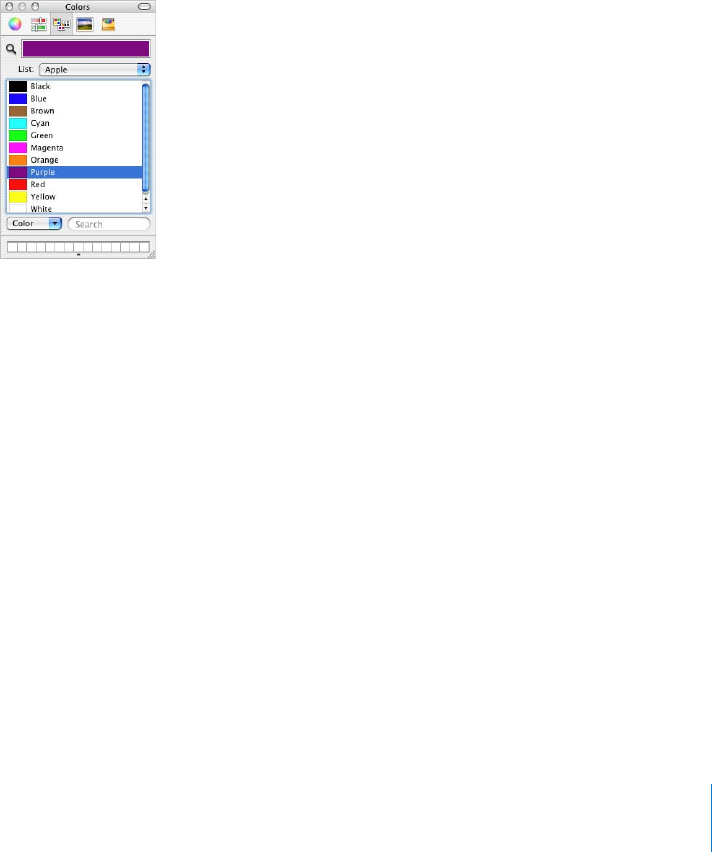
7 Click the Color box to open the Colors window, shown below. Then click colors in the
Colors window until you find one you want. Close the Colors window when you’re
done.
Depending on the title style, you may have other options as well. For example, if the
title has motion, use the arrow buttons to the left of the text fields to choose the
direction the title moves. When the title or text is set up how you want it, you can place
it in your movie.
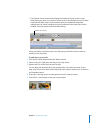
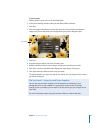
8 Select the clip in the clip viewer where you want to place the title.
9 Select the “Over black” checkbox if you want to add the title over a black clip. To add it
directly over the video clip, make sure “Over black” is not selected.
10 Click Add.
If your video clip is longer than the duration of the title, iMovie HD splits the clip at the
point where the title ends. You can delete the split-off portion of the original clip or use
it in your movie.
Once you add a title to your movie, you can always make changes to it. Just select the
title clip in your movie, make the changes you want, and click Update. To remove a title,
select the title clip and press the Delete key once. If you need to make the same
change to more than one clip with text, select them all, and make the change once.