


25
Printing
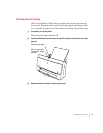
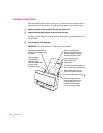
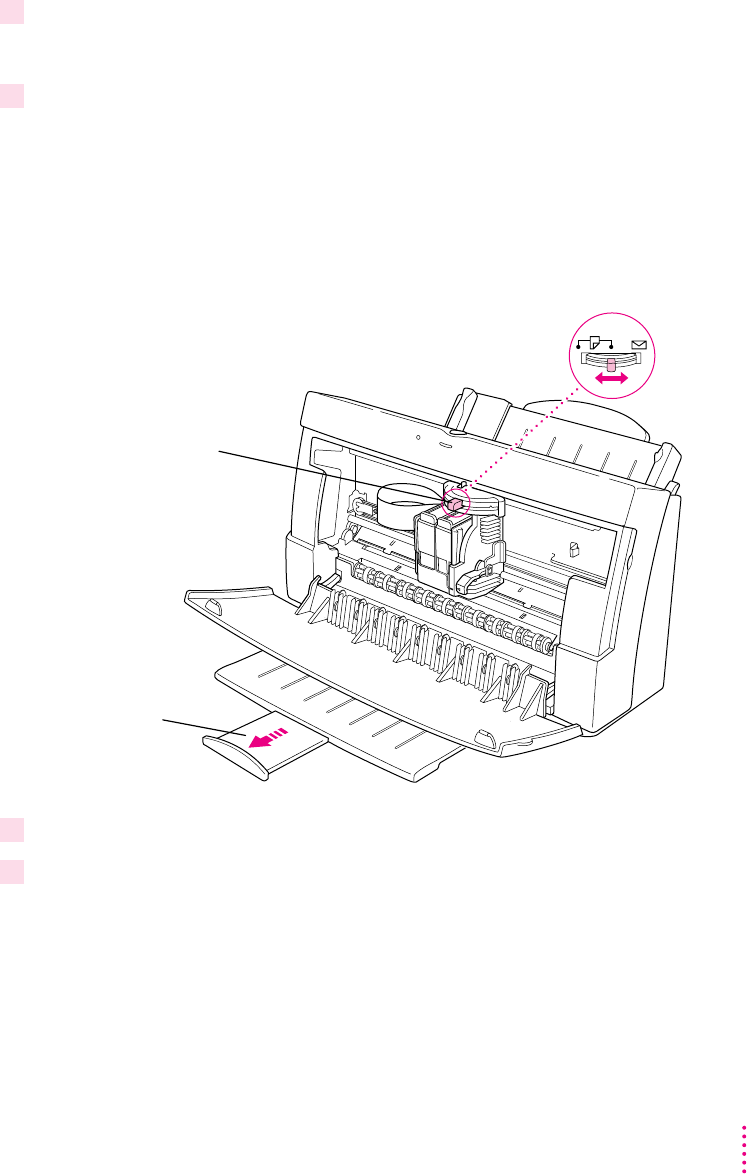
4 Open the printer’s front cover.
Wa it while the carrier moves to the center position.
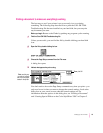
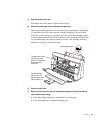
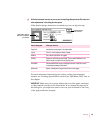
5Adjust the internal paper selector and extend the output tray.
The lever has three positions (two for paper, one for envelopes). In the paper
(«) positions, the lever lowers the ink cartridge, bringing it closer for thin
materials; in the envelope (E) position, the lever raises the cartridge to leave
room for thick materials. The far-left position is best for black-and-white text
on 20-pound paper; the center position is best for color printing, for heavy
black ink coverage, or for heavier paper.
6Close the printer cover.
7 Before you print, make sure that you set the software options to indicate the size and
kind of material you’re using.
m In the Page Setup dialog box, indicate the size of the page.
m In the Print dialog box, indicate the paper type.
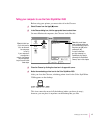
Internal paper selector
For paper, start with the
selector in the center
position. For envelopes,
move the selector
to the right.
To open the output
tray, pull here. (For
legal-size paper, leave
the tray closed.)