


W310/W110 Quick Setup Guide
Using the W310 Device Manager
P/N: 21-300179 Release 2.0 October 2004© 2004 Avaya, Inc.
1
WARNING: Only trained and qualified personnel should be allowed to install
or replace this equipment.
Unpack the hardware and make your connections.
a. Unpack the W310 from its shipping box.
b. Check the W310 package contents for the following:
— one W310
—one AC power cord
— one RJ45 to DB9 serial adapter cable
— one CD that contains the user documentation
— this setup guide
Also, you should have at least one W110 Light Access Point in a
separate package. The W110 includes a Quick Start Guide and a CD.
c. Attach the AC power cord to the Power jack on the W310 rear panel.
All front panel LEDs will illuminate briefly. Once the boot up and
self-tests are complete, the LED labeled PWR will turn solid green.
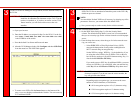
d. Connect the Ethernet cables from your W310 port(s) to the W110’s
LAN port or a wired Ethernet network station. Start with port 1 on the
W310 to make your W110 connections. Once you make the connec-
tion(s), the associated Link LED will light. The Link LEDs are
located underneath the ports.
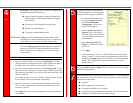
Port 1 is located in the bottom left hand corner.
The associated LINK LEDs are located directly
below each port.
Connect the Console cable
to the W310 Console port.
(Step 2)
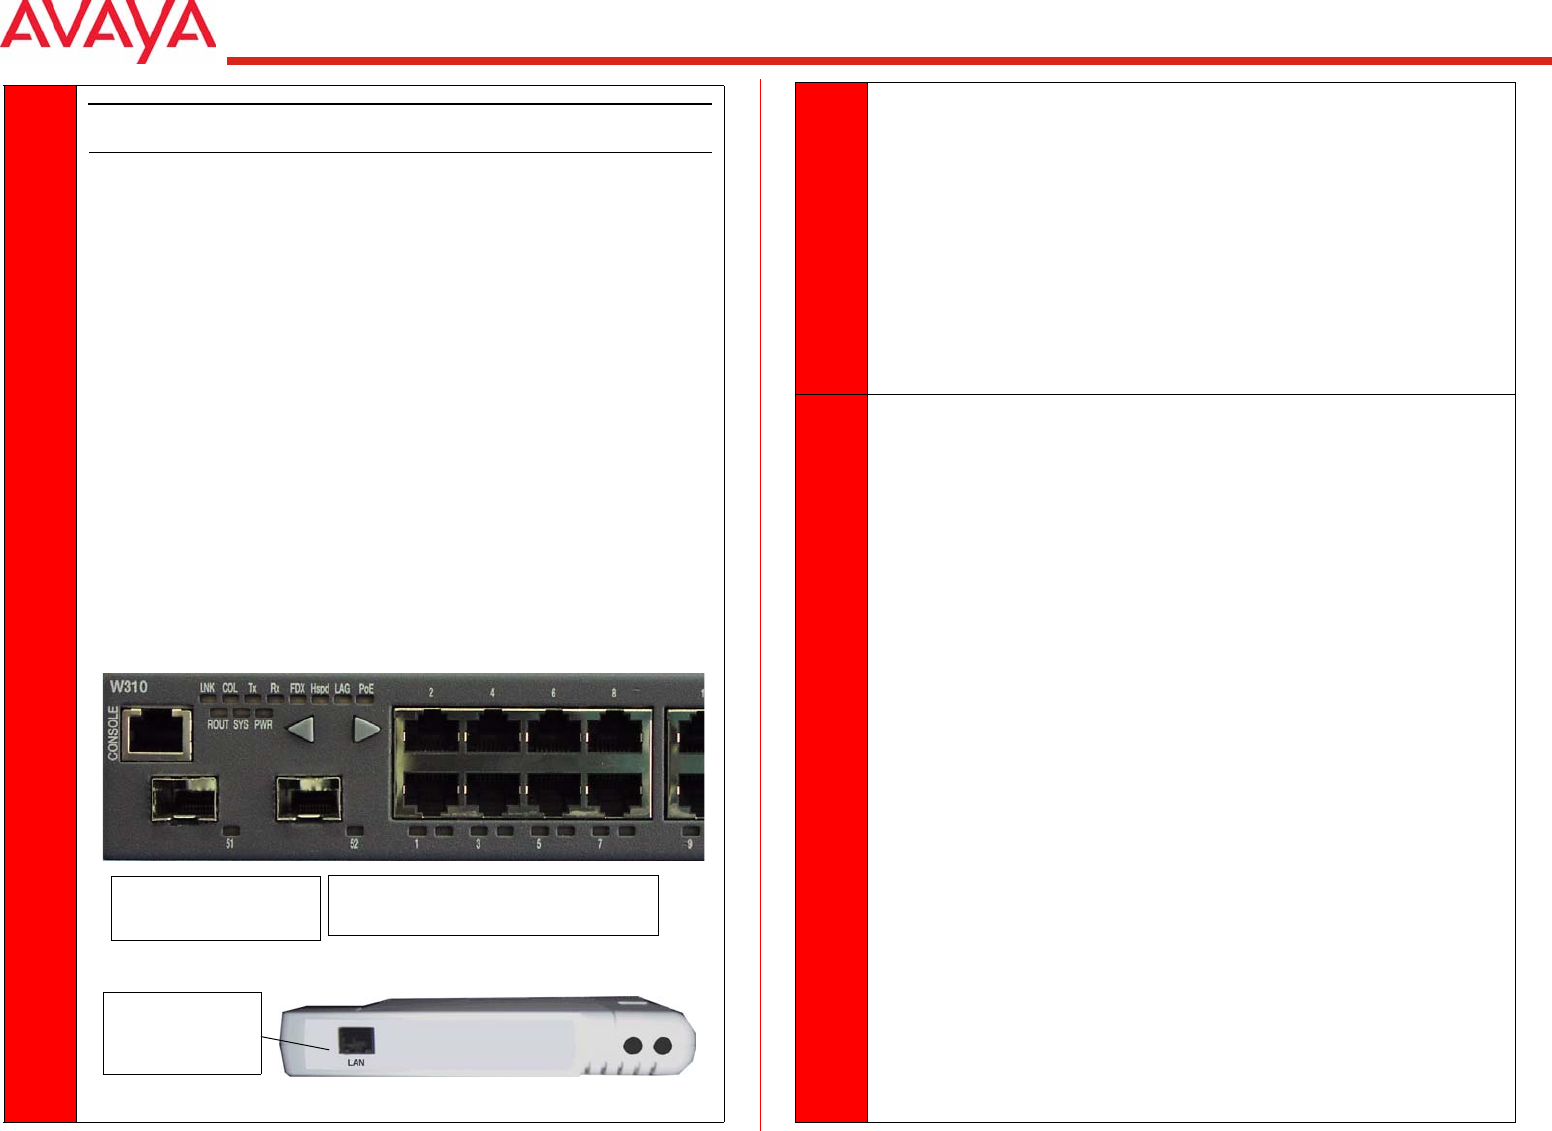
Connect the Ethernet
cable from the W310
port to the W110 LAN
port
1
(cont)
e. Make sure the W310 and W110 are communicating properly. To verify
communication, do the following:
— For the W310 - The PoE (Power over Ethernet) LED for the port
that is connected to the W110 will turn solid green indicating
power is enabled and it is delivering power. If no W110 is
connected (or detected), the PoE LED will flash.
— For the W110 - The Ethernet LED will either be solid yellow or
green indicating that there is a 10BaseT or 100BaseT connection.
f. Now you are ready to assign a new IP address to the W310.
2
Assign a network IP address to the W310.
a. Connect the Console cable to the port labeled Console on the W310
front panel (see above).
b. Connect the other end of the cable to a PC or terminal.
c. Start your terminal communication program (such as Microsoft
®
Win-
dows’ HyperTerminal).
d. Configure the serial port settings for using a terminal or terminal emu-
lator as follows:
— Baud Rate - 9600 bps
— Data Bits - 8 bits
— Parity - None
— Stop Bit - 1
— Flow Control - None
— Terminal Emulation - VT-100
Example: In HyperTerminal, you are prompted for the COM Port
configuration settings when you first create the connection to the
W310.
e. When you are prompted for a Login Name, enter the default login:
root.
f. When you are promoted for a password, enter the default user level
password: root. You are now in Supervisor Level.
g. At the CLI (W310-1>#) prompt, type:
set interface inband <vlan> <ip_address> <netmask>
— Replace <vlan>, <ip_address> and <netmask>
with the VLAN set to 1, the IP address and subnet mask of the
switch.