


Printing
This section explains the flow of printing operations with Canon cameras*.
For more details, refer to your Camera User Guide or Direct Print User Guide.
*
In
other cases, please refer to the Printing with Non-Canon Digital Cameras
(p.
57).
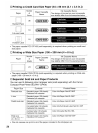
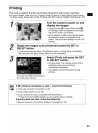
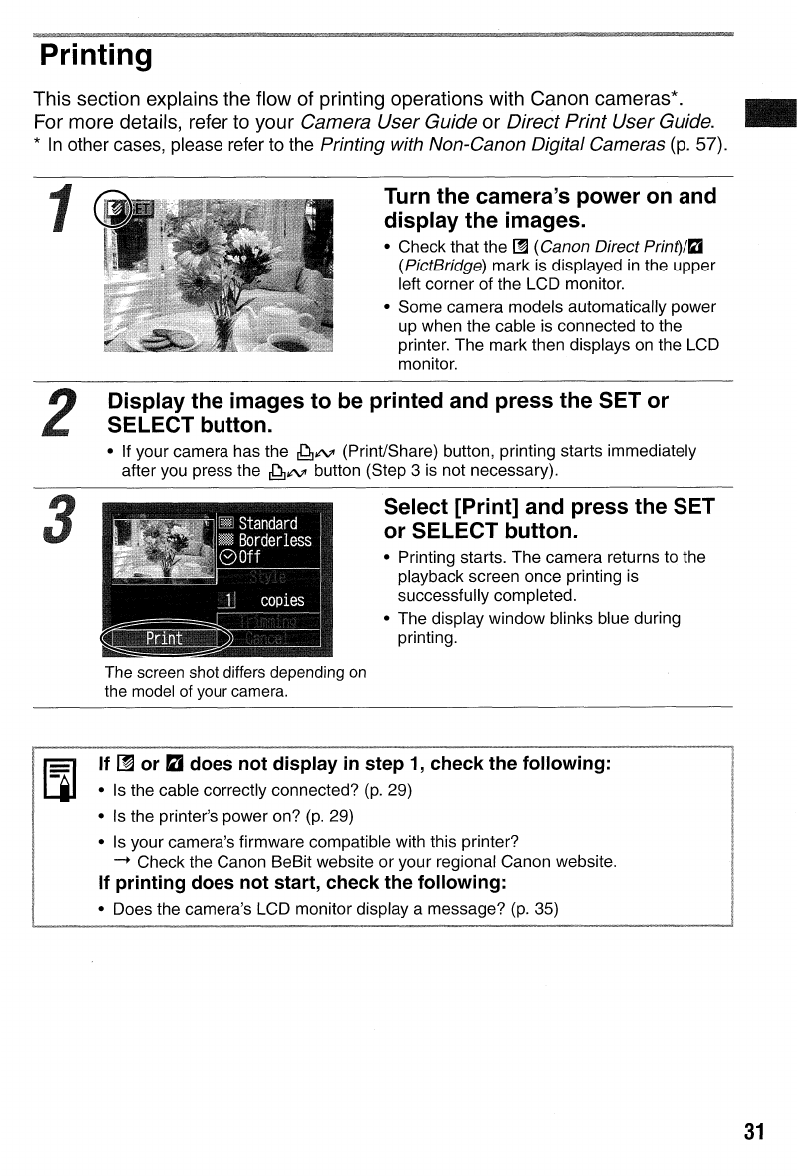
Turn the camera's power on and
display the images.
• Check that the
l!l
(Canon Direct Print)/rlJ
(PictBridge) mark is displayed
in
the upper
left corner of the LCD monitor.
• Some camera models automatically power
up when the cable is connected to the
printer. The mark then displays
on
the LCD
monitor.
Display the images to be printed and press the SET or
SELECT button.
• If your camera has the
~1tV
(Print/Share) button, printing starts immediately
after you press the
~1tV
button (Step 3 is not necessary).
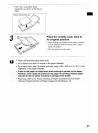
Select [Print] and press the SET
or SELECT button.
• Printing starts. The camera returns to the
playback screen once printing is
successfully completed.
• The display window blinks blue during
printing.
The screen shot differs depending on
the model of your camera.
If
~
or D does not display
in
step
1,
check the following:
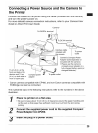
• Is the cable correctly connected?
(p.
29)
• Is the printer's power on?
(p.
29)
• Is your camera's firmware compatible with this printer?
--. Check the Canon BeBit website or your regional Canon website.
If printing does not start, check the following:
• Does the camera's LCD monitor display a message?
(p.
35)
31