


129
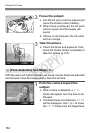
As with normal shooting through the viewfinder, while the Live View
image is displayed, you can still use the camera buttons to change
settings and playback images.
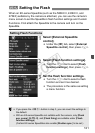
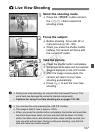
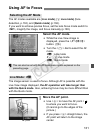
Pressing the <W> <o>
<y> <Z> <O> <A> button will
display the setting screen on the LCD
monitor. To change the setting, turn
the <6> or <5> dial.
When you press the <B> button, turn the <6> dial to set the
card and turn the <5> dial to set the image size or white balance
while looking at the rear LCD panel.
The metering mode is fixed to evaluative metering for Live View shooting.
Pressing the <A> button will lock the exposure for 16 sec.
To check the depth of field, press the depth-of-field preview button.
During continuous shooting, the exposure set for the first shot will
also be applied to subsequent shots.
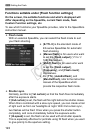
Possible Shots During Live View Shooting
The figures above are based on a fully-charged Battery Pack LP-E4 and CIPA
(Camera & Imaging Products Association) testing standards.
Continuous Live View shooting is possible for approx. 3 hr. at 23°C/73°F or
2 hr. 50 min. at 0°C/32°F (with fully-charged Battery Pack LP-E4).
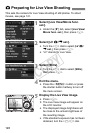
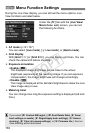
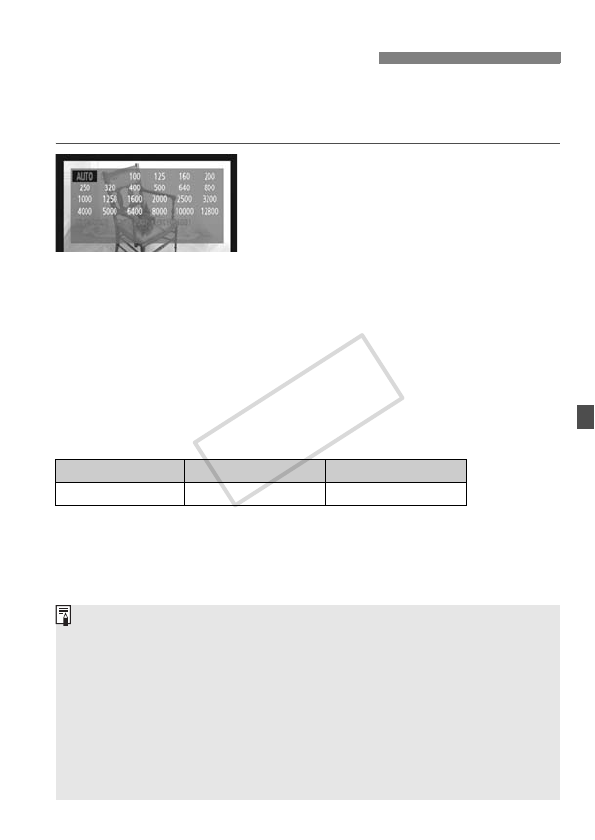
Shooting Function Settings
Temperature At 23°C / 73°F At 0°C / 32°F
Possible shots Approx. 270 Approx. 230
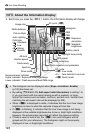
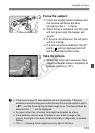
Even during the Live View image display, image playback is possible by
pressing <x>.
If the camera is not operated for a prolonged period, the power will turn
off automatically as set with [5 Auto power off] (p.52). If [5 Auto
power off] is set to [Off], the Live View shooting will stop automatically
after approx. 30 min. (camera power remains on).
You can also autofocus by pressing the release button halfway on Remote
Switch RS-80N3 or Timer Remote Controller TC-80N3 (both sold separately).
With the stereo AV cable (provided) or HDMI cable (sold separately), the
Live View image can be displayed on a TV (p.170-171).
COPY