


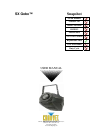

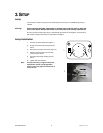
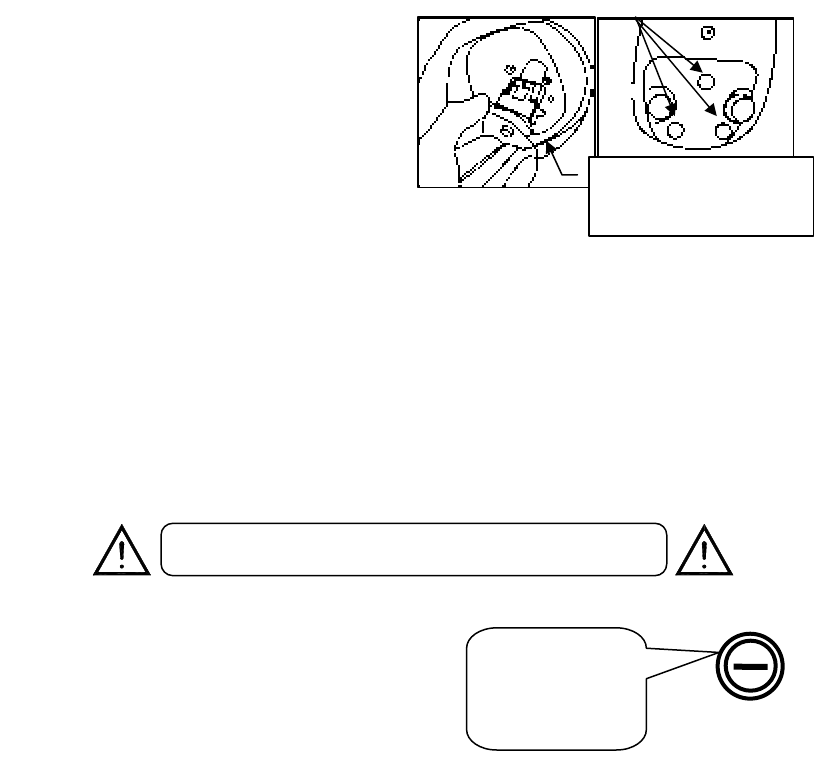
Lamp Alignment How-To
Lamp alignment screws
Often, after a new installation of a lamp, you will find that there is an uneven field of light or what is
refered to as a hot spot. This is due to the most intense point of the lamp source not being positioned
optimally within the reflector.
There are three lamp alignment screws
provided at the base of the fixture. Turning
these screws allows you to optimize the
projection quality of the spot as well as the
overall intensity of the beam.
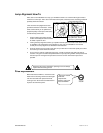
Even out this plate by turning the
lamp alignment screws, prior to
lamp optimization. This will
provide you a good starting point.
1. Project a white spot against any flat
surface. Preferably the surface should
be white or pastel in color.
2. Turning the lamp alignment screws, try to position the hot spot in the center of the beam as best
as possible. This could require many attempts on your part. It is advisable to even out the
screws prior to lamp alignment as described in the illustration.
3. Once the hot spot is in the center of the spot, do your best to turn all screws equally as to affect
movement up or down within the reflector.
4. As you move in and out of optimum lamp focus, you will see the hot spot either get wider or
narrower. The goal is to either totally diminish the hot spot by having it widen and spread across
the entire spot or moving the hot spot so that it covers as much of the beam spot area as
possible.
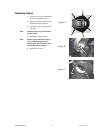
Fuse Replacement
Disconnect the power cord before replacing a fuse and always
replace with the same type fuse.
The fuse is located
inside this
compartment.
Remove using a flat
head screwdriver.
FUSE
With a flat-head screwdriver, unscrew the fuse
holder from its housing. Remove the damaged
fuse from its holder and replace with exact
same type fuse. Screw the fuse holder back in
its place and reconnect power.
SX Gobo Manual 7 2006-12-11/15:16