3-23
Cisco Video Surveillance 2500 Series IP Camera User Guide
OL-19273-02
Chapter 3 Configuring and Managing the IP Camera
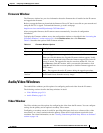
Audio/Video Windows
Options
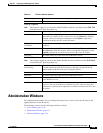
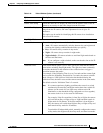
Enable Time Stamp Check this check box to display the time from the internal clock of the IP
camera as an overlay on the video image from the IP camera.
Enable Text Display Check this check box to display designated text as an overlay on the video
image from the IP camera, and enter alphanumeric text of up to 20
characters.
This option can be useful for identifying this IP camera in an installation
with several IP cameras.
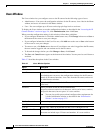
Day/Night Vision
Switch Mode Choose the day/night vision mode for the IP camera:
• Auto—IP camera automatically switches between day and night mode
based on the lighting condition threshold that you specify.
• Day—IP camera always remains in day mode.
• Night—IP camera always remains in night mode.
• Night schedule—IP camera switches to and from Night mode based on
the Start and End times.
Note If you configure a night schedule, make sure that the time on the IP
camera is set correctly.
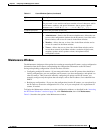
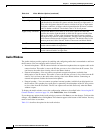
Validation Time If the Switch Mode option is set to Auto, specify the time that the camera
waits before switching Day/Night modes. The light level must continually
exceed the threshold for the duration of the validation time to trigger a
transition between the modes.
For example, if the Validation Time is set to 5 seconds and the current light
level exceeds the Night/Day Threshold for 5 seconds, the camera switches
mode. However, if the light level falls below the threshold during the
Validation Time, the timer resets and the camera remains in the same mode.
The default value for Validation Time is 2 seconds.
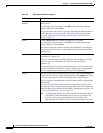
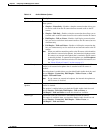
Note If a camera experiences lighting conditions that cause it to switch
continuously between Day and Night modes three times within 20
minutes (as the result of a low light scene with excessive IR
illumination or the thresholds being configured too close together),
the camera locks in to its last state for 20 minutes.
For example, if the first transition is from Day to Night, the camera
will switch from Day to Night to Day to Night and then remain in
Night mode for 20 minutes. If the first transition is from Night to
Day, the camera will switch from Night to Day to Night to Day and
then remain in Day mode for 20 minutes.
To unlock the 20 minute hold period, manually configure the camera
to Day mode, then Night mode, then Day mode, and then Auto mode.
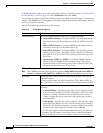
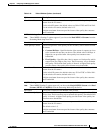
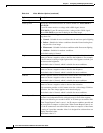
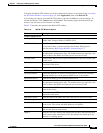
Table 3-10 Video Window Options (continued)
Option Description


