


4-3
Cisco Video Surveillance 4300 and 4500 High-Definition IP Cameras User Guide
OL-19609-04
Chapter 4 Viewing Live Video
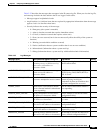
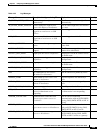
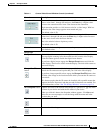
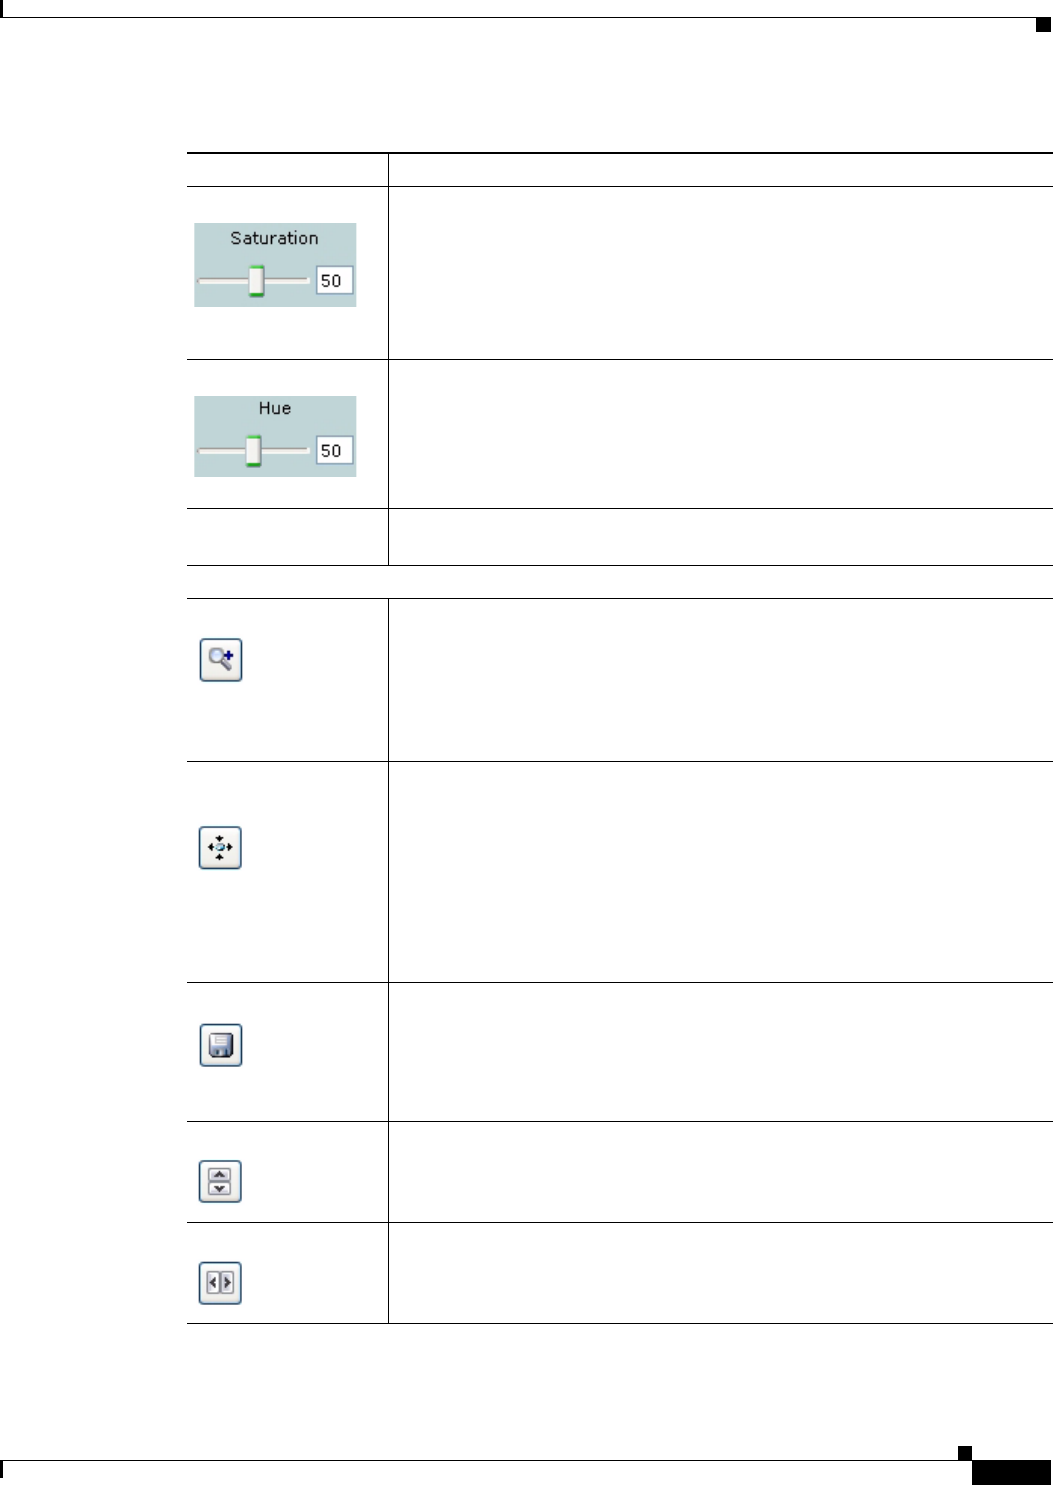
Saturation slider To control the saturation of the video from the IP camera, drag the slider, or
enter a value from 1 through 100 and press the Enter key. A higher value
increases the saturation and a lower value decreases the saturation.
High saturation provides a vivid, intense color for a video image. With less
saturation, the video image appears more muted and gray.
The default value is 50.
Hue slider To control the hue of the video from the IP camera, drag the slider, or enter a
value from 1 through 100 and press the Enter key. A higher value increases
the hue and a lower value decreases the hue.
Hue is the relative balance of primary colors.
The default value is 50.
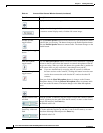
Restore button Resets white balance, brightness, contrast, sharpness, saturation, and hue to
their default values.
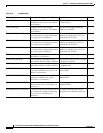
Image tools
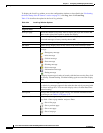
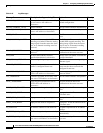
Hotspot Zoom button Click this latch button to enables the digital zoom feature, which provides
five-step digital zooming in for the normal (not full screen) video display.
Click this button again to disable the digital zoom feature.
To perform a digital zoom, engage the Hotspot Zoom button and click the
video display. The first five clicks zoom the display. The sixth click returns to
unzoomed display.
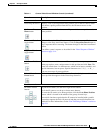
Hotspot Pan/Tilt
button
Click this latch button to enable the hotspot pan/tilt feature, which lets you pan
and tilt the IP camera toward a point that you click in the video display.
To perform a hotspot pan/tilt action, engage the Hotspot Pan/Tilt button, then
click the video image at the location toward which you want the IP camera to
pan and tilt.
This feature require that the IP camera be installed with a pan/tilt mount that
supports the Pelco D protocol and that pan and tilt functions are enabled. For
more information, see the “Pan Tilt Settings Window” section on page 3-9.
Save Snapshot button Captures and saves a the current video image as a .gif file or a .jpg file in the
location of your choice and with the file name of your choice.
When you click this button, the Snapshot window appears. Click Save and
follow the on-screen prompts to save the image with the name and in the
location that you want.
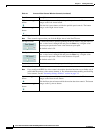
Flip button Rotates the video image by 180 degrees.
Mirror button Reverses the video image.
Table 4-1 Camera Video/Control Window Controls (continued)
Control Description