


4-5
Cisco Video Surveillance 6020 IP Camera Installation Guide
OL-28120-02
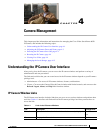
Chapter 4 Camera Management
Viewing Live Video
To view live video, log in to the IP camera, then click View Video in the IP camera Main window menu
bar. The Camera Video & Control window appears. This window displays live video from the camera
and lets you control a variety of camera and display functions.
The controls that you see in the Camera Video & Control window depend on your IP camera privilege
level and the configurations settings for the IP camera. Users with the Administrator privilege can access
all controls. Users with the Viewer privilege do not have access to the following controls:
• Video image controls
• Motion detection controls
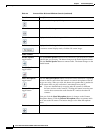
Table 4-4 describes the controls in the Camera Video & Control window.
Ta b l e 4-4 Camera Video & Control Window Controls
Control Description
Video controls
Video Codec
drop-down
list
Choose the codec for video transmission (H.264 or MJPEG).
You can choose H.264 only if the primary video stream (channel 1) is enabled.
You can choose MJPEG only if the secondary video stream (channel 2) is
enabled.
Video Resolution
drop-down list
Choose the resolution for video transmission. The resolutions in this
drop-down list depend on the video standard that you selected.
The default value for H.264 is 1920 x 1080. The default value for MJPEG is
704 x 480.
You cannot configure a secondary stream if you configure this resolution for
1920 x 1080.
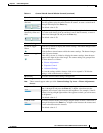
Image tools
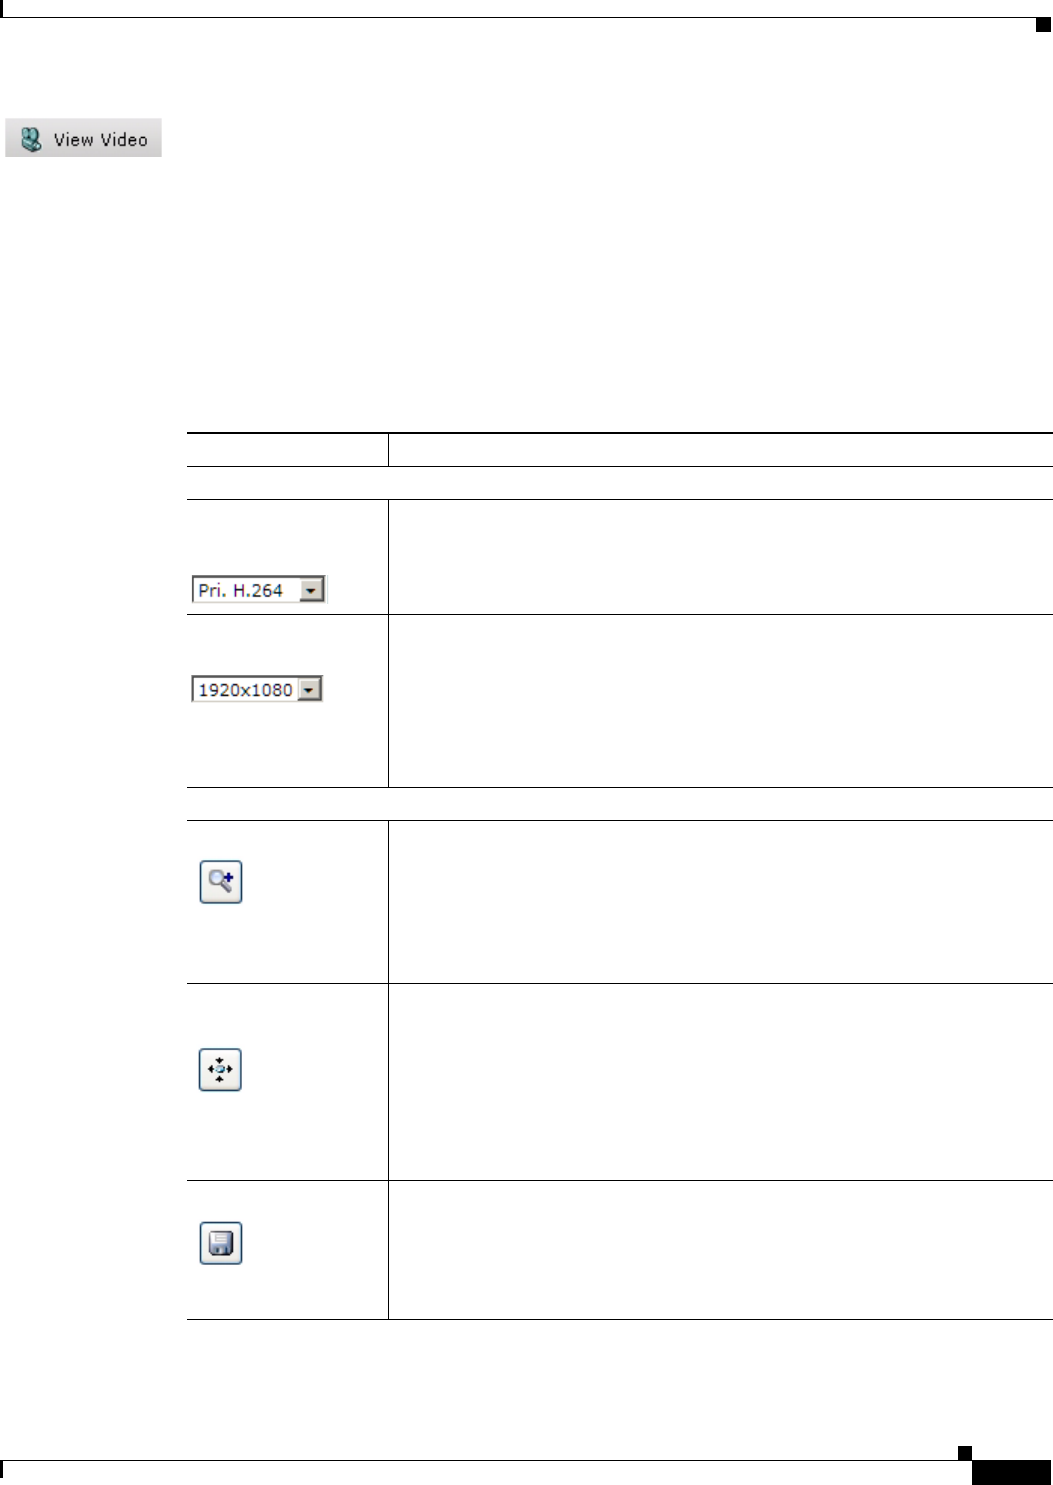
Hotspot Zoom button Click this latch button to enables the digital zoom feature, which provides
five-step digital zooming in for the normal (not full screen) video display.
Click this button again to disable the digital zoom feature.
To perform a digital zoom, engage the Hotspot Zoom button and click the
video display. The first five clicks zoom the display. The sixth click returns to
unzoomed display.
Hotspot Pan/Tilt
button
Click this latch button to enable the hotspot pan/tilt feature, which lets you pan
and tilt the IP camera toward a point that you click in the video display.
To perform a hotspot pan/tilt action, engage the Hotspot Pan/Tilt button, then
click the video image at the location toward which you want the IP camera to
pan and tilt.
This feature require that the IP camera be installed with a pan/tilt mount that
supports the Pelco D protocol and that pan and tilt functions are enabled.
Save Snapshot button Captures and saves a the current video image as a .gif file or a .jpg file in the
location of your choice and with the file name of your choice.
When you click this button, the Snapshot window appears. Click Save and
follow the on-screen prompts to save the image with the name and in the
location that you want.