


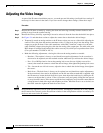

3-6
Cisco Video Surveillance 2611 IP Dome User Guide
OL-24128-02
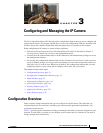
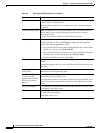
Chapter 3 Configuring and Managing the IP Camera
Setup Windows
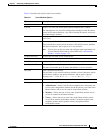
Description Enter a description of the IP camera. For example, enter the IP camera
location, such as “North Entrance.”
The description can include any combination of up to 32 letters, numbers,
and spaces.
Enable LED Operations Check this check box if you want the Ready LED or Activity LED on the
front of the IP camera to light when the IP camera receives power or
performs an activity.
If you do not check this check box, these LEDs do not light.
Current Date/Time Display only. Current date and time of the internal clock of the IP camera.
To change the date or time, click Change to display the Set Date/Time
window, then take the appropriate action:
• To synchronize the IP camera date and time with the date and time of the
PC that you are using, click Sync with PC.
• To set the IP camera date and time to any values, enter the values in the
New Date and New Time fields, then click Set New Time.
• To exit the Date/Time window, click Close.
Time Zone From the drop-down list, choose the time zone in which the IP camera is
located.
The time that appears when you view video from this IP camera reflects this
time zone.
Adjust for Daylight
Saving Time
Check this check box if you want the time of the IP camera to adjust
automatically for daylight saving time.
Check here if you want
to update the time
automatically from the
NTP server from the
Internet
Check this check box if you want the IP camera to obtain its time from a
network time protocol (NTP) server.
If you check this check box, the camera contacts the designated NTP server
every 64 seconds and synchronizes its internal clock with the time of that
server.
NTP Server Address If you configured the IP camera to obtain its time from an NTP server, enter
the IP address of the NTP server.
NTP Port If you configured the IP camera to obtain its time from an NTP server, enter
the NTP server port number.
The default value is 123.
Table 3-2 Basic Setup Window Options (continued)
Option Description