


17-26
User Guide for Cisco Security Manager 4.4
OL-28826-01
Chapter 17 Managing Firewall Inspection Rules
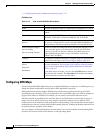
Configuring Protocols and Maps for Inspection
• Configuring Regular Expressions for Inspection Maps, page 17-86
• Configuring Regular Expression Groups, page 17-85
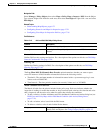
Configuring Class Maps for Inspection Policies
Use the Add and Edit Class Map dialog boxes to define class maps to be used in policy maps of the same
type. The name of the dialog box indicates the type of map you are creating.
A class map defines application traffic based on criteria specific to the application. You then select the
class map in the corresponding policy map and configure the action to take for the selected traffic. Thus,
each class map must contain traffic that you want to handle in the same way (for example, to allow it or
to drop it).
When configuring inspection rules for devices running ASA/PIX 7.2 or higher, or FWSM, you can create
class maps for the inspection of the following types of traffic: DNS, FTP, H.323, HTTP, IM, SIP, and
ScanSafe.
You can also define class criteria in the related policy map. However, creating class maps allows you to
reuse the map in multiple policy maps.
The following topics describe the available match criteria:
• DNS Class and Policy Maps Add or Edit Match Condition (and Action) Dialog Boxes, page 17-31
• FTP Class and Policy Maps Add or Edit Match Condition (and Action) Dialog Boxes, page 17-38
• H.323 Class and Policy Maps Add or Edit Match Condition (and Action) Dialog Boxes, page 17-48
• HTTP Class and Policy Map (ASA 7.2+/PIX 7.2+) Add or Edit Match Condition (and Action)
Dialog Boxes, page 17-59
• IM Class and Policy Map (ASA 7.2+/PIX 7.2+) Add or Edit Match Condition (and Action) Dialog
Boxes, page 17-65
• SIP Class and Policy Maps Add or Edit Match Condition (and Action) Dialog Boxes, page 17-79
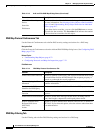
Navigation Path
Select Manage > Policy Objects, then select DNS, FTP, H.323 (ASA/PIX/FWSM), HTTP
(ASA/PIX/FWSM), IM, or SIP (ASA/PIX/FWSM) in the Maps > Class Maps > Inspect folder in the
table of contents. Right-click inside the work area, then select New Object, or right-click a row, then
select Edit Object.
Related Topics
• Understanding Map Objects, page 6-72
• Configuring Protocols and Maps for Inspection, page 17-21
• Understanding Inspection Rules, page 17-1
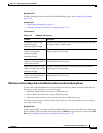
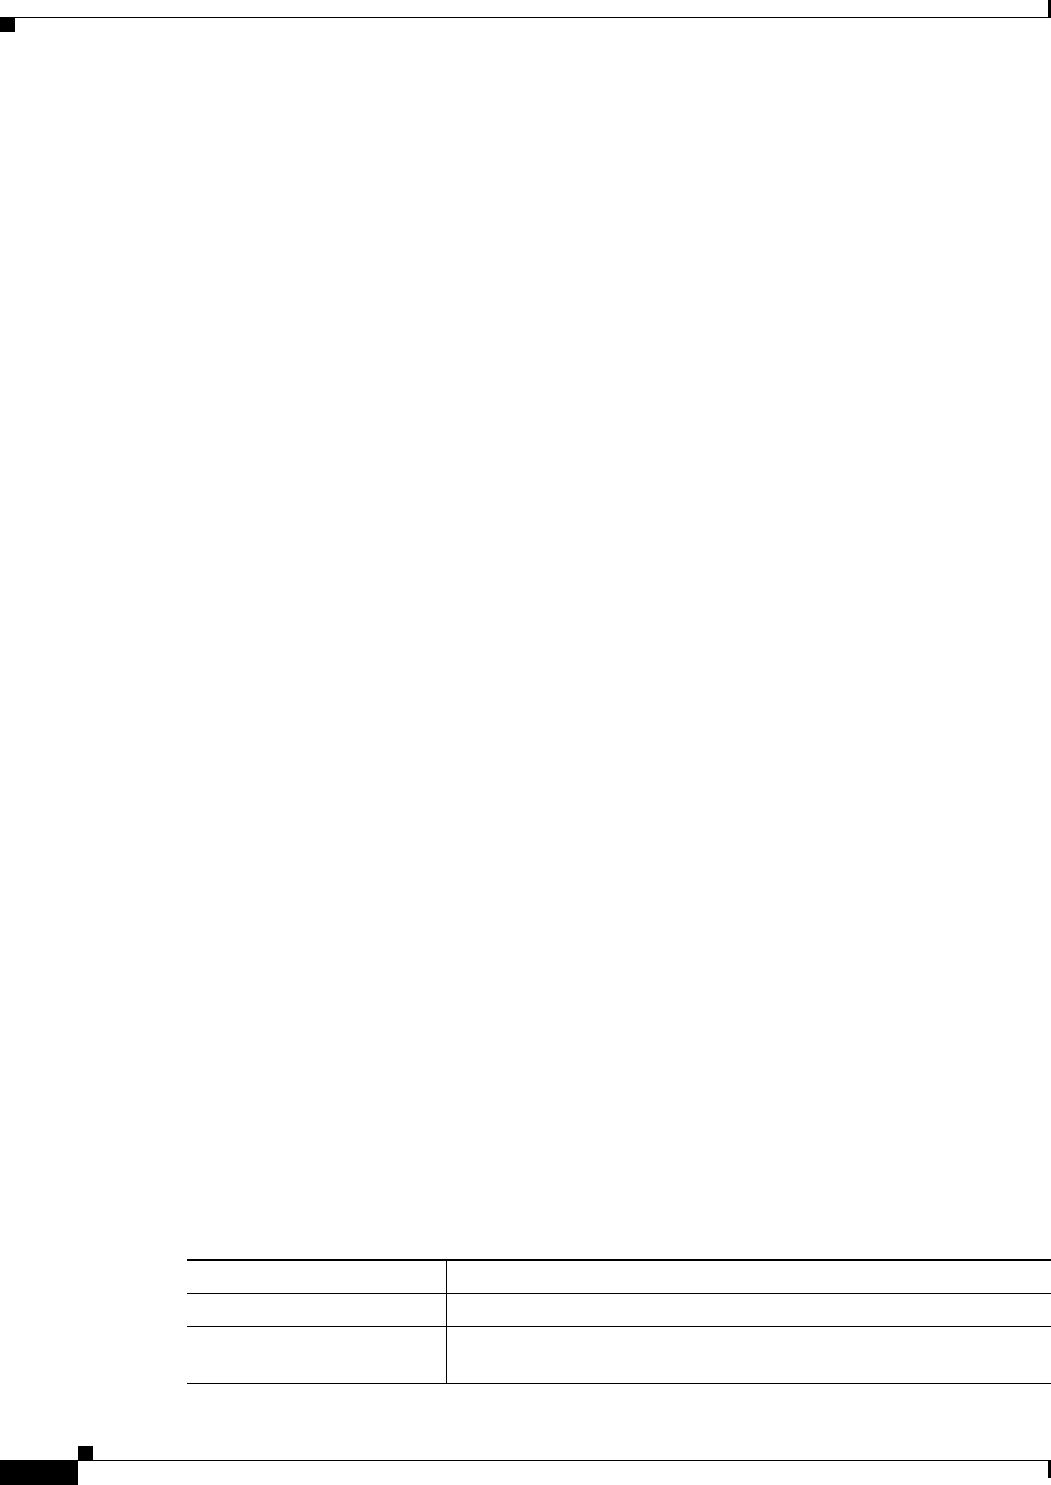
Field Reference
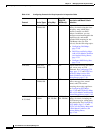
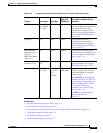
Table 17-11 Add or Edit Class Maps Dialog Boxes for Inspection Rules
Element Description
Name The name of the policy object. A maximum of 40 characters is allowed.
Description A description of the policy object. A maximum of 200 characters is
allowed.