


Congratulations! You are the proud owner of a NuVue
tm
Digital Picture Frame. Boasting
high-quality image resolution the NuVue
tm
is the perfect product for displaying your
favorite digital photos. With its ease of use and configuration, you can now display all your
favorite pictures or video files for everyone to see!
Package Contents
Before using the NuVue
tm
, be sure to check all the accessories contained in the package.
NuVue
tm
comes with the following items:
1. NuVue
tm
unit with desktop stand
2. A.C. Power Adapter
3. USB Cable
4. Composite TV Out Cable
5. User Manual
Features
9 High resolution 7” TFT display
9 Plays images in slideshow format
9 Plays MP3 audio
9 Plays MPEG Video
9 Plays Audio Slideshow
9 Built-in multi format card reader CF/SD/XD/MMC/MS
9 Generous 256MB internal memory
9 USB Port for PC connection
9 USB Port for device connection – thumb drive, camera, etc.
9 TV Out to display images on TV
9 Sleek decorative design
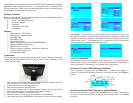
Connections
Use the guide below for power connection and media insertion. Plug one end the AC
Adapter into the Digital Photo Frame and plug the other end into a standard 110-120
volt AC electrical outlet.
1. Plug one end the AC Adapter into the Digital Photo Frame and plug the other end
into a standard 110-120 volt AC electrical outlet.
2. Insert a memory card into the appropriate slot.
3. Slide the Power Switch to the ON position.
4. If not already selected, scroll to the appropriate memory card type on the first
menu screen by using the Arrow Buttons on the Remote Control.
5. Press the ENTER Button to confirm the selection.
6. On the next menu, scroll using the Arrow Buttons to select PHOTO.
7. On the next menu, press SLIDESHOW on the Remote Control to display images.
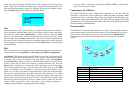
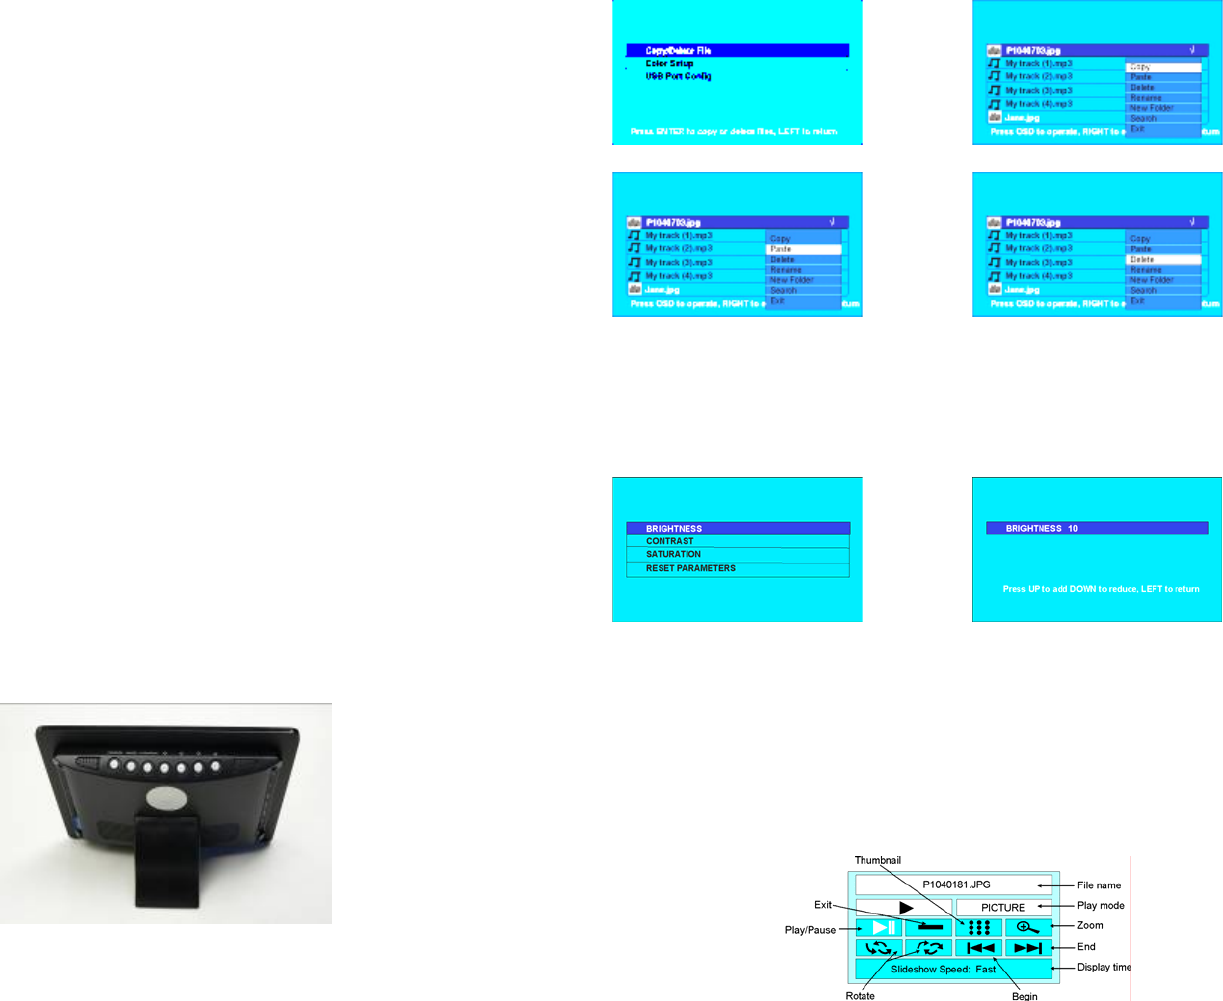
Color Setup – These functions are used to adjust the LCD screen to suit your taste
and lighting conditions. Adjustments that may be made are Brightness, Contract, and
Saturation. Each of these functions, when selected includes a secondary screen with a
relative values with “1`” as minimum and “20” as maximum. Use the Up and Down
buttons to increase and decrease the value respectively.
USB Port Configuration
This function is used to select between USB connect to PC or device and USB to
Printer. Use the Up and Down buttons to select the desired function. Press Enter to
select. The selection is confirmed by a check mark next to the function.
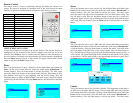
On Screen Controls While Playing a Slideshow
Once a slideshow is playing press the OSD button. A control screen appears as
follows. Use the direction buttons to navigate to the desired function. Press Enter to
activate.
On Screen Controls While Playing an Audio Slideshow
Once an audio slideshow is playing press the OSD button. A control screen appears
as follows. Use the direction buttons to navigate to the desired function. Press Enter
to activate.