


FEATURES FOR RECORDING
ADVANCED FEATURES
EN 33
MasterPage: Advan_Right
To lock the exposure control and the iris
After step 5 of “Exposure Control”, adjust the exposure
by rotating the MMENU/VOL. Wheel. Then lock the iris in
steps 6 and 7 of “Iris Lock”. For automatic locking, rotate
the MMENU/VOL. Wheel to select “AUTO”, then press it
in step 5. The exposure control and the iris become
automatic.
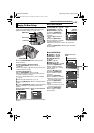
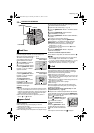
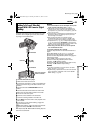
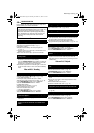
Backlight compensation
brightens the subject quickly.
Press BACKLIGHT. The
indicator is displayed and the
subject is brightened. If
pressed again,
disappears and the
brightness returns to the
previous level.
● Using the BACKLIGHT
Button may cause the light around the subject to become
too bright and the subject to become white.
● Backlight compensations is also available when the Power
Switch is set to “A”.
The white balance that refers to the correctness of color
reproduction under various lighting. If the white balance
is correct, all other colors will be accurately reproduced.
The white balance is usually adjusted automatically.
However, more advanced camcorder operators control
this function manually to achieve a more professional
color/tint reproduction.
To change the setting
Set “u” to the desired mode. (੬ pg. 25)
● The selected mode indicator except “AUTO” appears.
[AUTO]: White balance is adjusted automatically.
MWB: Adjust the white balance manually when
shooting under various types of lighting. (੬ “Manual
White Balance Adjustment”)
FINE: Outdoors on a sunny day.
CLOUD: Outdoors on a cloudy day.
HALOGEN: A video light or similar type of lighting
is used.
[ ] = Factory-preset
To return to automatic white balance
Set “u” to “AUTO”. (੬ pg. 25)
Or, set the Power Switch to “A”.
NOTE:
White balance cannot be used when “r” is set to “SEPIA” or
“MONOTONE”. (੬ pg. 31)
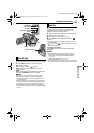
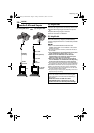
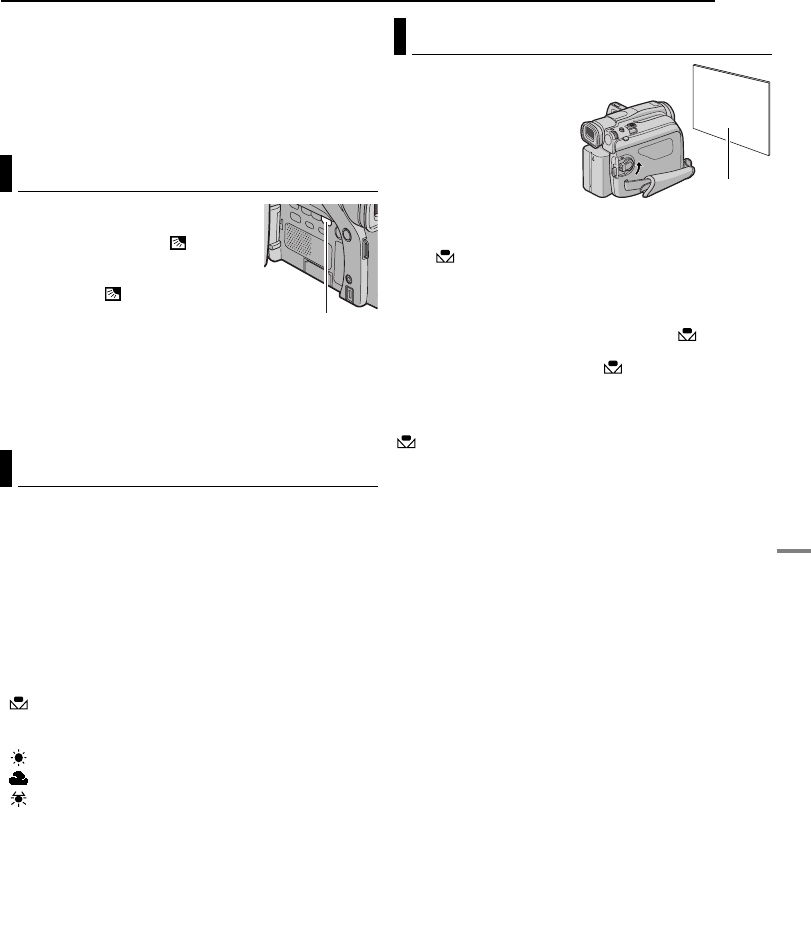
Adjust the white balance
manually when shooting
under various types of
lighting.
1 Set the Power Switch to
“M” while pressing down
the Lock Button located on
the switch.
2 Open the LCD monitor fully. (੬ pg. 12)
3 Set “u” to “MWB”. (੬ pg. 25)
● The indication blinks slowly.
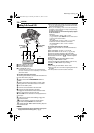
4 Hold a sheet of plain white paper in front of the
subject. Adjust zoom or position yourself so that the
white paper fills the screen.
5 Press the MMENU/VOL. Wheel in until begins
blinking rapidly.
● When the setting is completed, resumes normal
blinking.
6 Press the MMENU/VOL. Wheel in twice. The Menu
Screen closes and the Manual White Balance indicator
is displayed.
NOTES:
● In step 4, it may be difficult to focus on the white paper. In
such a case, adjust focus manually. (੬ pg. 32)
● A subject can be shot under various types of lighting
conditions indoors (natural, fluorescent, candlelight, etc.).
Because the color temperature is different depending on
the light source, the subject tint will differ depending on the
white balance settings. Use this function for a more natural
result.
● Once you adjust white balance manually, the setting is
retained even if the power is turned off or the battery
removed.
Backlight Compensation
White Balance Adjustment
BACKLIGHT Button
Manual White Balance Adjustment
White paper
GR-D94US.book Page 33 Monday, November 17, 2003 2:12 PM