


EN 15
Master Page: Right
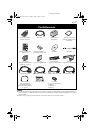
NOTES:
● When the viewfinder is pulled out while the LCD
monitor is opened, you can select whether you
use the LCD monitor and the viewfinder
simultaneously or individually. Set “PRIORITY” to
the desired mode in SYSTEM Menu.
(੬ pg. 35, 38)
● The image on the LCD monitor (or viewfinder) and
the image on the TV screen may look differently in
terms of the brightness and color. Confirm the final
image on the TV screen.
● Colored bright spots may appear all over the LCD
monitor or the viewfinder. However, this is not a
malfunction. (੬ pg. 74)
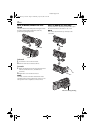
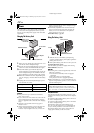
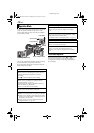
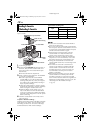
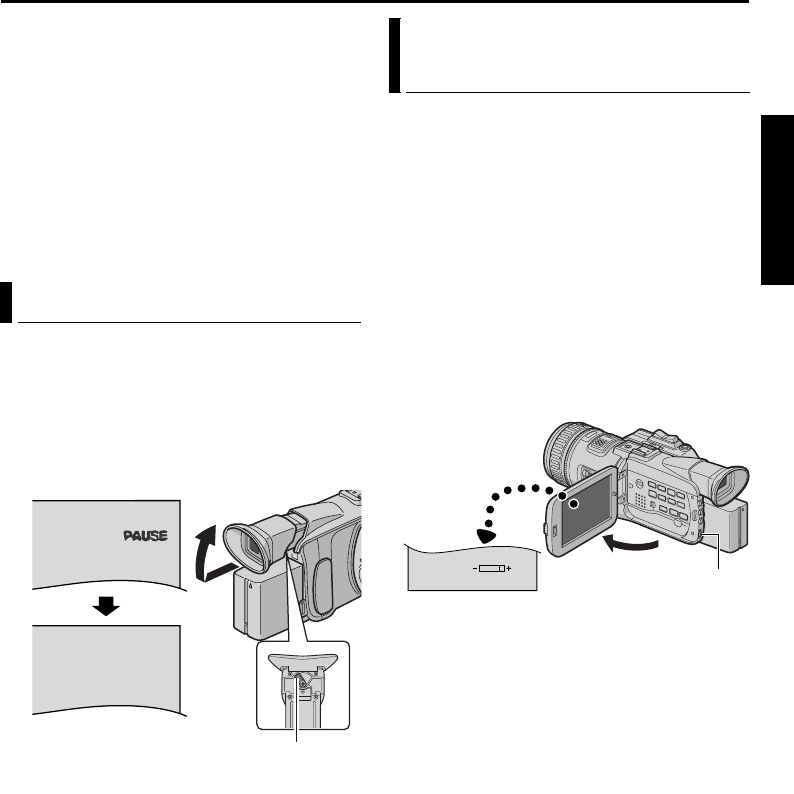
1 Set the Power Switch to “A” or “M” while
pressing down the Lock Button located on the
switch.
2 Make sure the LCD monitor is closed and locked.
Pull out the viewfinder fully and adjust it
manually for best viewability.
3 Turn the Diopter Adjustment Control until the
indications in the viewfinder are clearly focused.
CAUTION:
When retracting the viewfinder, take care not to
pinch your fingers.
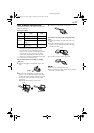
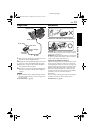
1 Set the Power Switch to “M” or “P” while
pressing down the Lock Button located on the
switch.
2 Open the LCD monitor fully, or pull out the
viewfinder fully.
3 Press the MENU Wheel in. The Menu Screen
appears.
4 Rotate the MENU Wheel to select “n”, and
press it. The CAMERA DISPLAY Menu appears.
5 Rotate the MENU Wheel to select “BRIGHT”,
and press it. The Menu Screen closes and the
brightness control indicator appears.
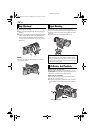
6 Rotate the MENU Wheel until the appropriate
brightness is reached.
7 Press the MENU Wheel in.
● It is also possible to adjust the brightness of the
viewfinder.
Viewfinder Adjustment
PAUSE
Diopter Adjustment Control
Brightness Adjustment Of The
Display
BRIGHT
MENU Wheel
GETTING STARTED
GR-HD1US.book Page 15 Monday, April 14, 2003 5:21 PM