


12
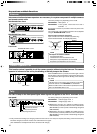
1.
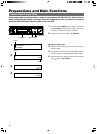
Press and hold the MENU button for about 1 second until
the LCD display shows the menu display. Turn the con-
trol knob to move the cursor (
) to "2: CABLE".
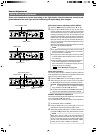
2.
Press the control knob to display “2A: LENGTH”.
Camera Cable Length Setup
Preparations and Main Functions
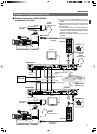
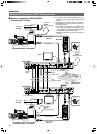
Cable length setup is required when a camera is connected to the RM-HP250 for the first time or
when the camera cable length is changed. The cable length setup value is stored in the memory
inside the RM-HP250 and is held even after it is turned OFF.
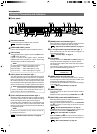
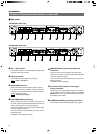
M
FULL AUTO F1
SHUTTER
GAIN
F2
F3
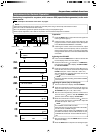
MENU/SHUTTER GAIN
P
R
STEP
SHUTTER
MENU
PUSH-ON
DOWN UP
VARIABLE
PUSH-ON
HIGH
LOW
MID
DOWN UP
F4
BARS
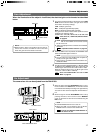
LCD display MENU button
Control knob
2. CABLE
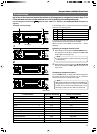
Setting the cable length
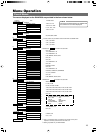
3.
Press the control knob to move the cursor ( ) to the cur-
rently set length.
4.
Turn the control knob to select the cable length that is to
be used in meters (variable to 5M, 20M, 50M or 100M).
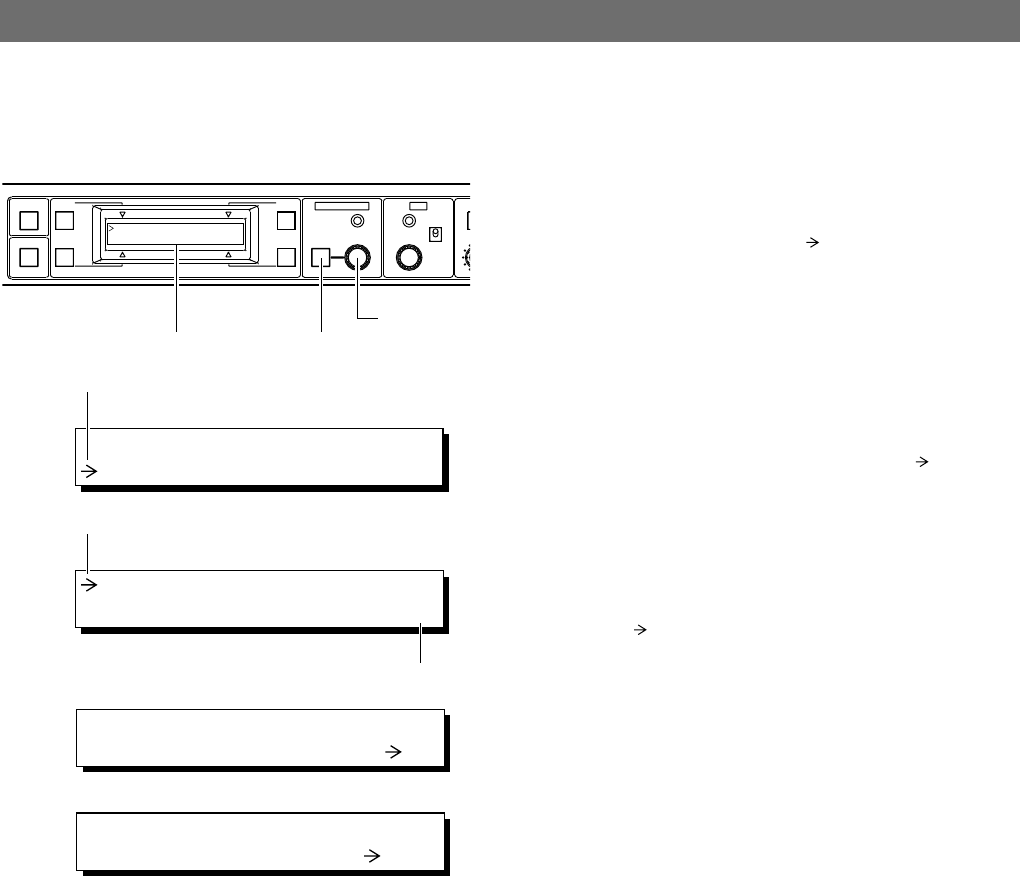
5.
After setting the value, press the control knob to move the
cursor (
) back to “2A: LENGTH”.
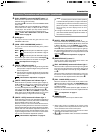
2.
2A: LENGTH
5M
Cursor
Setting
2A: LENGTH
5M
3.
4.
2A: LENGTH
100M
1: GENLOCK
2: CABLE
1.
Cursor