


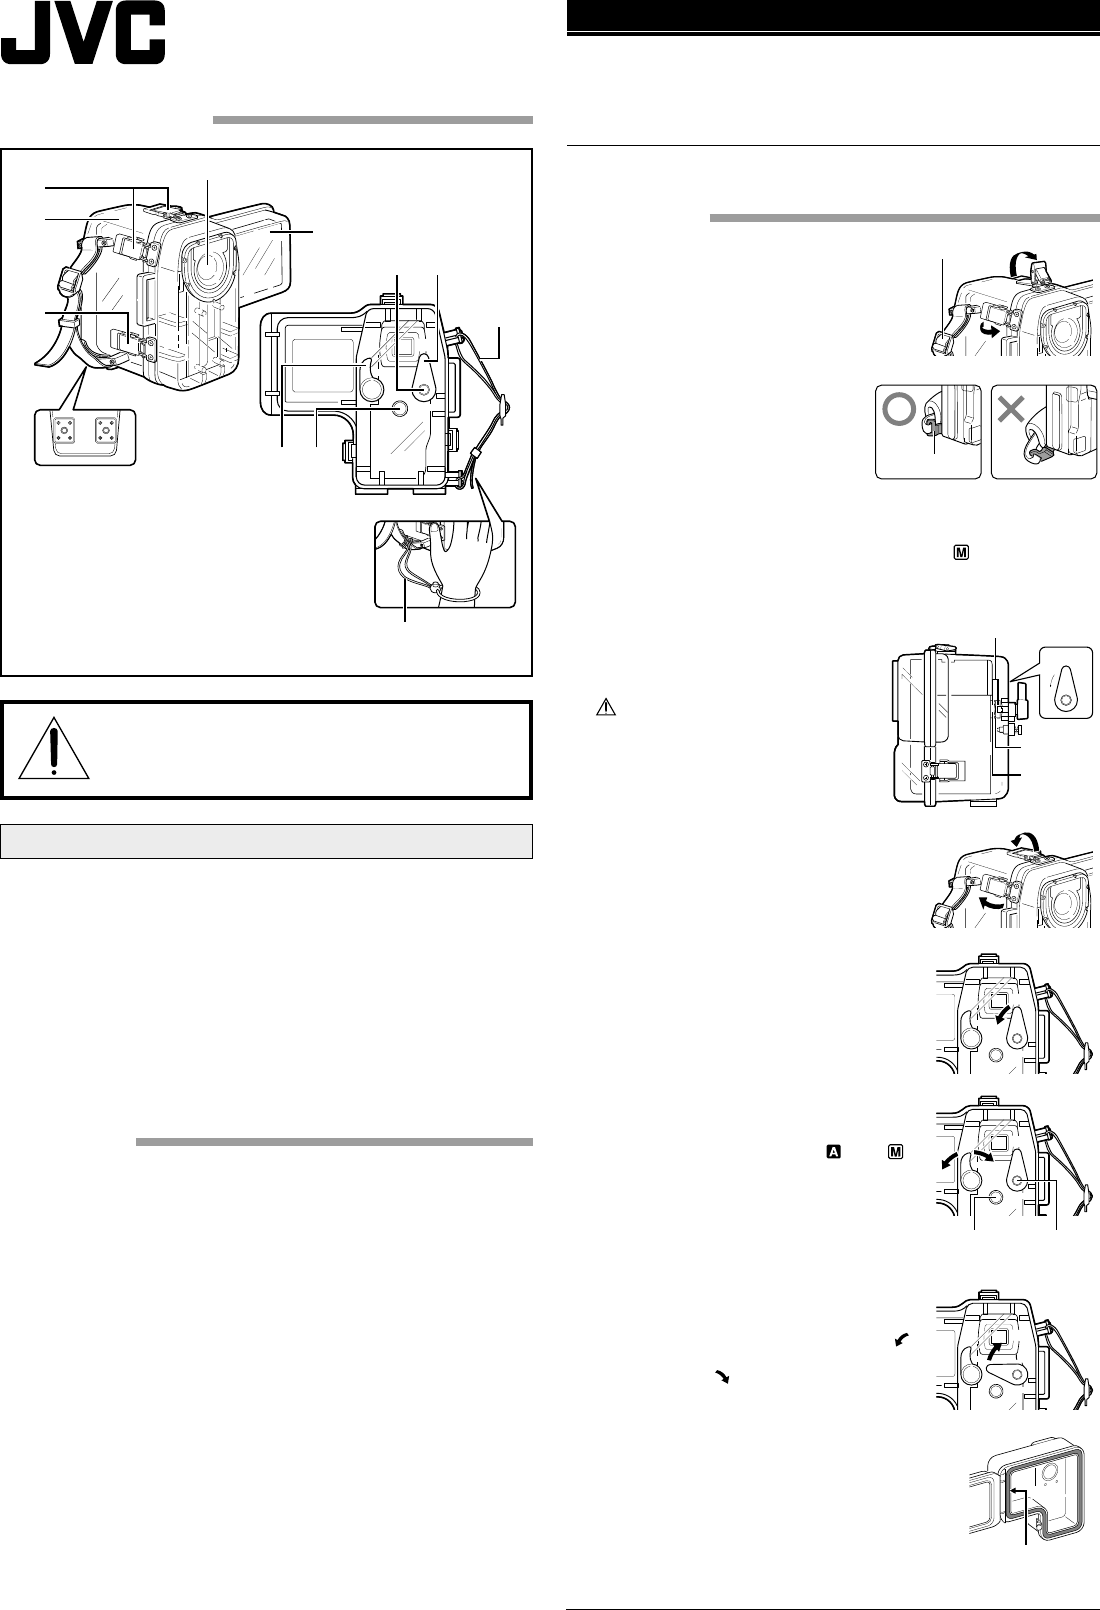
Mounting method and operating method
for each part
1 Tighten the camcorder’s grip strap.
2 Remove the four buckles on the marine
case and open the front lid.
3 Align the Power Lever with the “OFF”
mark on the marine case.
4 Set the camcorder’s Power Switch to
“OFF”, then open the LCD monitor
and insert the camera into the
marine case.
Place the included anti-fogging
silica gel in the gap between the
camcorder and the marine case to
prevent fogging in the marine case.
• When inserting the camera, make sure that the position of the
grip pad’s metal part is straight.
• If the camcorder’s Operation Switch is set to “
”, perform
settings as required then insert the camcorder into the marine
case.
5 Fit the Zoom Lever projection on the
marine case over the outer groove of
the Power Zoom Lever on the
camcorder, making sure that it is
securely fit.
If the camcorder’s Power Switch
is not set properly when the
camcorder is placed in the marine
case, it could break and/or it could
damage the Power Lever aligning
boss on the marine case.
6 Before sealing the marine case, check that
there is no sand, dirt, or other foreign
matter on the O-ring mounted on the front
lid or on the O-ring contact surface on the
main unit.
Also make sure that the inserted silica gel
bag is not pinched. If you dive with foreign
matter trapped in these areas, water will
leak.
7 Check that the O-ring on the front lid is
correctly mounted in the groove, then press
in the front lid. Flip down the four buckles
in the directions indicated by the arrows in
the figure on the right to seal the marine
case.
8 Turn the marine case’s Power Lever in the
direction of the arrow to set the
camcorder’s Power Switch to “
” or “ ”.
• The camcorder’s Power Lamp lights.
9 To start video recording, press the
Recording Start/Stop Button.
To stop video recording, press it again.
• Press the Snapshot Button to perform
Snapshot recording.
0 The zoom can be adjusted with the Zoom
Lever.
• Telephoto : turn the lever to the left (
)
• Wide angle : turn the lever to the right
(
)
! When you are finished shooting, set the
marine case’s Power Lever to “OFF” (in the
direction of the arrow) to set the camcorder’s
Power Switch to “OFF”.
• The camcorder’s Power Lamp goes out.
NOTES:
Ⅲ The O-ring is made from rubber and is mounted on
the front lid.
Ⅲ Refer to the camcorder’s instructions for more
information.
POWER
OFF
ON
ZOOM
POWER
OFF
ON
SNAP SHOT
START/STOP
1
4
2
3
3
56
9
78
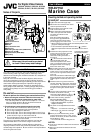
User’s Manual ENGLISH
Names of the parts
Please read before use.
This marine case is a precision instrument designed to permit safe
video recording under high water pressure. Please pay careful
attention when handling the unit before and after use, as explained
in this user’s manual.
Each part of the marine case has been subject to strict controls
during the manufacturing process, and the individual functions
have faced stringent tests during the assembly process. Each marine
case has also had to pass water-proof inspections using high-
pressure water testers. However, damage can sometimes occur
during transport and distribution, or during storage after purchase,
so before diving always carry out the following pre-use test to
verify safety.
Pre-use test
Be sure to perform the following pre-use test before diving.
1. Before mounting the camcorder inside the marine case, dive
with only the empty marine case and test for water leaks.
• You can easily check for water leaks at a depth of 1 m, where
there is no water pressure. Be sure to perform this test to
ensure the safety of your camcorder.
2. The following are some common causes of water leaks:
A. The marine case is used without attaching the O-ring.
B. The O-ring is not mounted in the correct position.
C. The O-ring is damaged or deformed.
D. There is sand, dirt, hair or other foreign matter on the O-ring.
E. There is sand, dirt, hair or other foreign matter on the contact
surface of the O-ring or on the inside of the lid.
F. The provided strap or silica gel bag is pinched inside the
marine case when the lid is closed.
To protect your camcorder and ensure optimum use, keep the
examples listed above in mind when using the marine case.
JVC accepts no responsibility for water leakage or damage to
anything inside the marine case (camcorder, cassette, etc.) due to
careless usage of this product. Be sure to follow correct procedures
when using the marine case.
For Digital Video Camera
GR-DVM55, GR-DVM75, GR-DVX44, GR-DVX48,
GR-DVX49, GR-DVX77, GR-DVX78, GR-DVX88
Before use, this unit must be pre-tested
to check if there is any water leakage.
WR-DV75U
Marine Case
LYT0800-001A
Front glass
Strap
Fit the Zoom Lever projection
over the Power Zoom Lever
Projection
Power Zoom
Lever
1 Marine case front lid
2 Main unit
3 Buckle
4 Grip attachment holes
5 Power lever
6 Recording start/stop button (START/STOP)
7 Zoom lever (ZOOM)
8 Snapshot button (SNAP SHOT)
9 Grip strap
O-ring
Bottom
view
Grip strap
ZOOM
POWER
OFF
ON
SNAP SHOT
START/STOP
ZOOM
POWER
OFF
ON
SNAP SHOT
START/STOP
Snapshot
button
ZOOM
POWER
OFF
ON
SNAP SHOT
START/STOP
Recording
start/stop
button
Metal part