


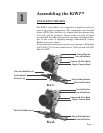
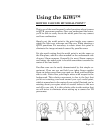
STEP 1: THE
EASY PART -
THE SIDE-TO-
SIDE
ADJUSTMENT
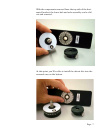
Once your cam-
era is fastened to
your pan head,
move around to
the front of the
unit so you’re
looking into the
lens. The center of
the lens should be
directly over the
pivot axis of the pan head. Adjust the side-to-side adjustment
so the lens is centered over the pivot.
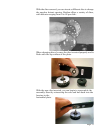
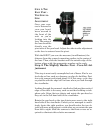
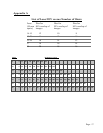
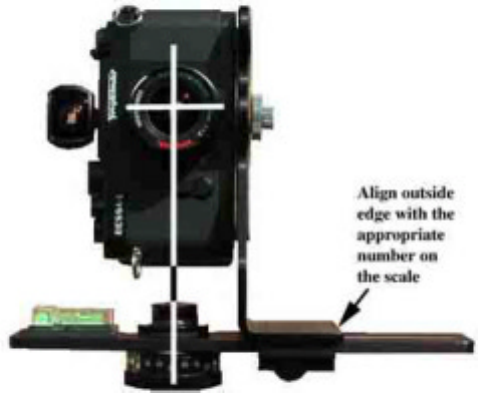
With the KiWi™ you can also measure (in millimeters) the
distance from the camera’s mounting surface to the center of
the lens. Then, slide the bracket until the outside edge of the
bottom aligns with the appropriate number on the scale.
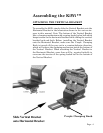
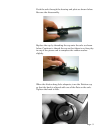
Step 2: The Slightly Harder Part - Fore-Aft Ad-
justment
This step is most easily accomplished out of doors. Find a ver-
tical edge or line, such as a doorway or edge of a building. Posi-
tion your camera and tripod about 2-1/2 feet away, or as close
as possible with the edge still in focus when you look through
the viewfinder.
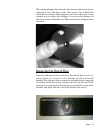
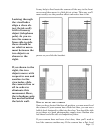
Looking through the camera’s viewfinder, find another vertical
edge or line that is far away, such as another building or tele-
phone pole. Align the two objects and rotate the pan head so
they are in the left hand side of the viewfinder.
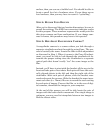
Rotate the pan head so the two objects move over to the right
hand side of the viewfinder. Unless you’ve managed to unwit-
tingly locate the right position, you should notice the two ob-
jects will move with respect to each other as you rotate the pan
from left to right. Slide the camera to the front or rear as re-
quired to eliminate this relative movement.
Page-12