


Page - 13
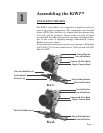
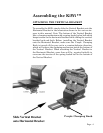
It may help to first locate the camera all the way to the front
or rear and then move it a little bit at a time. This way you’ll
more readily see the parallax effect and notice how it im-
proves as you slide the bracket.
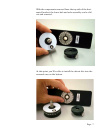
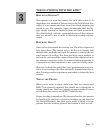
STEP 3: LEVEL THE CAMERA
Once you have located the fore-aft position, you now must level
the camera. If your camera has a flash hot shoe, you can use a
bubble level designed to slide into the shoe. You should be able
to get these at a good photographic supply store. Kaidan also
has these levels for sale at competitive prices.
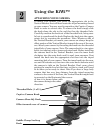
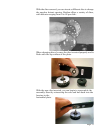
If your camera does not have a hot shoe, then you’ll need to
level the camera another way. If the camera has a flat, level
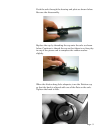
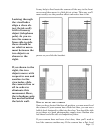
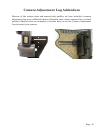
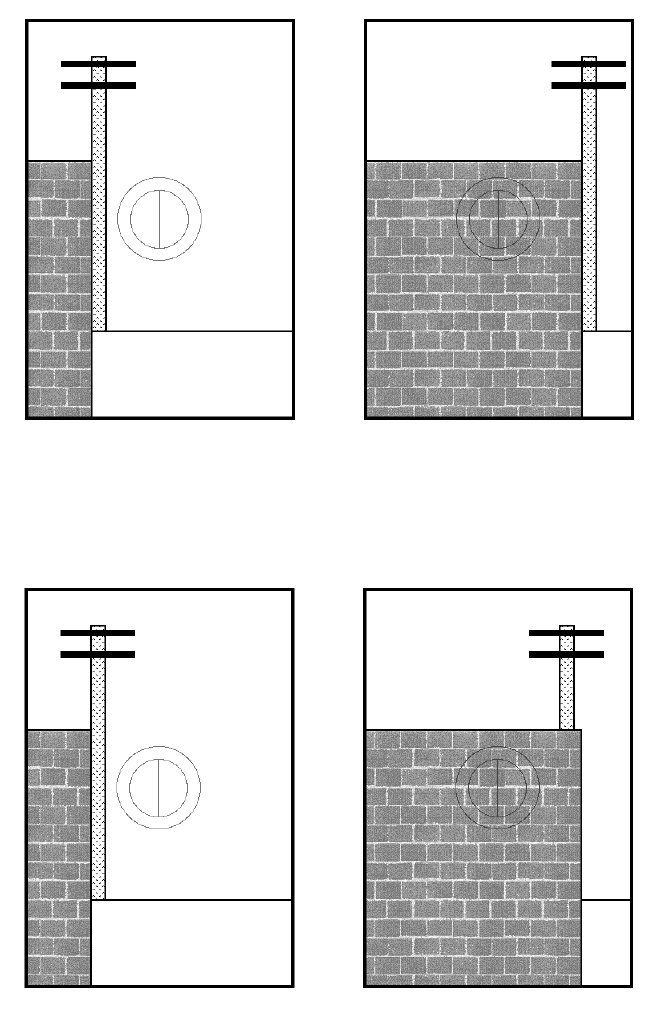
Looking through
the viewfinder
align a close ob-
ject (brick wall)
with a faraway
object (telephone
pole). As you ro-
tate the camera
from side-to-side
there should be
no relative move-
ment between the
two objects as
shown to the
right.
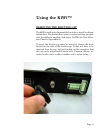
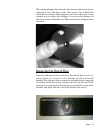
If, as shown to the
right, the two
objects move with
respect to one and
another in the
viewinder, slide
the camera fore or
aft in order to
eliminate this
movement. Here,
the telephone pole
has moved behind
the brick wall.