


© 2007 LUX PRODUCTS CORPORATION. ALL RIGHTS RESERVED
ELECTRICAL RATING.............24 Vac (30 Vac Maximum)
SWITCH ACTION ............................Open Contact Switch
ANTICIPATOR RATING................................0.15A to 1.2A
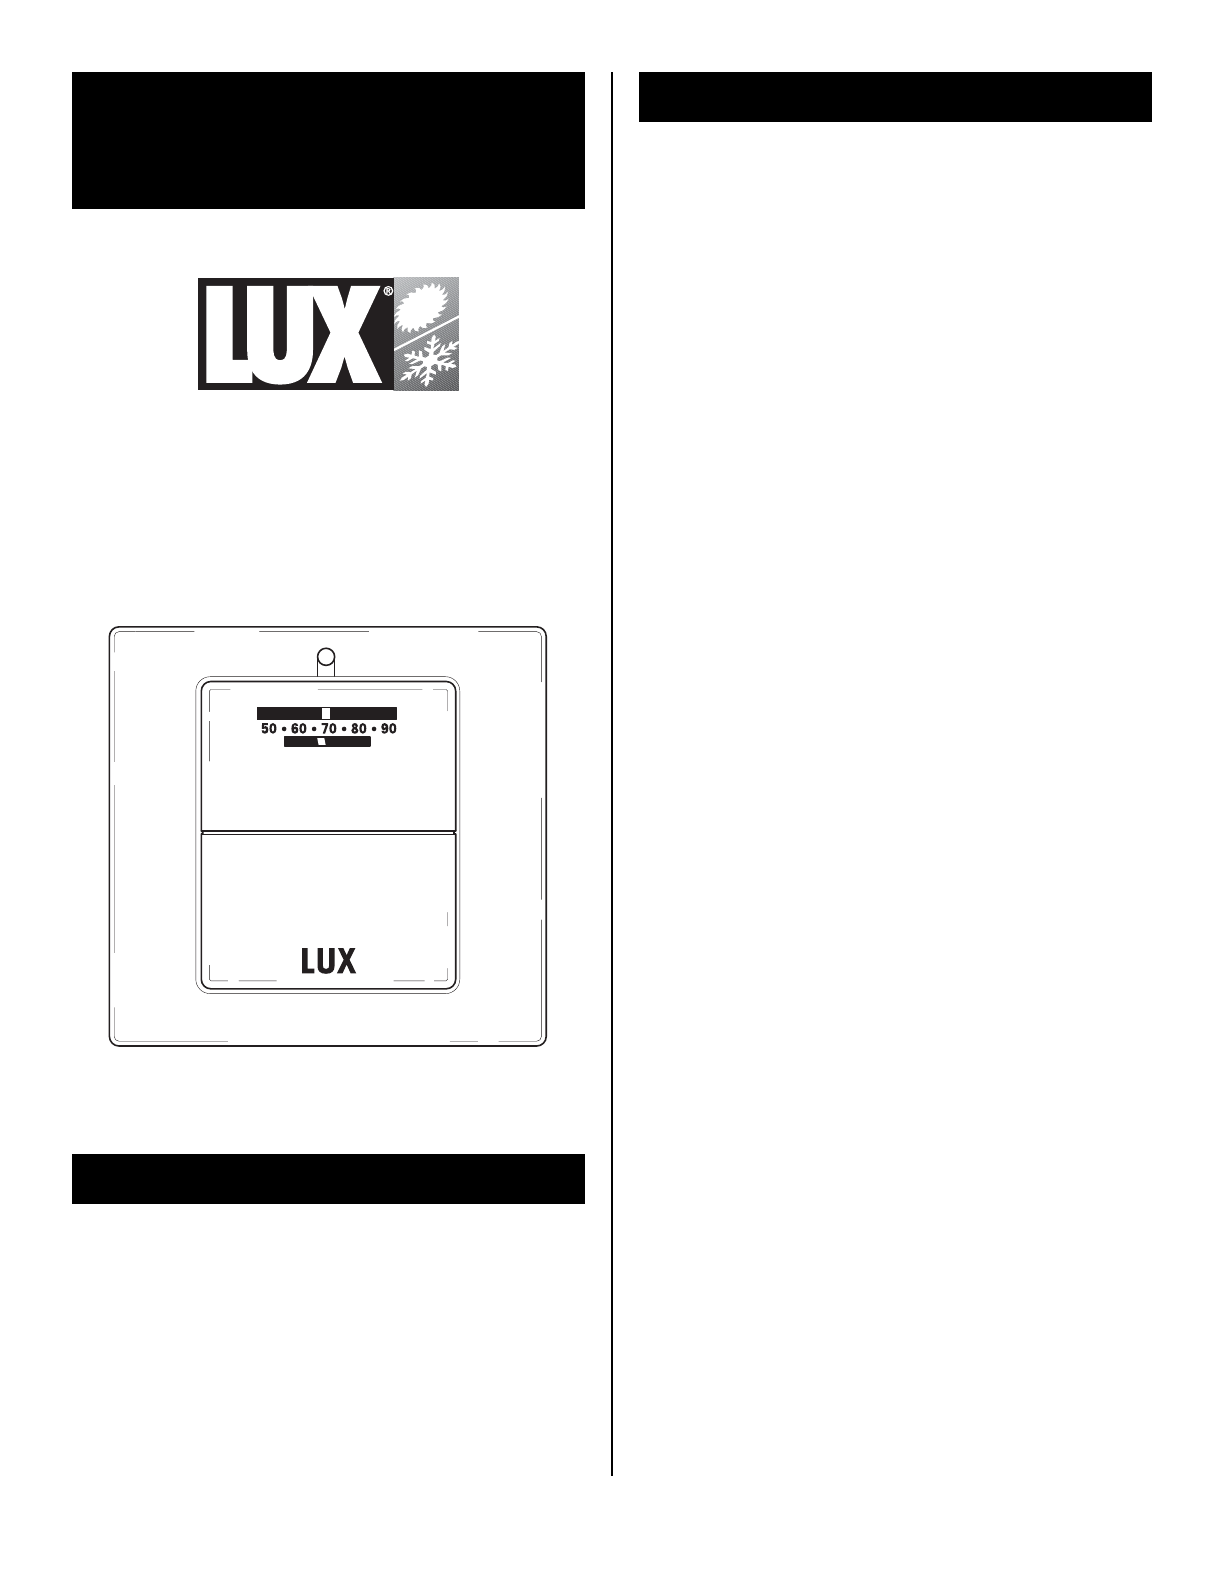
TEMPERATURE RANGE ...............................50°F to 90°F
T10-1141SA
HEATING ONLY THERMOSTAT
52014
INSTALLATION & OPERATION
1). THERMOSTAT LOCATION
For accurate temperature control and comfort, correct
location is very important. On new installations, the
guidelines listed below should be followed as closely as
possible. When replacing an old thermostat, install the new
one in the same location unless these conditions suggest
otherwise.
1. Locate the thermostat on an inside wall about five feet
above the floor, where it is easy to install and adjust. It
should be in a room that is used often, such as a
family room.
2. Do not install it where there are unusual heating
conditions, such as direct sunlight, close to a lamp,
radio, television, radiator, register, near a fireplace, or
other heat producing appliance. Also, check for hot
water pipes within the wall, or a stove on the other
side of the wall.
3. Do not locate in unusual cooling conditions, such as on
an outside wall, or one separating an unheated room, or
in drafts from stairwells, doors, or windows.
4. Do not locate in a damp or humid area. This can
shorten thermostat life due to corrosion.
5. Do not locate where air circulation is poor, such as in
a corner, alcove, or behind an open door.
6. Do not install until all construction work and painting
have been completed.
2) TOOLS REQUIRED
Wirestripper or knife, drill with
3
⁄16" bit, screwdriver, level
and a pencil.
3) REMOVING OLD THERMOSTAT
Please read all instructions carefully. As you complete
each step, check the adjoining square ■■✓.
■■ Disconnect electricity and turn off gas to the heater.
■■ Remove cover from old thermostat.
■■ Loosen all screws.
■■ Disconnect wires from thermostat, making sure they do
not fall back inside the wall.
■■ Strip insulation
3
⁄8" from wire ends and clean off any
corrosion.
■■ Fill wall opening with non-combustible insulation to
prevent drafts from
affecting thermostat.
4) INSTALLING NEW THERMOSTAT
■■ Place new decorative wall plate (if supplied), Figure 3,
over wall opening. Decorative wall plate can optionally
be left off.
■■ Remove Front Cover of new thermostat by inserting a
finger in the side of the thermostat and gently prying
away each corner. Place Base, Figure 2, on wall plate
over wall opening. Mark wall with pencil at mounting
holes as shown in Figure 2. Now lay wall plate and
base to the side.
■■ Drill two holes with
3
⁄16" bit, 1" deep.
■■ Insert plastic screw anchors into drilled holes, flush
with wall surface.
■■ Bring wires through large hole in decorative wall plate
and through Hole For Wires in Base.
■■ Fasten Base loosely to wall using two mounting
screws. Place a level against the bottom of the Base,
adjust until it is level and then tighten mounting screws
to secure the Base.
SPECIFICATIONS
INSTALLATION AND
OPERATING INSTRUCTIONS