


GENERAL OPERATION:
• The meter is supplied
complete with a 9V bat-
tery. Remove the battery
compartment cover on
the back of the meter and
install the battery while
paying attention to its po-
larity.
• Connect the MA914BR/1
probe to the meter.
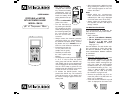
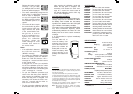
• Turn the instrument on
by pressing the ON/OFF
key. At start-up, the LCD
shows the percentage of
the remaining battery life
for a few seconds, and
then the current mea-
surement.
• Always remove the electrode protective
cap before taking any measurement. If
the electrode has been left dry, soak the
tip (bottom 2.5 cm) in M10000 rinse so-
lution for a few minutes to reactivate it.
• Immerse the tip (2.5 cm)
of the probe into the
sample and stir gently.
• Read the pH value when
the clock symbol stops
blinking.
• The temperature reading can be displayed
in °C or °F unit; to select the desired
scale, press and hold the “ON/OFF” key
until “TEMP” and the current temperature
unit are displayed on the secondary LCD.
Use the “SET” button to select the unit
and then press the “ON/OFF” key a couple
of times to return to normal mode.
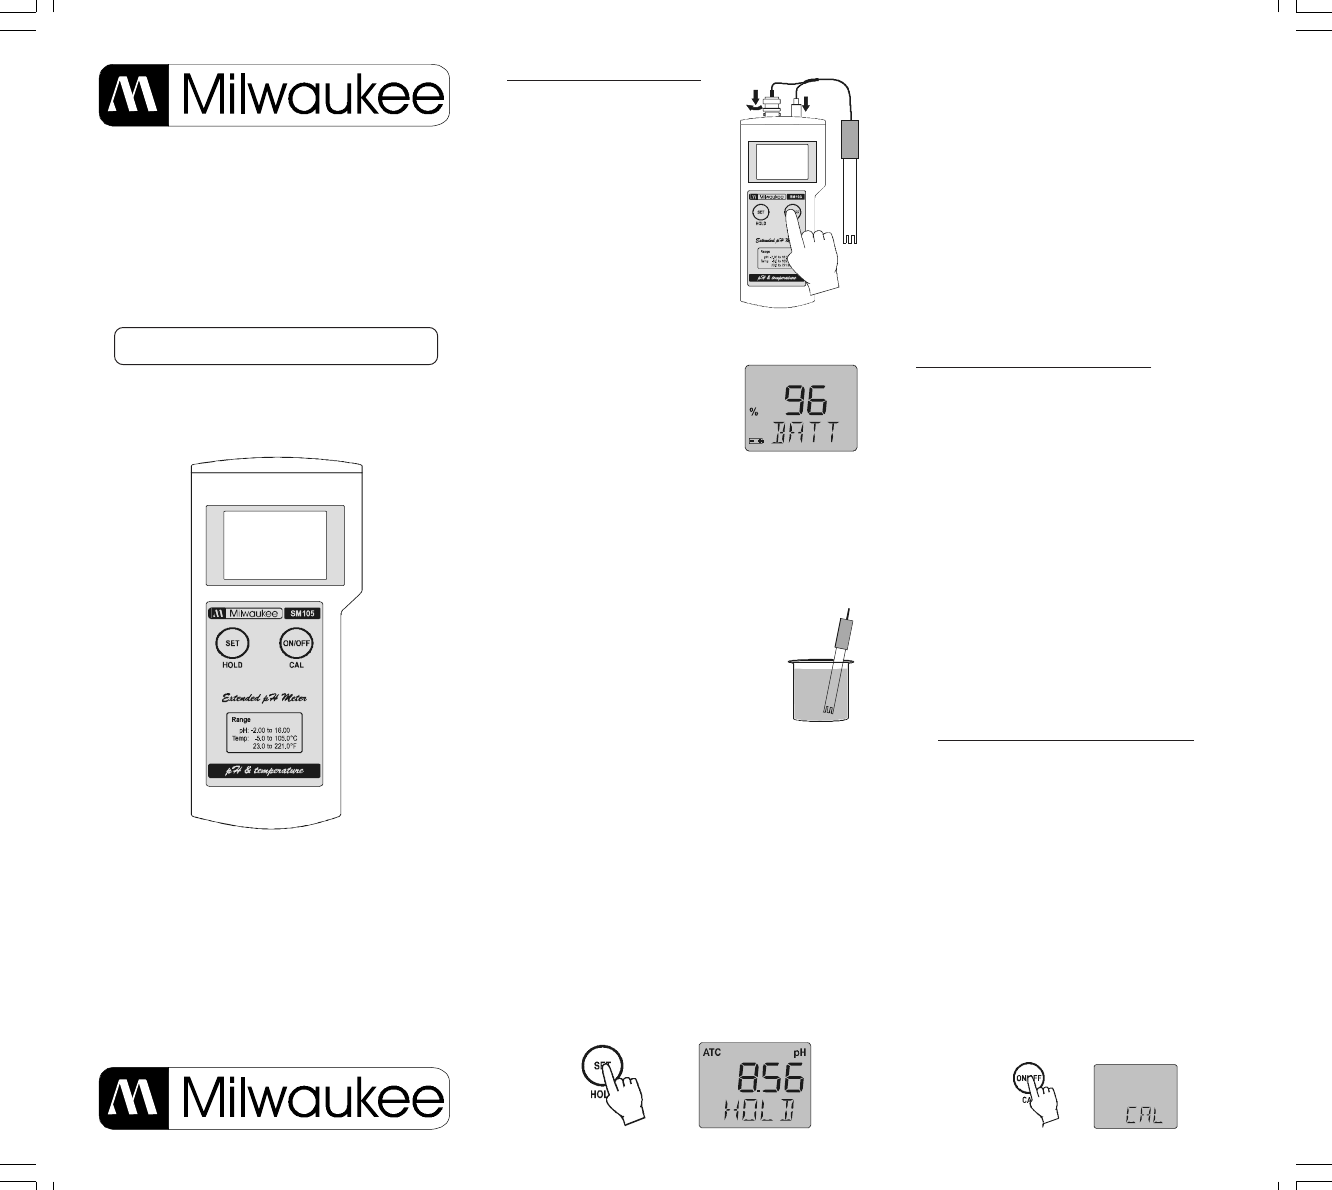
• To activate the HOLD function, keep
pressed the “HOLD” key. The measured
value will be frozen on the display and
the “HOLD” message appear on the sec-
ondary LCD.
• After measurements, switch the meter
off by pressing the “ON/OFF” key. The
“OFF” message appears on the LCD;
release the button.
Notes:
• Before taking any measurement,
make sure that the meter has been
calibrated (the “CAL” tag is displayed
on the left lower corner of the LCD).
• Always replace the electrode protec-
tive cap after use with a few drops of
storage solution.
CALIBRATION PROCEDURE:
It is recommended to recalibrate the
meter at least once every three weeks.
A) Preparation:
Buffer solutions:
1. pH 7.01 / 6.86 (MA9007 / MA9006)
2. pH 4.01 (MA9004) for acidic calibra-
tion (pH < 7) or pH 10.01 / 9.18
(MA9010 / MA9009) for alkaline
range (pH > 7).
Use two beakers for each buffer solu-
tion: one beaker for rinsing the probe,
the other for calibration. In this way the
cross contamination between solutions
is minimized.
B) Procedure:
•
Select the calibration buffer set: press
and hold the “ON/OFF” key until the
LCD shows “TEMP”. Press again this
key and the “BUFF” message will ap-
pear; then select the desired buffer
set with the “SET” key: “7.01 pH BUFF”
(for standard solutions: pH 4.01, 7.01,
10.01) or “6.86 pH BUFF” (for NIST
solutions: pH 4.01, 6.86, 9.18). Press
the “ON/OFF” key again to exit.
• Remove the protective cap, then im-
merse the probe in the first buffer so-
lution (7.01 or 6.86 pH).
• Press and hold the “ON/OFF” key until
“CAL” is displayed on the lower LCD.
USER MANUAL
PORTABLE pH METER
WITH EXTENDED RANGE
MODEL: SM105
pH & Temperature Meter