


Printing pictures
EN
33
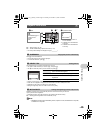
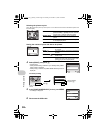
3 Press OF /<.
• Printing starts.
• When printing is finished, the picture selection screen is
displayed. To print another picture, press XY to select a
picture, and press OF/<.
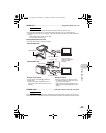
4 Disconnect the USB cable.
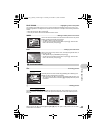
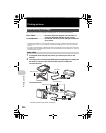
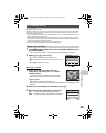
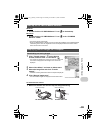
1 Follow Steps 1 and 2 on P. 32 to display the screen for Step 3 above, and
then press .
2 Select [CUSTOM PRINT], and press .
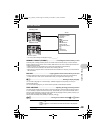
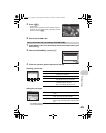
3 Follow the operation guide to adjust print settings.
• If the [PRINTPAPER] screen is not displayed, [SIZE], [BORDERLESS] and [PICS/SHEET] are
set to as [STANDARD].
Other print modes and print settings (CUSTOM PRINT)
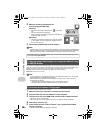
Selecting a print mode
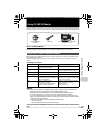
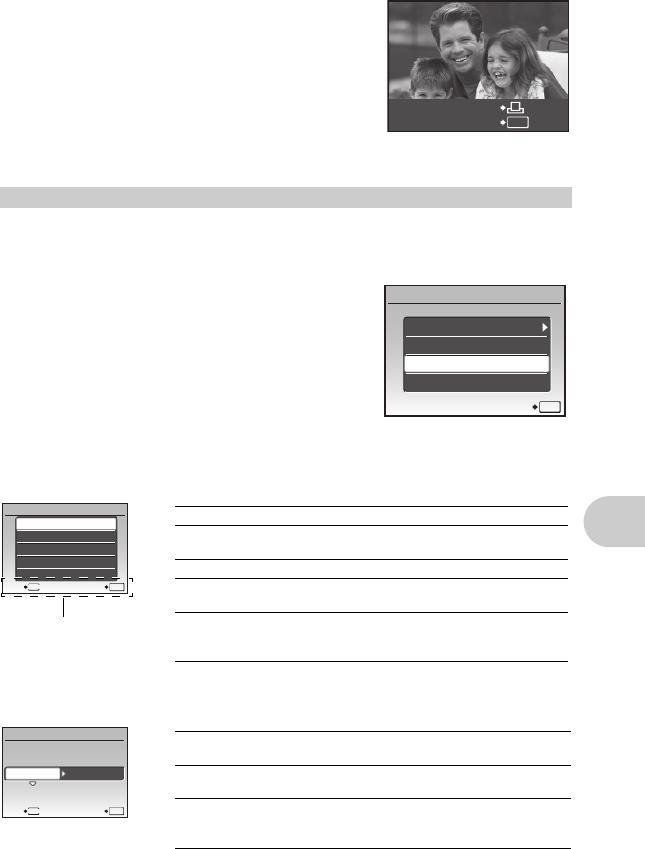
Setting the print paper
PC / CUSTOM PRINT
OK
EASY PRINT START
USB
PC
EASY PRINT
CUSTOM PRINT
EXIT
SET
OK
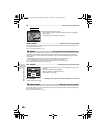
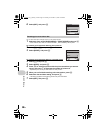
PRINT Prints the selected picture.
ALL PRINT Prints all the pictures stored in the internal
memory or on the card.
MULTI PRINT Prints one picture in multiple layout format.
ALL INDEX Prints an index of all the pictures stored in
the internal memory or on the card.
PRINT ORDER Prints the pictures according to the print
reservation data on the card.
g “Print settings (DPOF)” (P. 35)
MENU
PRINT MODE SELECT
PRINT
ALL PRINT
MULTI PRINT
ALL INDEX
PRINT ORDER
EXIT
SET
OK
Operation guide
SIZE Choose from the available paper sizes on your
printer.
BORDERLESS Select with or without borders. In [MULTI PRINT]
mode, you cannot print with a border.
PICS/SHEET Select the number of pictures to be laid out on a
sheet of paper. Available in [MULTI PRINT] mode
only.
PRINTPAPER
SIZE BORDERLESS
MENU
BACK
SET
OK
STANDARDSTANDARD
d4362_63_e_0000_7.book Page 33 Tuesday, November 13, 2007 8:43 PM