


64
EN
Printing
2
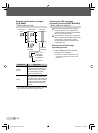
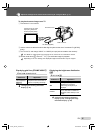
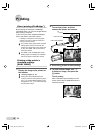
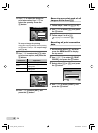
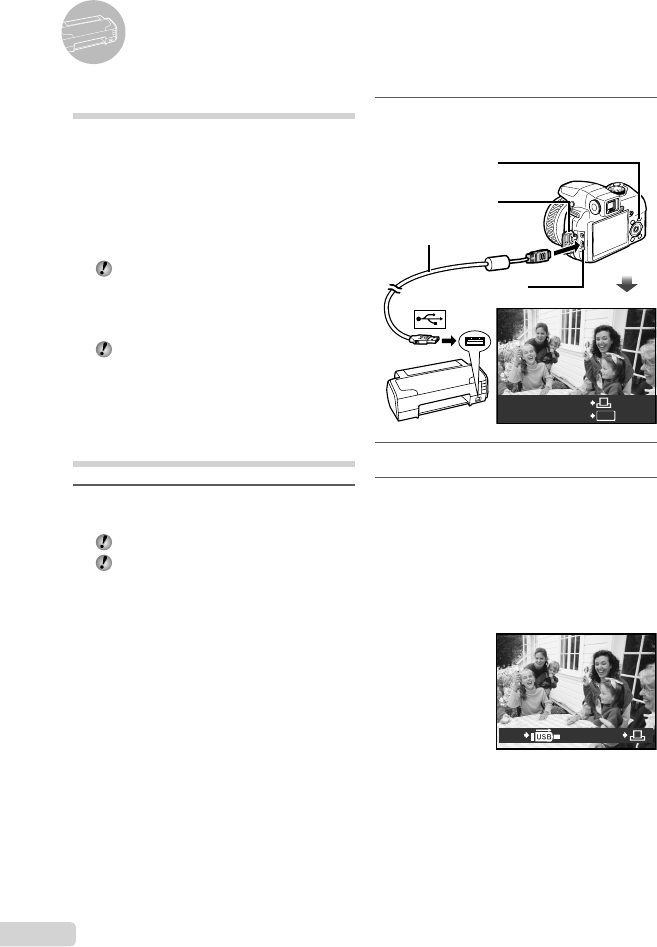
Turn on the printer, and then
connect the printer and camera.
Connector cover
USB cable (supplied)
Multi-connector
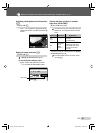
OK
PC/CUSTOM PRINT
EASY PRINT START
<
button
3
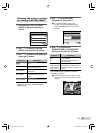
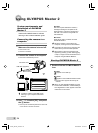
Press the < button to start printing.
4
To print another image, use 9:
to select an image, and press the
<
button.
To exit printing
After a selected image is displayed on the
screen, disconnect the USB cable from the
camera and printer.
PRINTEXIT
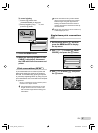
Direct printing (PictBridge
*1
)
By connecting the camera to a PictBridge-
compatible printer, you can print images directly
without using a computer.
To fi nd out if your printer supports PictBridge,
refer to the printer’s instruction manual.
*1
PictBridge is a standard for connecting digital
cameras and printers of different makers and
printing out pictures directly.
The printing modes, paper sizes and other
setting options that can be set with the
camera vary depending on the printer that
is used. For details, refer to the printer’s
instruction manual.
For details on the available paper types,
loading paper and installing ink cassettes,
refer to the printer’s instruction manual.
Printing at the printer’s
standard settings
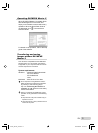
[EASY PRINT]
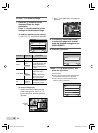
1
Display the image to be printed on
the monitor.
“Viewing images” (p. 15)
Printing can also be started when the
camera is turned off. After performing step 2,
use 78 to select [EASY PRINT], press
the o button. Use 9: to select an image,
and proceed to step 3.
book_d4374_en.indb 64book_d4374_en.indb 64 18/07/2008 13:39:2518/07/2008 13:39:25