6 C1473M-D (9/08)
Installation
The following items are supplied:
ENCLOSURE MOUNTING
The enclosure can be mounted to a wall, ceiling, or pedestal mount. It can also be mounted to a pan/tilt.
For proper installation, refer to the instructions supplied with the mount or pan/tilt. The enclosure should
be attached to the mount or pan/tilt with a minimum of two 1/4-20 fasteners (not supplied).
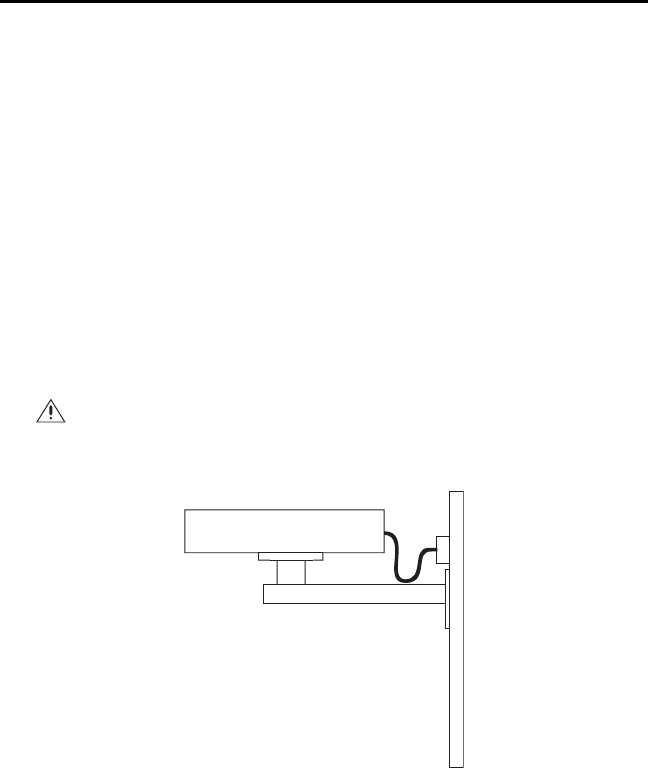
Figure 1. Typical Fixed Wall Mounting
Qty Description
1 EH2500 Series enclosure
1 Hex wrench, 3/32-inch (Pelco # ZT-ALLEN3/32)
1 Hex wrench, 5/64-inch (Pelco # ZT-ALLEN5/64)
1 1/4 x 1-inch O.D. fender washer
1 Desiccant bag
2 1/4-20 x 0.375-inch Phillips pan head screws and flat washers (for camera mounting; only one
screw and washer are required)
1 Installation manual (C1473M)
WARNING: If you are installing the enclosure outdoors, avoid mounting it at a downward angle to
prevent water from entering the enclosure. Always use a service loop, as shown in Figure 1 and
Figures 2, 3, and 4 on page 7 to further prevent water leakage.
ENCLOSURE
WALL MOUNT
WALL


