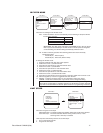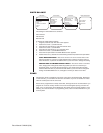
WHITE BALANCE
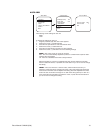
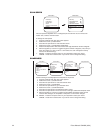
Main Menu Camera Menu Next Menu White Balance Menu
Slow shutter mode Auto
Shutter speed Auto
Auto focus mode Auto
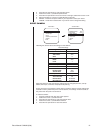
<IR Filter>
<Sharpness>
<White balance>
Previous
Exit
<Camera>
<Line Sync>
<Power Up>
<Aux>
<Alarms, Zone Blank>
<Other>
EXIT
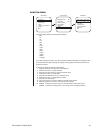
Backlight comp Off
Zoom limit x72
Reset camera
<Gain/AGC>
<Auto-iris>
<Next>
Exit
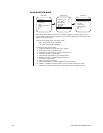
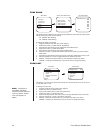
Auto white bal On
Red bal level - -
Blue bal level - -
Exit
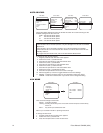
The settings for white balance are as follows:
Auto white bal
Red bal level
Blue bal level
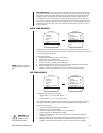
To change the white balance settings:
1. Program preset 95 (28). The main menu appears.
2. Position the cursor (>) beside Camera.
3. Press the Iris Open button to enter the Camera menu.
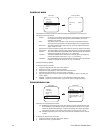
4. Position the cursor (>) beside Next.
5. Press the Iris Open button to go to the Next menu.
6. Position the cursor (>) beside White Balance.
7. Press the Iris Open button. The White Balance menu appears.
8. Position the cursor (>) beside one of the following choices and press the Iris Open button.
AUTO WHITE BALANCE - The cursor moves to one of two choices: Auto or Off.
Move the joystick up or down to toggle between them. Press the Iris Open button to
select the choice, or press the Iris Close button if you do not want to change the setting.
RED BALANCE and BLUE BALANCE LEVELS - The cursor moves to a numeric
value, ranging from 0 through 255. Move the joystick up or down to a value. As you
change the value, you can see the color change on your monitor. Press the Iris Open
button to select the value, or press the Iris Close button if you do not want to change the
setting. If Auto White Balance is on, it changes to off when you select a new value.
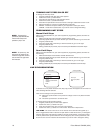
ZONES
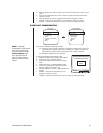
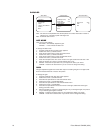
The Spectra II dome is capable of eight zones, each with a 20-character label. Depending
on the controller, you can define the zone size and define any zone as “blanked” for video
when the camera pans into the zone area.
Zones can be programmed to overlap each other, although this is not recommended. If you
program two zones to overlap, the title of the zone with the highest priority (zone 8 is the
hiest, zone 1 is the lowest) will be displayed in the overlap area. The same applies to zone
blanking. For other information on programming zones, refer to the documentation for your
control system.
Pelco Manual C2423M (5/00) 25


