8 C2433M-D (9/06)
CAMERA AND LENS
To install the camera and lens:
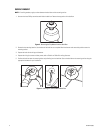
1. Outdoor models only: Connect 24 VAC power input wires to the AC IN connectors on the terminal block on the side of the back box.
2. Extend the lens to the maximum length before installing the camera in the back box.
3. Attach the camera to the tilt table with the 1/4-20 screw, flat washer, and split lock washer (supplied).
4. To ensure that the lens will not hit the lower dome:
• Place the lower dome over the back box with the camera and lens installed (do not attach dome).
• If the lens touches the lower dome, adjust the tilt table assembly.
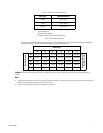
5. Refer to the manual supplied with the camera and lens for the following information:
• How to connect power and video wiring
• How to make camera and lens adjustments
Outdoor models only:
If the camera will use 24 VAC, red and black power leads are provided for the camera. The leads are attached to
the terminal block on the side of the back box.
6. Loosen the two nuts on the tilt table assembly and position the camera. Tighten the nuts.
LOWER DOME
NOTE: If you are installing the dome outdoors, plug the two-pin heater connection in the lower dome into the mating connector in the back box.
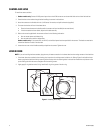
1. If the lower dome has a smoked or clear viewing slot, loosen the six retaining screws inside the rim. Refer to Figure 5 and hold the lower
dome up against the back box with the mounting screws lined up with the mounting holes in the back box. Rotate the acrylic dome to line
up the viewing slot with the camera. Retighten the six retaining screws.
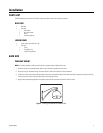
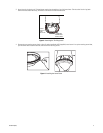
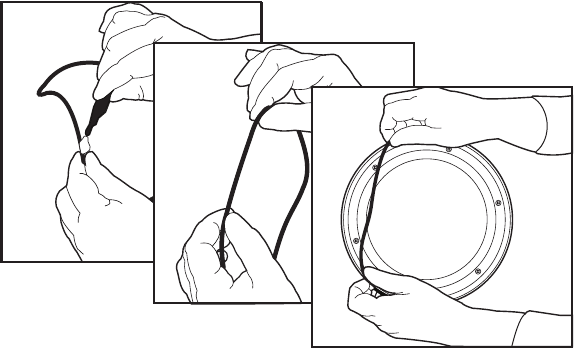
2. Lightly apply O-ring lubricant to the O-ring. Install the O-ring in the groove of the trim ring.
Figure 4. Installing the O-Ring


