10 Pelco Manual C397M (4/98)
3.4 TESTING SYSTEM AND ADJUSTING LIMIT STOPS
To test the system and adjust the limit stops:
1. Loosen the two pan limit stops at the base of the pan/tilt.
2. Turn on power.
3. Test the system by moving the pan/tilt to the left, right, up and down. Do not
move the pan/tilt very far as the limit stops are not set yet. All you want to do is
verify that the motors work. Also verify that the camera functions properly.
4. Pan the unit to the right to the desired right pan limit.
5. Move the right pan limit stop until it touches the pan limit switch actuator.
Continue pushing the stop until the actuator clicks, indicating the switch has
opened. Lock the stop in place.
6. Pan the unit to the left to the desired left pan limit.
7. Move the left pan limit stop until it touches the pan limit switch actuator. Con-
tinue pushing the stop until the actuator clicks, indicating the switch has opened.
Lock the stop in place.
8. Remove the four screws from the right side cover of the pan/tilt.
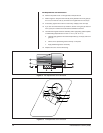
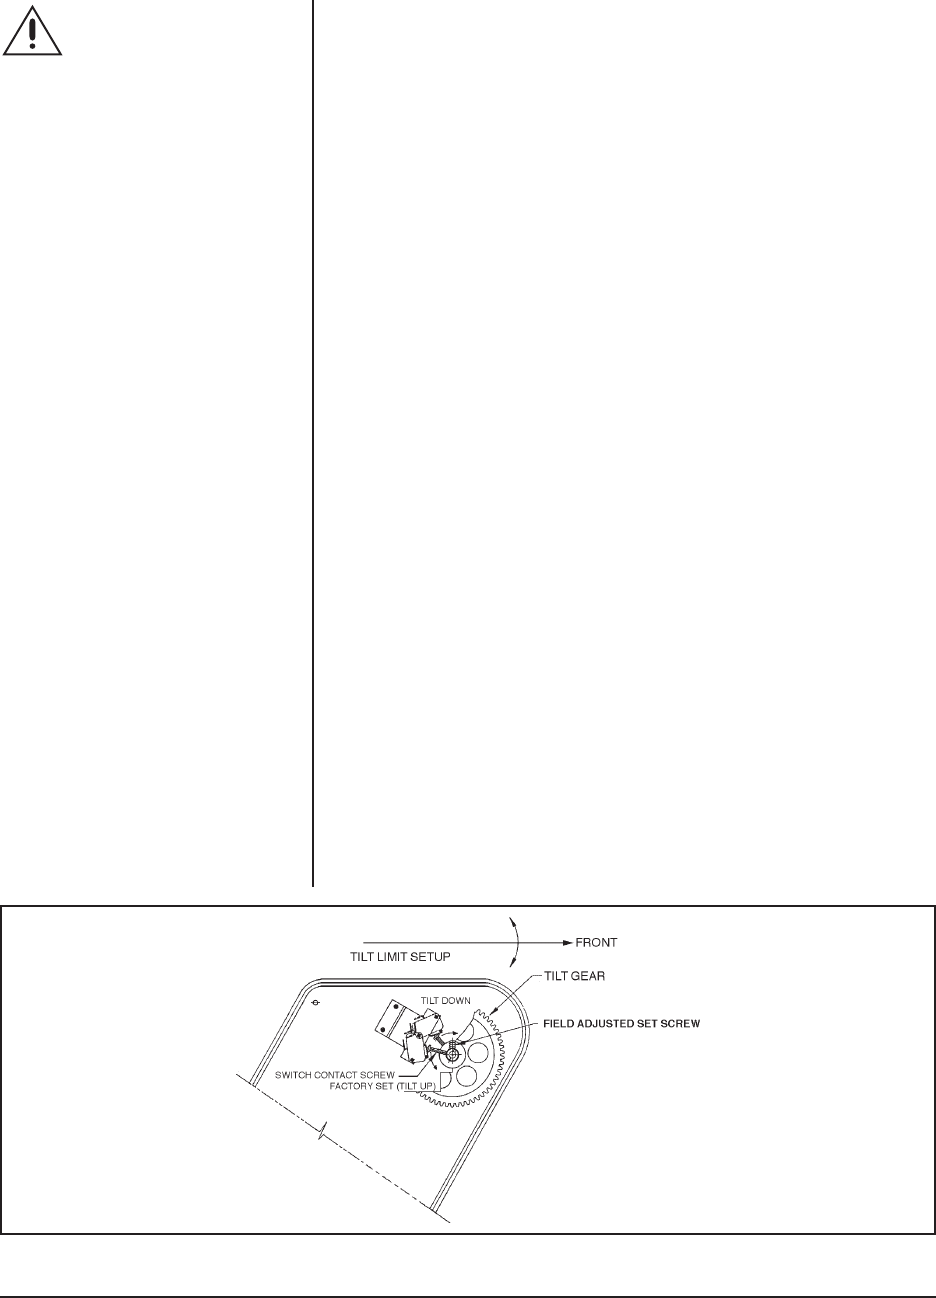
9. Refer to Figure 3 and loosen the recessed set screws on the up and down
limit stop collars attached to the tilt shaft.
10. Tilt the unit up to the desired upward limit.
11. Turn the up limit stop collar until it touches the tilt limit switch actuator. Con-
tinue turning the stop until the actuator clicks, indicating the switch has opened.
Lock the collar in place.
12. Tilt the unit down to the desired downward limit.
13. Turn the down limit stop collar until it touches the tilt limit switch actuator.
Continue turning the stop until the actuator clicks, indicating the switch has
opened. Lock the collar in place.
14. Replace the side cover.
15. The installation is complete.
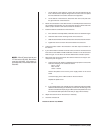
WARNING:
Never remove
the limit stops. Do not ad-
just the limit stops while the
unit is moving. You may in-
jure yourself or damage the
unit.
NOTE:
The tilt limit stops are factory
set for 0
°
and -90
°
from the horizon.
Figure 3. Tilt Limit Stop Adjustment


