


●
DATE/TIME
✤
✤ DATE/TIME(
1.
■
2.
3.
4.
5.
■
- OFF
- DATE
- TIME
-DATE TIME
■
6.
■
DATE/TIME
■
- - -
-
-
-
■
Advanced Recording
5656
ENGLISH
●
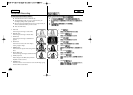
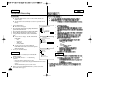
DATE/TIME
✤ The DATE/TIME function works in CAM, PLAYER, M.REC and
M.PLAY modes.
✤ The date and time are automatically recorded on a special data area of
the tape.
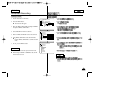
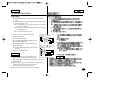
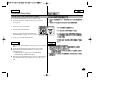
1. Press the MENU button.
■
The menu list will appear.
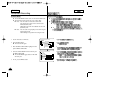
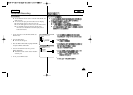
2. Move the MENU SELECTOR to highlight VIEWER and
push the MENU SELECTOR.
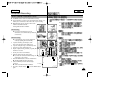
3. Move the MENU SELECTOR to highlight DATE/TIME.
4. Push the MENU SELECTOR to select the sub-menu.
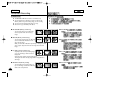
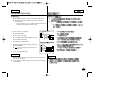
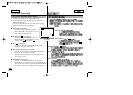
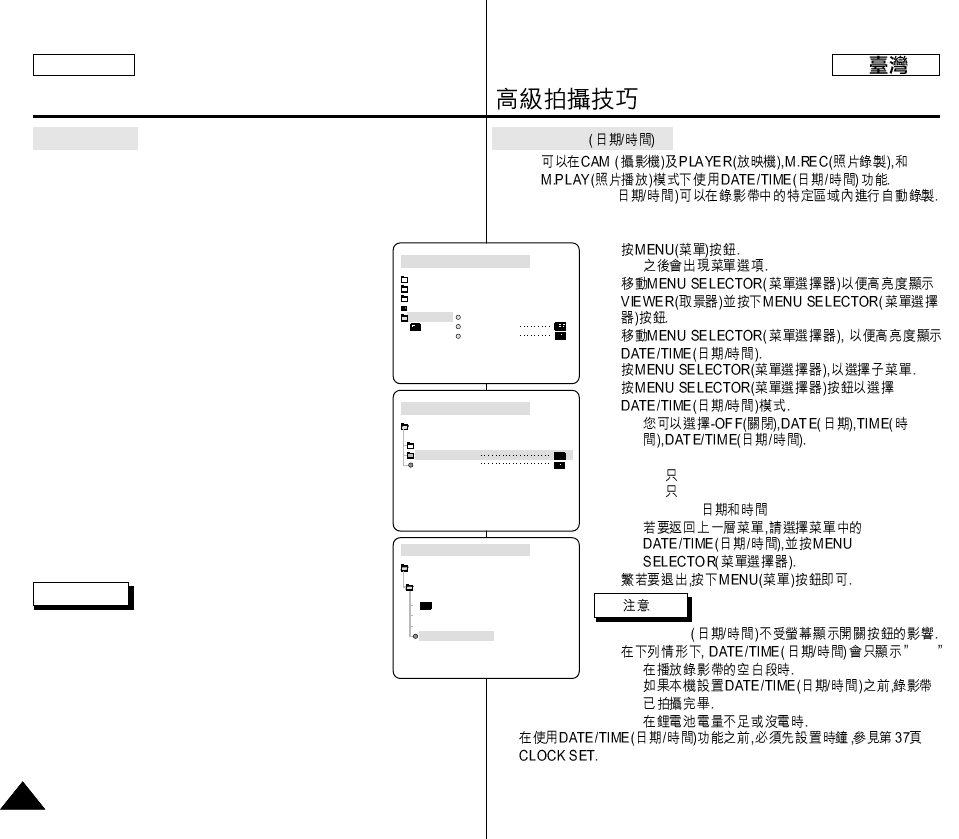
5. Using the MENU SELECTOR, select the DATE/TIME
mode.
■
You can choose to display - the OFF, DATE, TIME,
DATE/TIME
- OFF
- DATE only
- TIME only
- DATE & TIME
■
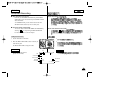
To return to the previous menu, highlight the
DATE/TIME in the middle of the menu and push the
MENU SELECTOR.
6. To exit, press the MENU button.
Notes
■
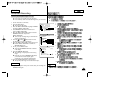
The DATE/TIME is not affected by the OSD ON/OFF
(DISPLAY) button.
■
The DATE/TIME will read “- - -” in the following
conditions.
- During playback of a blank section of a tape.
- If the tape was recorded before setting the DATE/TIME in the Camera’s
memory.
- When the lithium battery becomes weak or dead.
■
Before you can use the DATE/TIME function, you must set the Clock.
See CLOCK SET on page 37.
CAM MODE
VIEWER SET
LCD ADJUST
DATE / TIME
TV DISPLAY
CAM MODE
INITIAL
LCD ADJUST
DATE / TIME
TV DISPLAY
CAMERA
A/V
MEMORY
VIEWER
CAM MODE
DATE / TIME
VIEWER SET
DATE
TIME
DATE&TIME