


Installing the Network Scanner Software
31
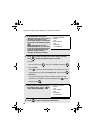
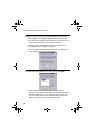
• If you select Typical in the installation type screen, Network
Scanner Tool will also be installed. If you only wish to install
Network Scanner Tool, select Custom in the installation type
screen and then check only Network Scanner Tool.
• Sharpdesk Imaging is installed together with Sharpdesk. If Imaging
for Windows was previously installed, Sharpdesk Imaging will
overwrite Imaging for Windows.
• The Sharpdesk installation package contains Sharpdesk Imaging,
which is a version of Eastman Software's “Imaging for Windows
Professional Edition” that has been customized for the Sharp
Corporation. If Eastman Software's “Imaging for Windows
Professional Edition” has already been installed on your computer,
Sharpdesk Imaging will not be installed.
• “Imaging for Windows Professional Edition” and Sharpdesk Imaging
use common registry entries, and installing “Imaging for Windows
Professional Edition” after Sharpdesk has been installed may cause
abnormal operation. In this case, uninstall Sharpdesk and
Sharpdesk Imaging, and then install “Imaging for Windows
Professional Edition”. After that, reinstall Sharpdesk.
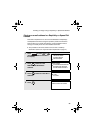
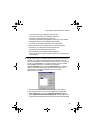
Setting up Network Scanner Tool
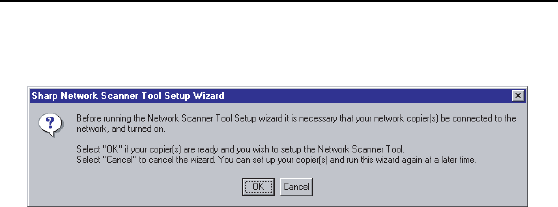
When installation of the software is completed, the Sharp Network
Scanner Tool Setup Wizard will appear. Follow these steps to set up
the Network Scanner Tool.
♦ The FO-DC500/600 is referred to as “Copier” in the windows of the
setup wizard.
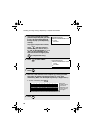
1
When the Sharp Network Scanner Tool Setup Wizard appears, click
OK after confirming that the FO-DC500/600 is connected to the
network. Follow the on-screen instructions to complete the setup.