


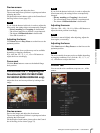
Administrating the Camera
Configuring the System — System Menu
35
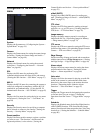
Maximum wait number
Sets the number of users who are permitted to wait for
their turn for control authority during operation by one
user. The selectable number is from 0 to 10. This is
effective when Exclusive control mode is set to On.
Notes
• To use Exclusive control mode, the date and time of
the camera and the connected computer must be set
correctly first.
• To use Exclusive control mode, do not disable the
Web browser Cookie. If it is disabled, this mode
cannot be used.
• When you change the Exclusive control mode
setting, click Refresh on the Web browser to reflect
the change when opening the main viewer page.
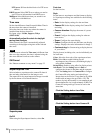
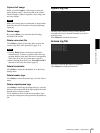
PTZ mode
Select the pan/tilt control mode using the 8-direction
arrow buttons (page 24) and the zoom control mode
using the / buttons (page 24).
Select Normal or Step.
Normal: When you click the mouse button, the camera
starts panning, tilting or zooming, and the operation
continues while you hold down the mouse button. To
stop the operation, release the mouse button.
Step: Each time you click the mouse button, the camera
moves (pans, tilts or zooms). If you keep the mouse
button held down for more than 1 second, the
operation mode is temporarily changed to Normal.
When you release the mouse button, camera
operation stops and the Step mode is restored.
When you select Step, Pan/Tilt level and Zoom level
are selectable.
Pan/Tilt level: Select the camera transition level from 1
to 10 by clicking the 8-direction arrow buttons for
panning/tilting. Selecting 10 provides the maximum
transition level.
Zoom level: Select the camera transition level from 1 to
10 by clicking / for zooming. Selecting 10
provides the maximum transition level.
OK/Cancel
See “Buttons common to every menu” on page 32.
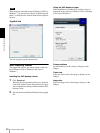
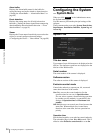
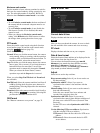
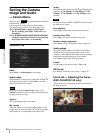
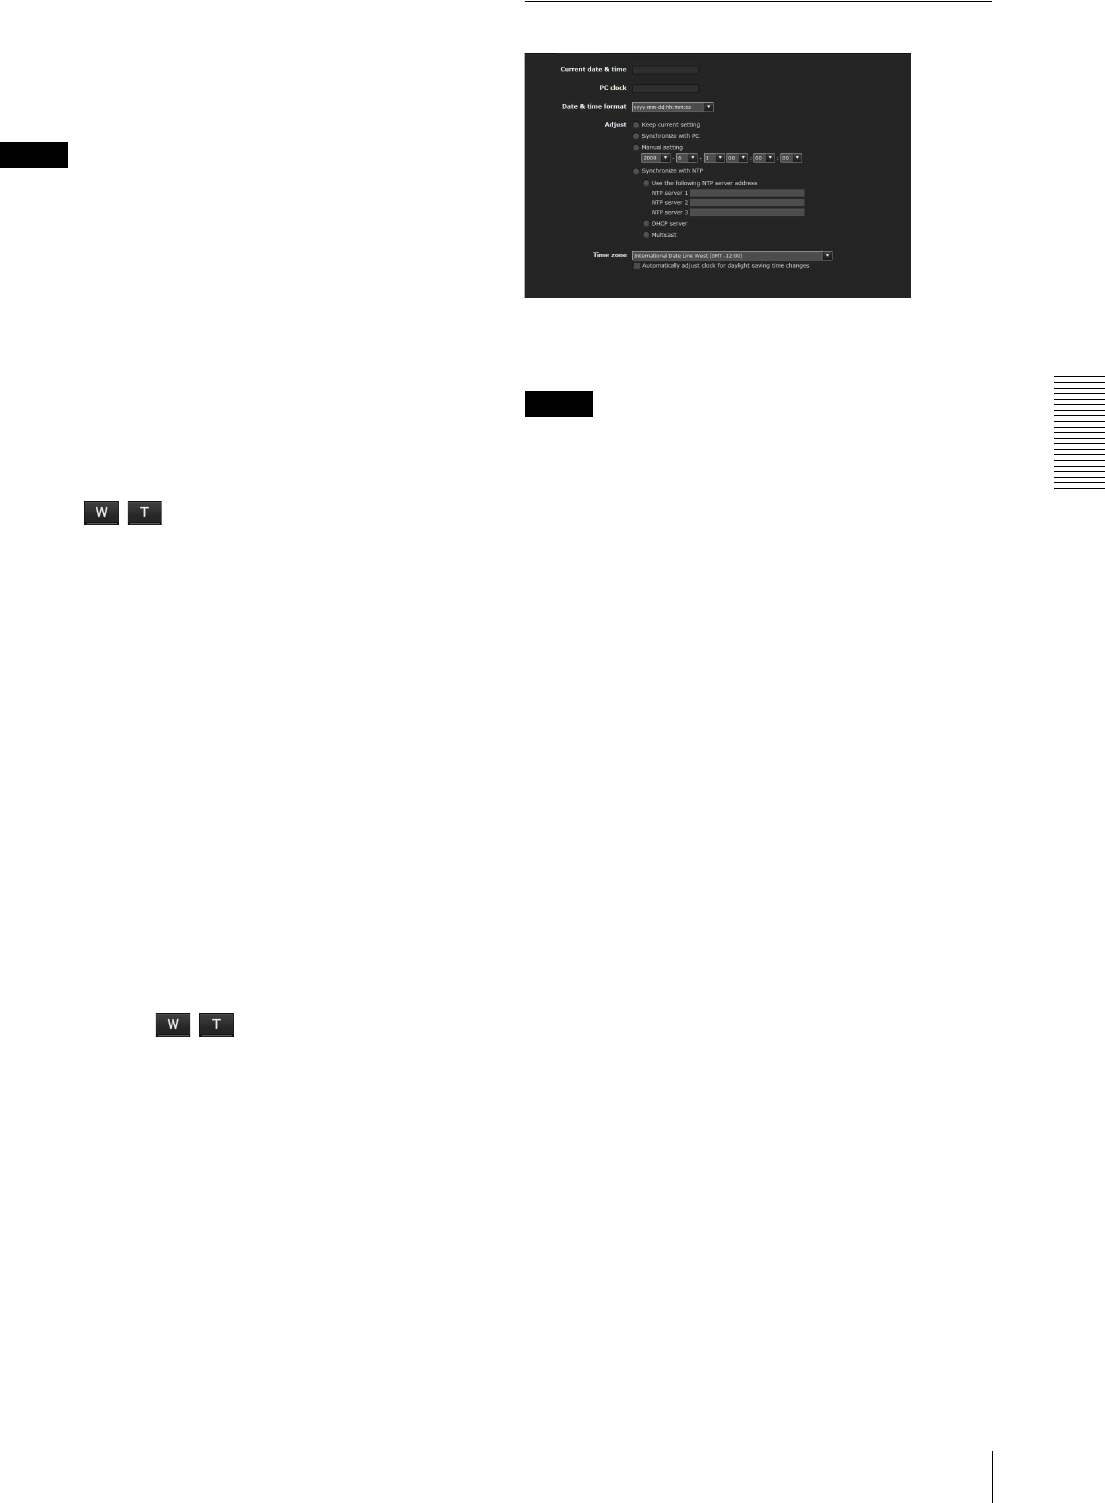
Date & time Tab
Current date & time
Displays the date and time set on the camera.
Note
After you have purchased the camera, be sure to check
the date and time of the camera and set as necessary.
PC clock
Displays the date and time set on your computer.
Date & time format
Select the format of date and time to be displayed in the
main viewer from the drop-down list.
You can select the format between yyyy-mm-dd
hh:mm:ss (year-month-day hour:minutes:seconds),
mm-dd-yyyy hh:mm:ss (month-day-year
hour:minutes:seconds), and dd-mm-yyyy hh:mm:ss
(day-month-year hour:minutes:seconds).
Adjust
Select how to set the day and time.
Keep current setting: Select if you do not need to set
the date and time.
Synchronize with PC: Select if you want to
synchronize the camera’s date and time with the
computer.
Manual setting: Select if you want to set the camera’s
date and time manually.
Select the year, month, date, hour, minutes and
seconds from each drop-down list.
Synchronize with NTP: Select if you want to
synchronize the camera’s date and time with those of
the time server called NTP server (Network Time
Protocol).
Set the NTP server when Synchronize with NTP is
selected.
Use the following NTP server address: Synchronize
with the selected NTP server address.
NTP server 1: Enter the first choice for NTP server
address.
NTP server 2: Enter the second choice for NTP
server address.