


29 (GB)
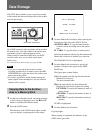
The COPY button enables you to copy data recorded
in the normal and alarm recording areas to the archive
area for data storage.
Up to 9999 events of video and audio can be stored in
the archive area. The data copied to the archive area
can further copied to optional memory sticks.
When you have connected a DDS drive via the PC
card slot on the rear, you can back up the entire
archive area.
For connections for data storage, see page 41(GB).
Notes
• If you try to copy data in the normal or alarm
recording area directly to a memory stick, the HSR-
X200/X200P first copies the data to the archive area,
then to the memory stick.
• If you have specified a certain channel among the
inputs signals from a multiplexer, only the selected
channel will be copied.
Copying Data to the Archive
Area or a Memory Stick
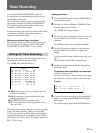
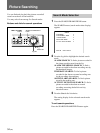
1 Set the unit to Playback mode, and when an image
to start copying is displayed, press the X PAUSE
button to switch to Still-Picture mode.
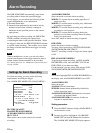
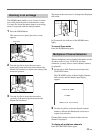
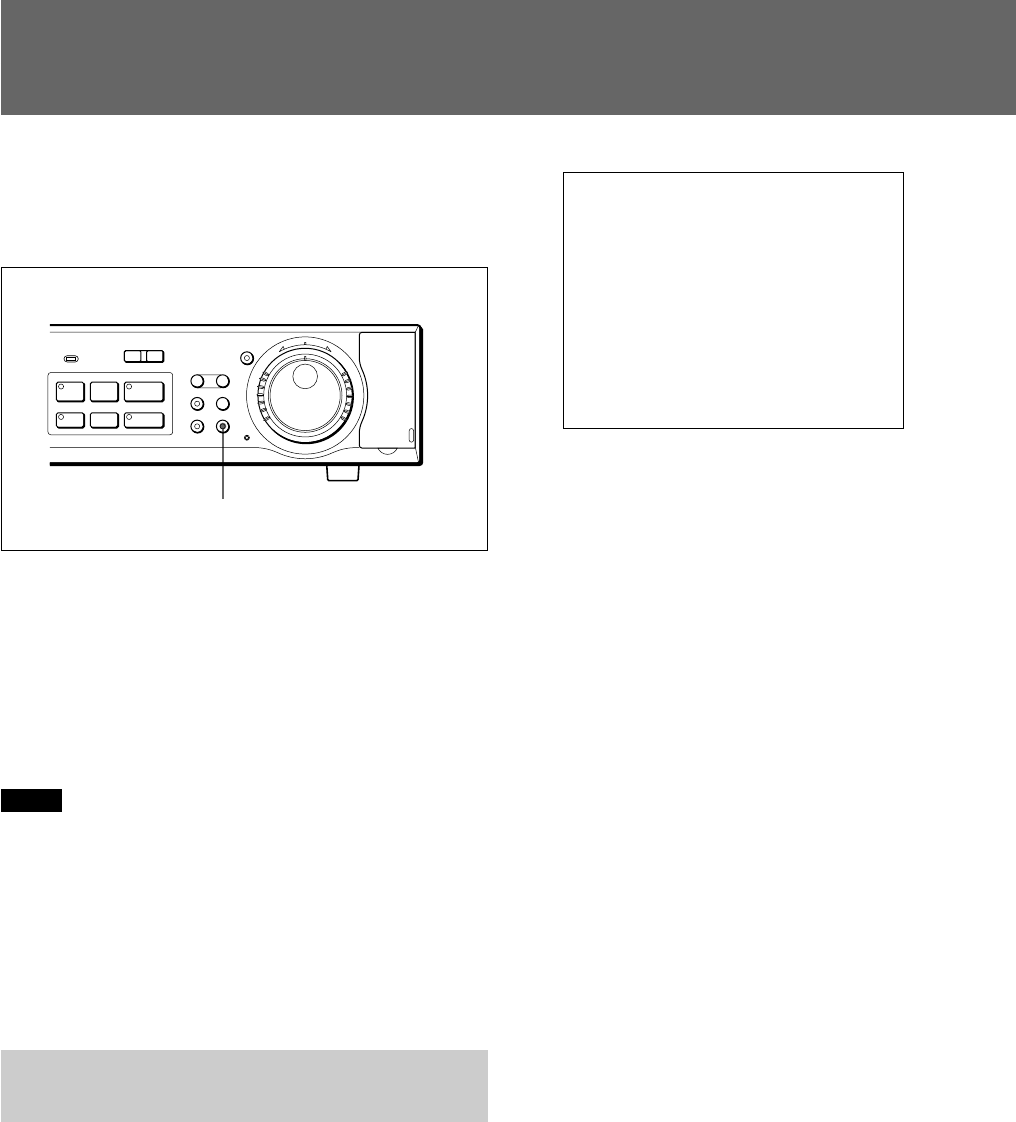
2 Press the COPY button.
The indicator of the COPY button lights, and the
copy set display is superimposed on the image.
COPY TO : ARCHIVE AREA
HOW MANY : 20 PICTURES
START c
CHANGE WITH JOG, SET WITH SHUTTLE
3 Turn the Shuttle dial clockwise when selecting the
destination of the data on the COPY TO line.
ARCHIVE AREA: To copy the data from the
normal or alarm recording area to the archive
area.
PC CARD: To copy the data to a memory stick.
Select the destination with the Jog dial and turn the
Shuttle dial clockwise to finalize your selection.
The HOW MANY line is highlighted.
4 Turn the Shuttle dial clockwise to specify the
quantity of images to be copied on the HOW
MANY line.
The figure input column flashes.
(1)Set the number with the Jog dial and turn the
Shuttle dial clockwise.
The unit column flashes.
(2)Set the unit with the Jog dial and turn the
Shuttle dial clockwise to register the setting.
PICTURES: To specify the number in units of
picture frames
SECONDS: To specify the number in units of
seconds
MINUTES: To specify the number in units of
minutes
START is highlighted.
5 Turn the Shuttle dial clockwise.
Copying begins.
When copying is completed, the indicator of the
COPY button goes dark.
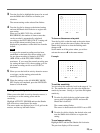
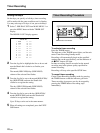
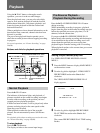
Data Storage
S PAUSE s STOP G PLAY
MENU EXIT/OSD
SHUTTLE
HOLD
ZOOM
CHANNEL COPY
PUSH
SEARCH
FRAME/FIELD
l
ALARM
L
-
LOCK
j
J
PRE REVERSE PLAY
a REC
TIMER
REC
STOP
E
N
T
E
R
R
E
T
U
R
N
COPY button and indicator