


13
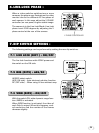
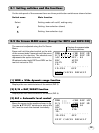
8.1 Setting switches and the functions
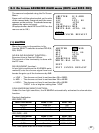
On the side panel of the cameras there are three push button switches as shown below:
Switch name Main function
Select Setting mode call on/off, setting entry
Setting item selection (down)
Setting item selection (up)
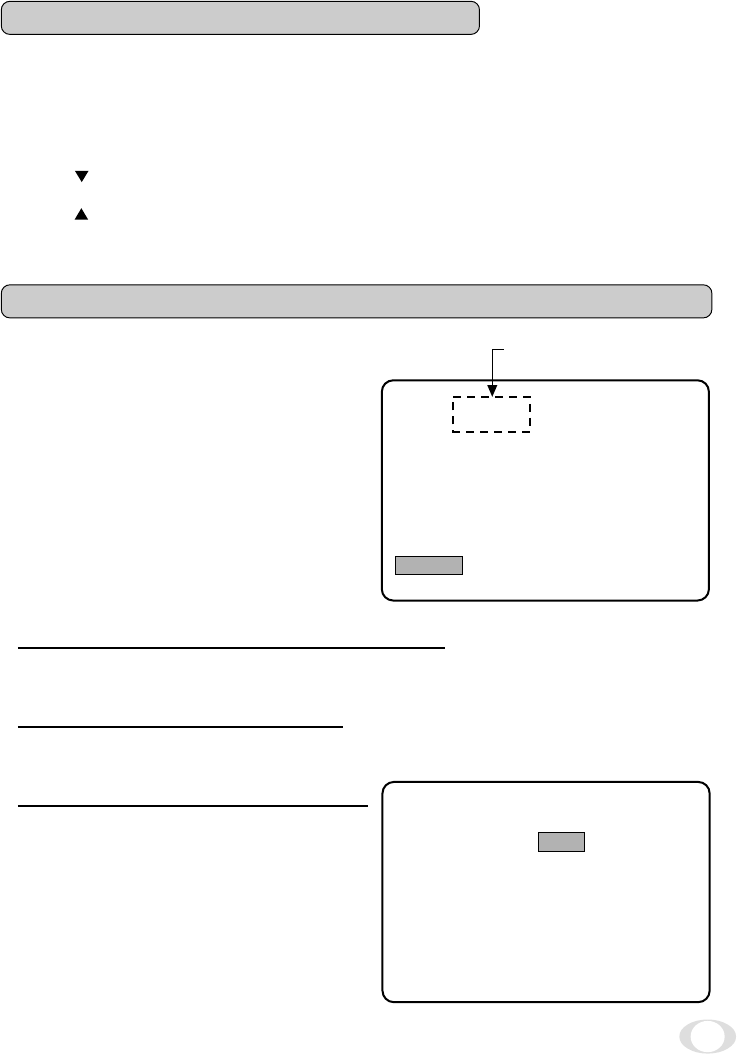
8.2 On Screen MAIN menu (Except for DIP3 and DIP4 ON)
The camera is adjusted using the On Screen
Menu.
Press and hold the select switch on the side
of the camera body 2 seconds until the menu
appears on the monitor. The shaded area
represents the option to be set.
(Displayed when both DIP3 and DIP4 on the
rear are not set to ON).
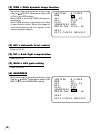
WDR
***
-CHG DIP S
D/N
*****
-CHG DIP S
ALC LEV : 0 0
BLC AUTO
GAIN STD
ID
.
....................
ID-POS OFF
EX IT CANCEL DEFAULT
W
W
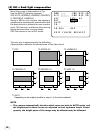
Displays the present state
of the rear switches.
(1) WDR = Wide dynamic range function
Displays the rear switch status of the switch (DIP 3).
(2) D/N = DAY/NIGHT function
Displays the rear switch status of the switch (DIP 4).
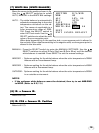
(3) ALC = Automatic level control
Move the cursor to the position shown in fig.
Use the ▲ ▼ SELECT switches to adjust the
ALC level to reach the desired luminosity.
WDR
***
-CHG DIP S
D/N
*****
-CHG DIP S
ALC LEV : 0 0
BLC AUTO
GAIN STD
ID
.
....................
ID-POS OFF
EXIT CANCEL DEFAULT
W
W