


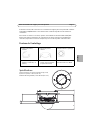
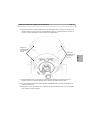

Page 4 Drop Ceiling Mount Installation Guide
Install the drop ceiling mount
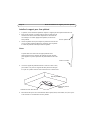
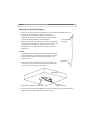
1. If possible, remove the ceiling tile in which the drop ceiling mount is to be fitted.
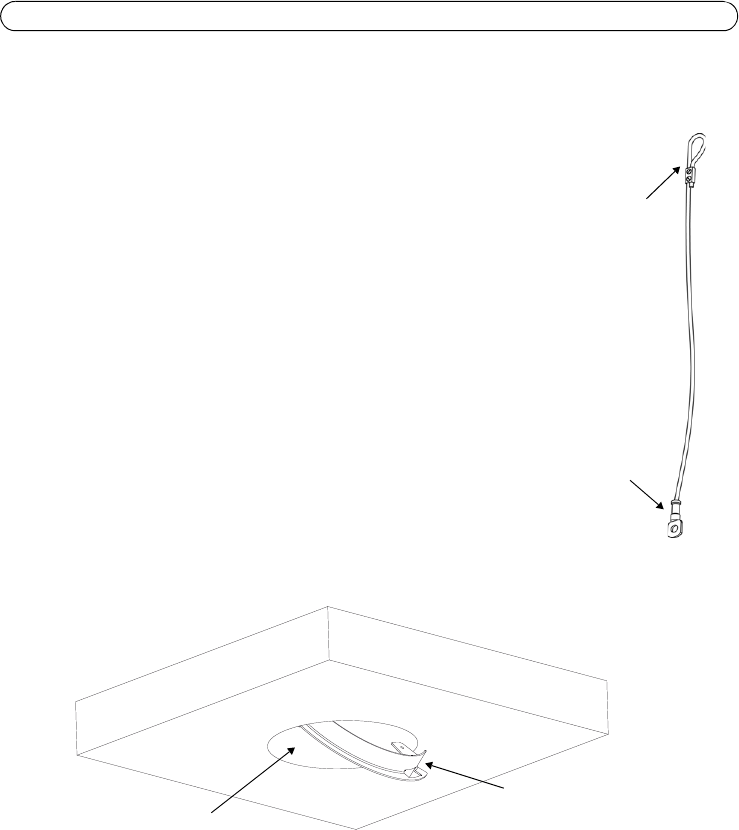
2. For greater security, the camera can be secured using the
supplied safety wire. Attach the end with the lock to a suitable
point in the ceiling above the drop ceiling.
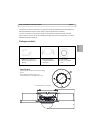
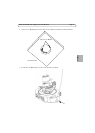
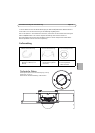
3. Use the supplied template to mark the position for the 154 mm
hole in the ceiling tile. Remove the protective paper, fix to ceiling
tile and cut around the template.
Notes:
The combined weight of the camera and ceiling mount is 0.82 kg
(1.8 lb). Check that the ceiling material is strong enough to sup-
port this weight. The thickness of the ceiling should be 9-60mm
(0.35”-2.4”).
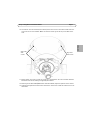
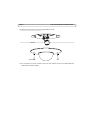
4. Tilt and insert the outer ceiling bracket through the hole, and
then pull it into place. The bracket should be positioned so that
the 3 vertical tabs point downwards in the hole.
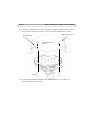
5. Pull all of the required cables (network, power) and the safety wire down through the hole,
ready for connection.
Attach to ceiling
Attach to camera
Ceiling tile
Outer ceiling bracket
Hole diameter 154-160mm