


AXIS Q1604-E Network Camera
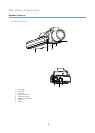
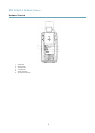
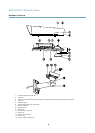
Hardware Overview
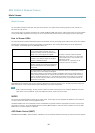
Status LED Behavior for Focus Assistant
Color
Indication
Green
Focus Assistant is enabled
The lens is optimally adjusted
Amber The camera has been moved, or an object has been inserted in front of the lens. Exit and restart the
Focus Assistant.
The lens is less optimally adjusted.
Red The camera has been moved, or an object has been inserted in front of the lens. Exit and restart the
Focus Assistant.
The lens is poorly adjusted.
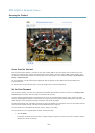
Replacing the lens
It is possible to use optional lenses for the Axis product.
To replace the lens:
1. Disconnect the iris cable.
2. Unscrew the standard lens.
3. Attach and screw on the new lens.
Note
There is no need to restart the Axis product after changing the lens. However, the product must be restarted if you are
interchanging between a P-iris, DC-Iris or xed/manual iris lens. In order to set the focus and position the lens, the Axis
product must be connected to the network.
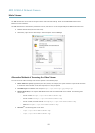
To change the iris conguration:
1. Go to Setup > Video and Audio > Camera Settings. Iris conguration shows the current congured iris type.
2. Click Edit.
3. Select the installed iris lens from the drop-down list and click OK.
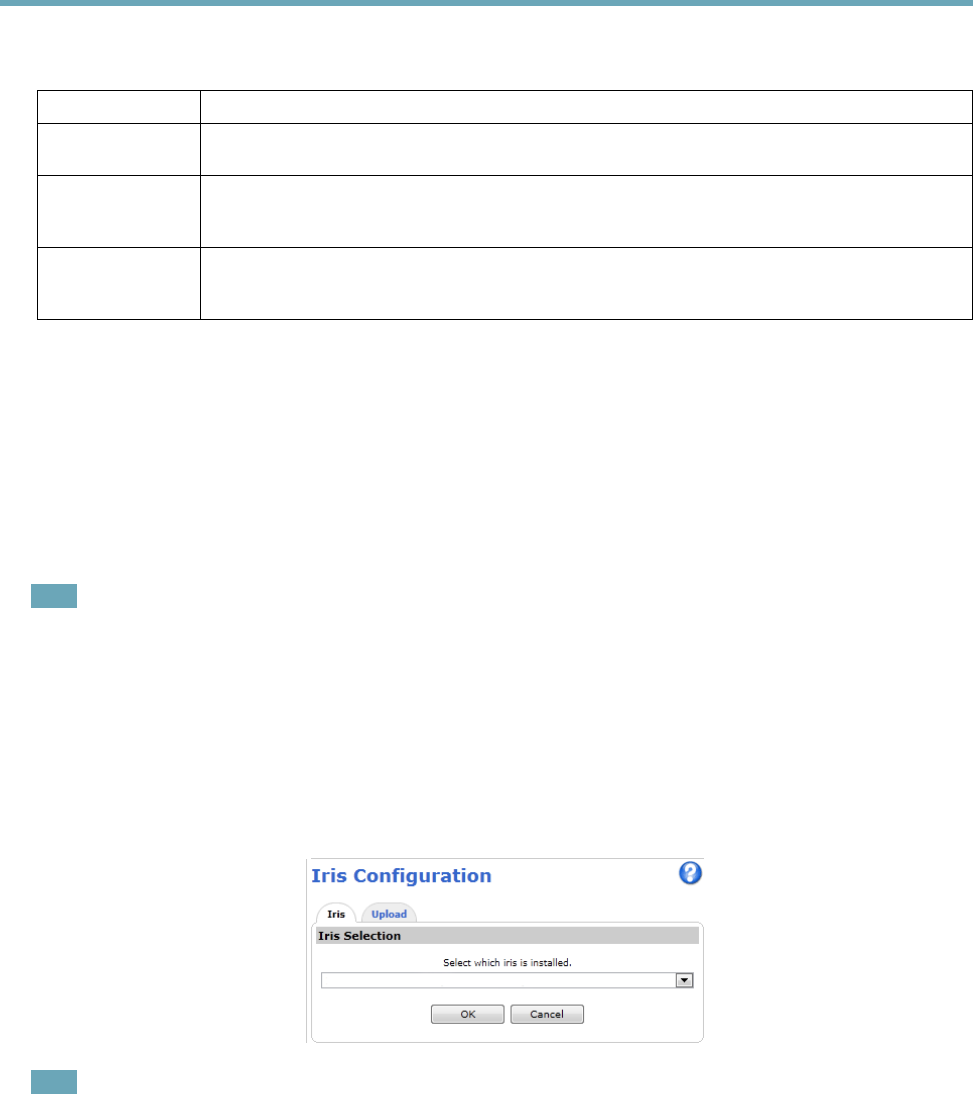
Note
For P-iris lenses not listed in the drop-down list, download the iris conguration le from www.axis.com
To upload and use the downloaded conguration le, click the Upload tab. Click Browse and select the conguration le.
Click Upload. The installed iris lens should now be included in the Iris Selection drop-down list, select it and press OK. If
you select a DC iris conguration le for a P-iris lens, an error message will appear below the iris conguration type in the
Camera Settings page. For custom DC Iris lenses, select Generic DC Iris option.
11