


Page 6 AXIS P3301/-V Installation Guide
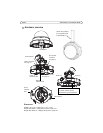
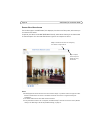
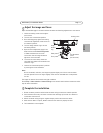
Connect the cables
1. Optionally connect external input/output devices, e.g. alarm devices. See page 13 for informa-
tion on the terminal connector pins.
2. Optionally connect an active speaker and/or external microphone.
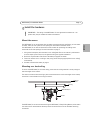
3. Connect the camera to the network using a shielded network cable.
4. Connect power, using one of the methods listed below:
• PoE (Power over Ethernet, Class 2). If available, this is automatically detected when the
network cable is connected.
• Connect the supplied indoor power supply to the power connector on the camera.
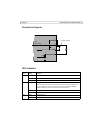
5. Check that the indicator LEDs indicate the correct conditions. See the table on page 14 for
further details. Note that some LEDs can be disabled and may be unlit.
Assign an IP address
Most networks today have a DHCP server that automatically assigns IP addresses to connected
devices. If your network does not have a DHCP server the AXIS P3301/-V will use 192.168.0.90 as
the default IP address.
If you would like to assign a static IP address, the recommended method in Windows is either AXIS
IP Utility or AXIS Camera Management. Depending on the number of cameras you wish to install,
use the method that best suits your purpose.
Both of these free applications are available on the Axis Network Video Product CD supplied with
this product, or they can be downloaded from www.axis.com/techsup
Notes:
• If assigning the IP address fails, check that there is no firewall blocking the operation.
• For other methods of assigning or discovering the IP address of the
AXIS P3301/-V, e.g. in other
operating systems, see page 12.
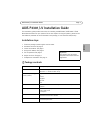
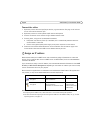
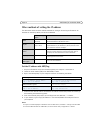
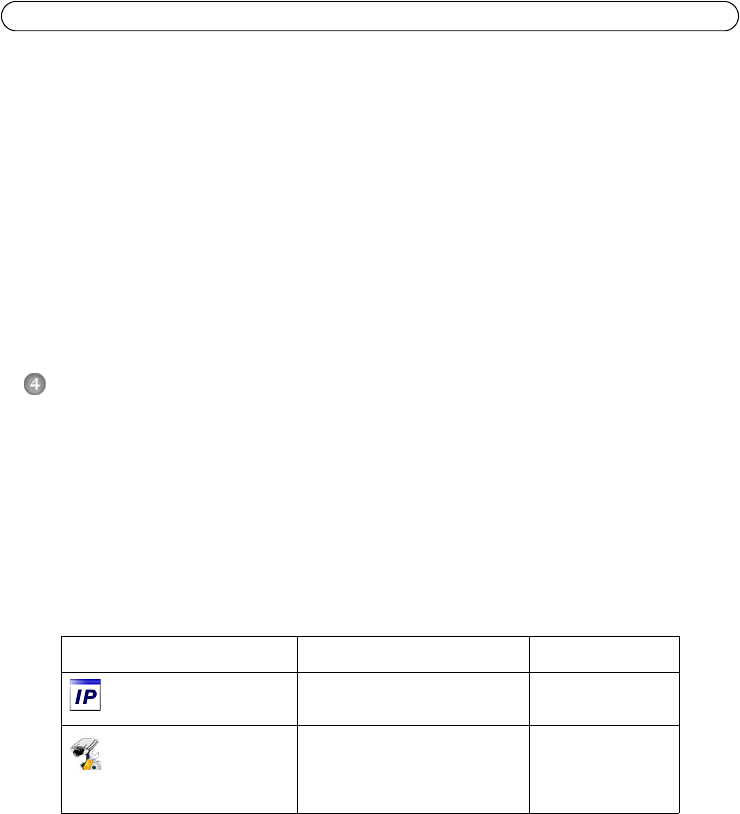
Method Recommended for Operating system
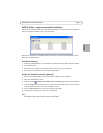
AXIS IP Utility
See page 7
Single camera
Small installations
Windows
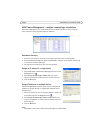
AXIS Camera Management
See page 8
Multiple cameras
Large installations
Installation on a different subnet
Windows 2000
Windows XP Pro
Windows 2003 Server
Windows Vista