


15
AXIS M32 Series
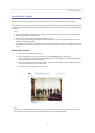
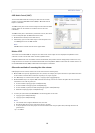
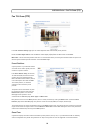
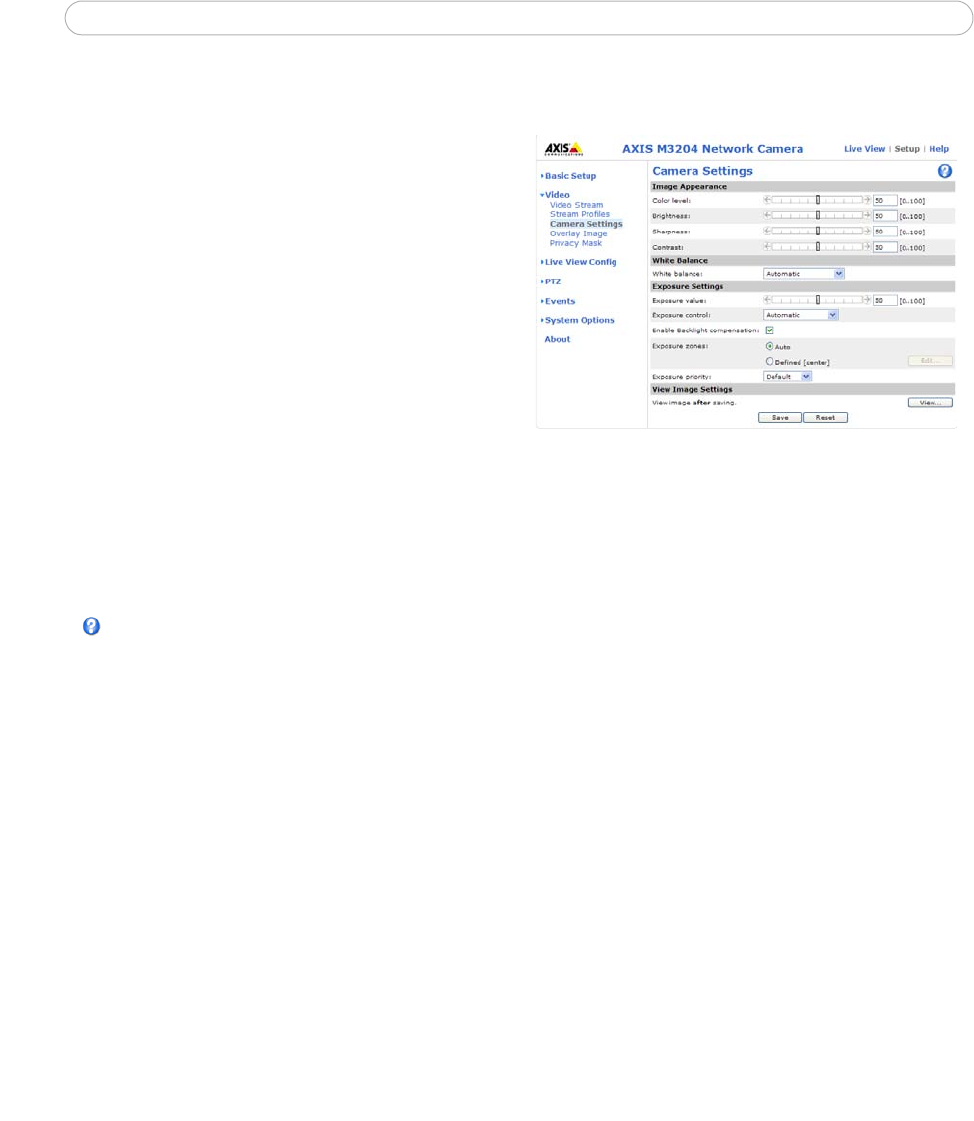
Camera Settings
This page provides access to the advanced image settings for
the AXIS M32 Series.
Image Appearance
Color level - Select an appropriate level by entering a value in
the range 0-100. Lower values mean less color saturation,
the value 100 gives maximum color saturation.
Brightness - The image brightness can be adjusted in the
range 0-100, wh
ere a higher value produces a brighter
image.
Sharpness - Controls the amount of sharpening applied to the
image.
Contrast - Adjust the image's contrast by
raising or lowering the value in this field.
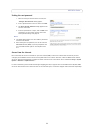
White balance
This is used to compensate for the different colors present in different light sources, to make the colors in the image appear
the same. The AXIS M32 Series network camera can be set to automatically identify the light source and compensate for its
color. Alternatively, the type of light source can be manually selected from the drop-down list. Please see the online help files
for a description of each available setting.
Exposure Settings
Configure the exposure settings to suit the image quality requirements in relation to lighting, frame rate and bandwidth
considerations.
Exposure value - Use this slidebar to fine tune the exposure.
Exposure control - This setting is used to remove 50/60 Hz flicker.
Enable Backlight compensation - Backlight compensation makes the subject appear clearer when the image backgr
ound is
too bright, or the subject too dark.
Exposure zones - this setting determines which part of the image
is used to calculate the exposure.
Exposure priority - this setting defines the balance between
image quality and the frame rate. Higher image quality may
reduce frame rate and increase motion blur. Prioritized frame rate may increase image noise. This setting is only useful
for modifying the video image of a monitored area with poor lighting conditions.
Once satisfied, click Save. Click Vie
w to view the video stream with the current configuration.
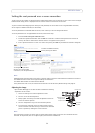
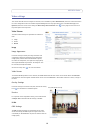
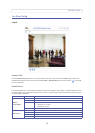
Overlay Image
The following options are available for the overlay image settings:
Uploaded image as overlay is
a text and/or a static image superimposed over the video image. To upload an image to the
camera, e.g. a logotype, browse to the image on the computer and click Upload.
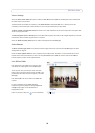
To place the overlay image at specific coordinates in the live view image, ch
eck Include overlay image at the coordinates and
enter the X and Y coordinates.
Once satisfied, click Save. Click Vie
w to view the overlay image in the video stream.
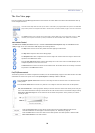
Privacy mask
Privacy masks are up to 3 configurable areas of solid color that allow concealment of parts of the image that are not to be
viewable. Privacy masks cannot even be bypassed via the VAPIX® Application Programming Interface (API).