18
ABOUT THE INCLUDED MOUNTING BRACKETS
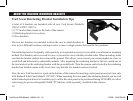
Trail Scout Ratcheting Bracket Installation Tips
A total of 4 brackets are included with all new Trail Scouts (Model#s
119835/119907/119937):
(1) “T” bracket that mounts to the back of the camera
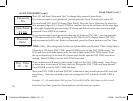
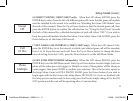
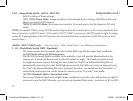
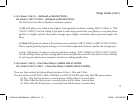
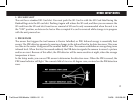
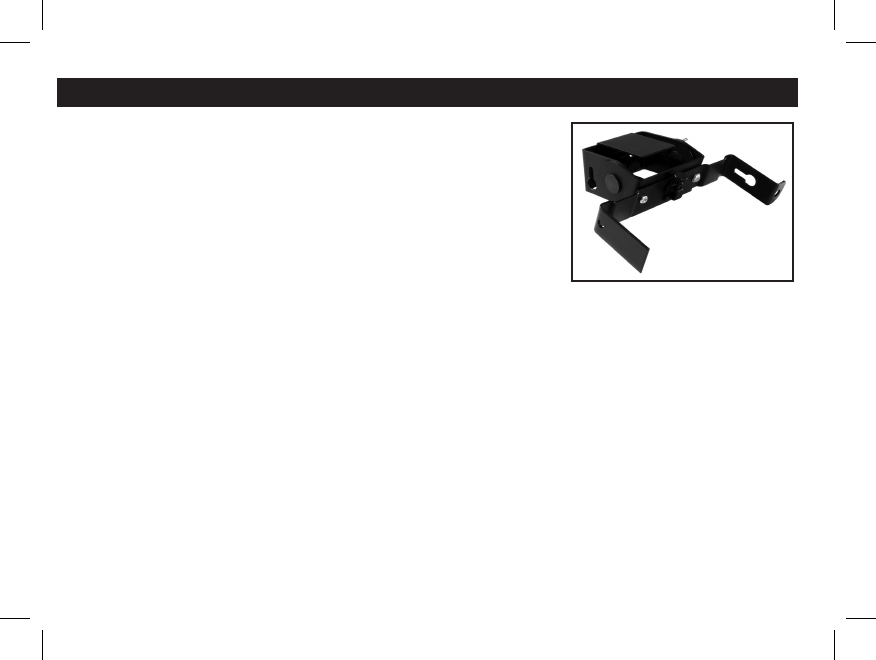
(1) Ratcheting bracket (see photo)
(2) Tree brackets.
The two tree brackets are intended to allow the user to attach brackets to
trees in two different locations, making it easier to move a single camera between the two positions.
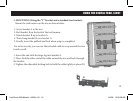
The ratcheting bracket (originally sold separately as an optional accessory) is provided as an alternative mounting
method. This bracket can be screwed to a tree, or secured to a tree with the provided cable. When mounting, make
sure that the bracket ratchets down toward the ground. This allows you to mount your camera higher on a tree, to
avoid theft and detection by undesirable animals. After mounting the ratcheting bracket to the tree, attach one of
the tree brackets to the ratcheting bracket with the provided bolts. Then the camera can be locked to the ratcheting
bracket/tree bracket combo in the exact same way that the tree bracket/camera is locked.
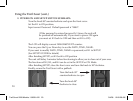
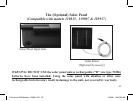
Also, the new Trail Scouts have a port on the bottom of the camera for inserting a solar panel power jack (use only
with Bushnell Solar Panel Model# 119750C). When mounting the solar panel, the ratcheting bracket can be used
with it turned upside down (so it ratchets up), to allow the solar panel to be positioned facing UPWARD, to collect
solar energy to power rechargeable NiMh “D” batteries (sold separately) installed in the camera.
Trail Scout 2008 Models 119835+118 18 3/4/08 12:05:29 AM


