


34
Before Use
Basic Guide
Advanced Guide
1
Camera Basics
2
Auto Mode /
Hybrid Auto Mode
3
Other Shooting Modes
5
Tv, Av, M, C1, and C2 Mode
6
Playback Mode
7
Wi-Fi Functions
8
Setting Menu
9
Accessories
10
Appendix
Index
4
P Mode
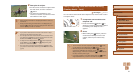
2) Shoot.
● Press the shutter button all the way
down.
● As the camera shoots, a shutter sound
is played, and in low-light conditions
when you have raised the ash, it res
automatically.
● Keep the camera still until the shutter
sound ends.
● After displaying your shot, the camera will
revert to the shooting screen.
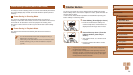
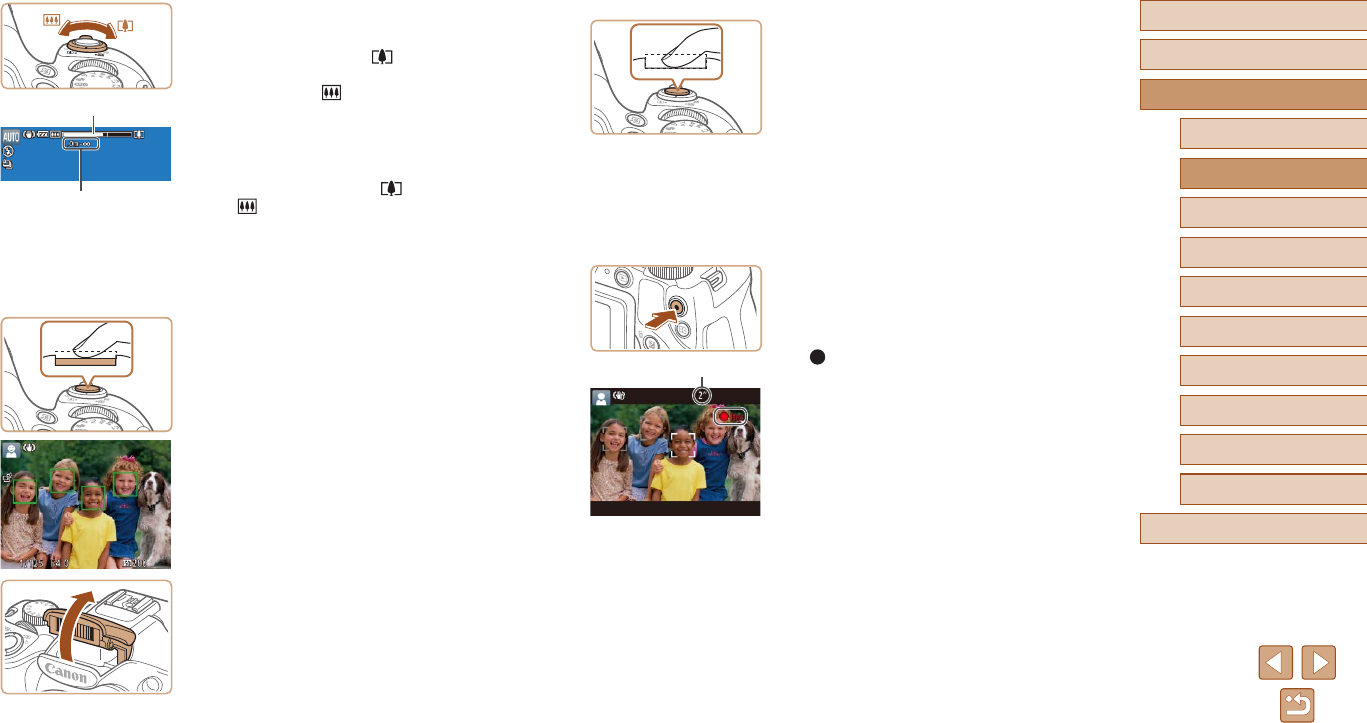
Shooting Movies
1) Start shooting.
● Press the movie button. The camera
beeps once as recording begins, and
[ Rec] is displayed with the elapsed
time (1).
● Black bars are displayed on the top and
bottom edges of the screen, and the
subject is slightly enlarged. The black
bars indicate image areas not recorded.
● Frames displayed around any detected
faces indicate that they are in focus.
● Once recording begins, take your nger
off the movie button.
(1)
3
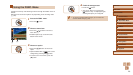
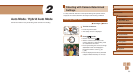
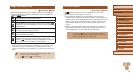
Compose the shot.
● To zoom in and enlarge the subject, move
the zoom lever toward [ ] (telephoto),
and to zoom away from the subject,
move it toward [ ] (wide angle). (A
zoom bar (1) showing the zoom position
is displayed, along with the area in focus
(2).)
● To zoom in or out quickly, move the zoom
lever all the way toward [
] (telephoto)
or [ ] (wide angle), and to zoom in
or out slowly, move it just a little in the
desired direction.
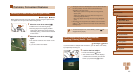
4
Shoot.
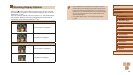
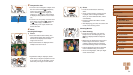
Shooting Still Images
1) Focus.
● Press the shutter button halfway. The
camera beeps twice after focusing, and
AF frames are displayed to indicate
image areas in focus.
● Several AF frames are displayed when
multiple areas are in focus.
● If [Raise the ash] is displayed, lift the
ash with your nger to prepare it for use.
If you prefer not to use the ash, push it
down with your nger, into the camera.
(1)
(2)