Choosing Images for Printing (DPOF)
113
● Choosing the Number of Copies
1
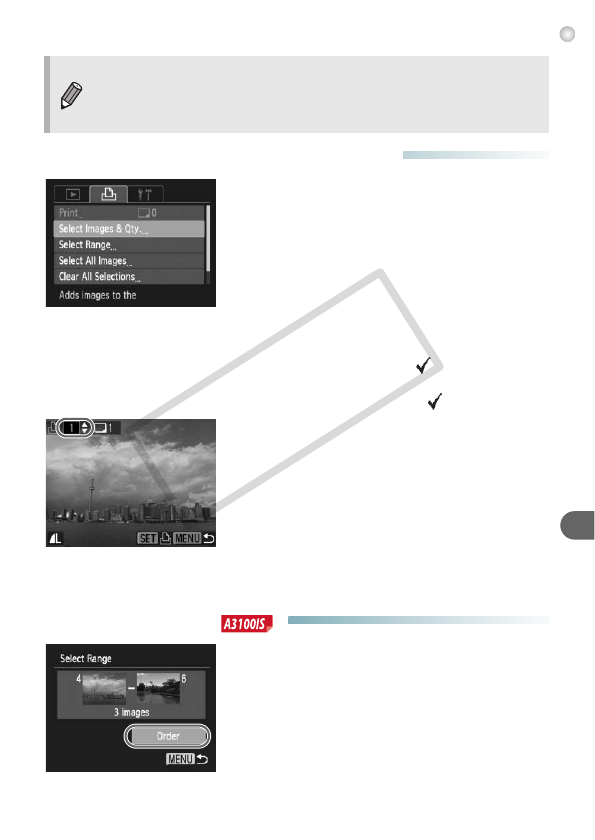
Choose [Select Images & Qty.].
● Press the n button and choose the 2
tab, then choose [Select Images & Qty.] and
press the m button.
2
Choose an image.
● Press the qr buttons to choose an image,
then press the m button.
X You will be able to set the number of print
copies.
● If you choose [Index], appears on the
screen. Pressing the
m
button again will
deselect the image and will disappear.
3
Set the number of prints.
● Press the op buttons to set the number of
prints (maximum 99).
● Repeat Steps 2 and 3 to choose other
images and the number of prints for each.
● You cannot set the number of print copies
for index prints. You can only choose which
images to print in Step 2.
● Pressing the n button accepts the
settings and restores the menu screen.
● Choose Range
1
Choose [Select Range].
● In Step 1 above to choose [Select Range],
then press the m button.
● Follow Steps 2 – 3 on pp. 99 – 100 to
choose images.
2
Make print settings.
● Press the op buttons to choose [Order],
then press the m button.
• With [Index] chosen, the [Date] and [File No.] options cannot be set to
[On] at the same time.
• The date will be printed in the style set in the [Date/Time] function in the
3 tab (p. 19).
COPY


