12
Installing the Drivers
1. Insert the CD-ROM into the computer’s CD drive.
Note: If you don’t have your product CD-ROM, you can download the driver from the
SELPHY CP910 Drivers & Software
page. After downloading and running the file,
skip to step 5.
2. Double-click the disc icon on the desktop or in the sidebar.
3. Double-click on the [Driver] folder.
4. Double-click the package file.
5. Follow the on-screen instructions to install the printer.
6. When the Connection Method screen (img 12-6) is displayed, select [Use with a wireless
network] and click [Next].
7. Choose your printer. Click [Next]. The printer driver is now installed.
8. Next, access [System Preferences] and the [Print & Scan].
9. Click [+] below the list.
10. If a pop-up menu is displayed, click [Add Printer or Scanner] or [Add Other Printer or
Scanner].
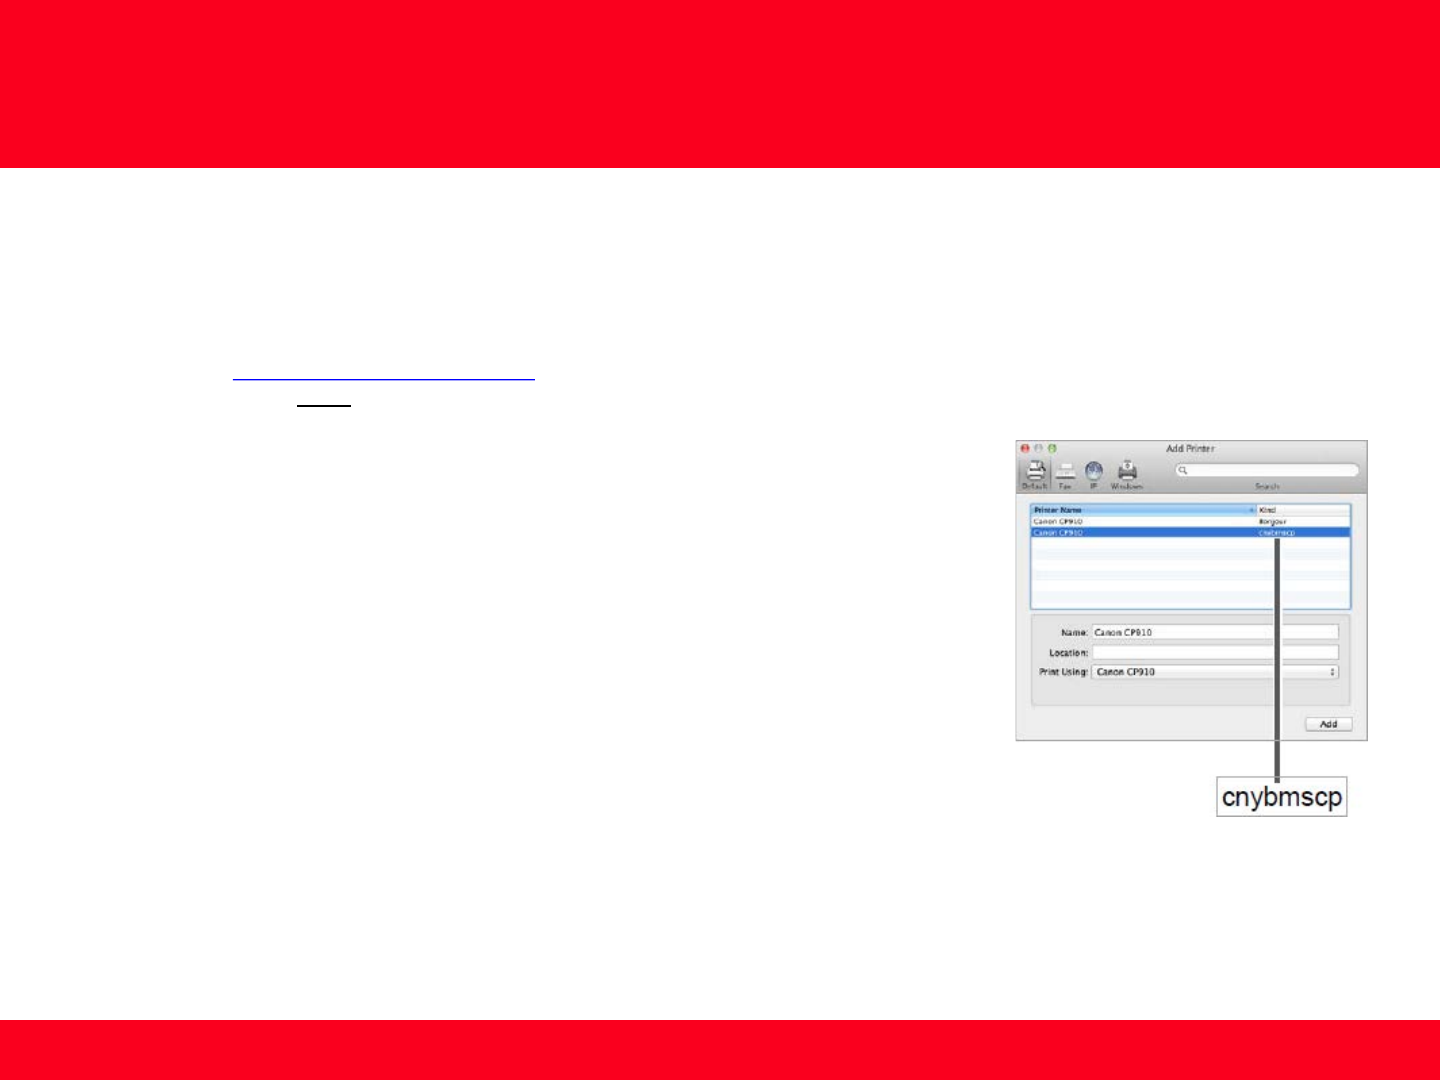
11. Select the printer named “Canon CP910” (type: “cnybmscp”) and click [Add].
Installing the Printer Driver (Macintosh)
img 12-11


