


18
ADVANCED FEATURES
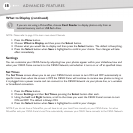
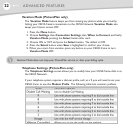
What to Display (continued)
NOTE: Please refer to page 24 to learn more about Channels.
1. Press the Menu button.
2. Choose What to Display and then press the Select button.
3. Choose what you would like to display and then press the Select button. The default is Everything.
4. Press the Select button when Save is highlighted to confirm your choice. Your changes will take
effect immediately.
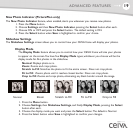
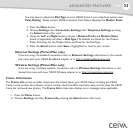
Settings
You can customize your CEIVA frame by adjusting how your photos appear within your slideshow, how and
when your CEIVA frame connects to the CEIVA Network, and whether it turns on or off at specified times.
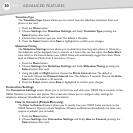
Set Times
The Set Times screen allows you to set your CEIVA frame's screen to turn ON and OFF automatically at
specific times. Even when the screen is OFF, the CEIVA frame will continue to receive new photos as long as
it is plugged into a power source and can connect to the CEIVA Network via your phone line, or a wireless
or broadband connection.
1. Press the Menu button.
2. Choose Settings and then Set Times, pressing the Select button after each.
3. Using the Left and Right buttons, scroll to the times you want the CEIVA frame's screen to turn
ON and OFF. The default is Always ON.
4. Press the Select button when Save is highlighted to confirm your changes.
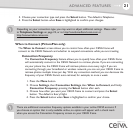
NOTE: If you do not have a PicturePlan, you will have to set your Local Time manually on your CEIVAframe. An active
PicturePlan sets your CEIVA frame's Local Time automatically whenever your CEIVA frame connects to the CEIVA Network.
If you are not using a PicturePlan, choose Card Reader to display photos only from an
instered memory card or USB flash drive.