Maintaining your digital picture frame
3 Insert a card into one of the card slots, or insert a USB memory
device into the USB slot.
4 Press PLAY/PAUSE/MODE
one or more times to enter the
Slide Show mode or Browse mode.
5 Select the photo you want to copy, then press UP/COPY/DELETE.
The frame will ask you if you want to copy the photo.
6 Press PREV
or NEXT to select YES, then press
PLAY/PAUSE/MODE. The photo is copied.
The frame can copy as many as 40 photos to memory.
Note
: While in Slideshow mode you can rotate the photo in your frame by
pressing DOWN/ROTAT E.
To delete photos from your frame’s memory:
1 Remove the SD/MMC/MS/XD card, CF card, or USB memory device
from the frame.
2 Press POWER
on the top of your digital picture frame, the
frame turns on.
3 Press PREV
or NEXT to select the photo you want to delete.
4 Press UP/COPY/DELETE. Your frame will ask you if you want to
delete the photo.
5 Press PREV
or NEXT to select YES, then press
PLAY/PAUSE/MODE. The photo is deleted.
Note
: The Delete function only deletes photos from the frame’s memory. It
will not delete photos from a card or USB memory device.
To select the photo source:
1 Press POWER on the top of your digital picture frame, the
frame turns on.
2 Press EXIT on the remote control to enter the source selection
screen. (With the Main Menu displayed, press EXIT once. In slide
show mode press EXIT twice.)
3 Press PREV
or NEXT to select the source you want to use,
then press PLAY/PAUSE/MODE to enter Slide Show mode and
view the photos.
Note
: You cannot select a card that has not been inserted in your frame.
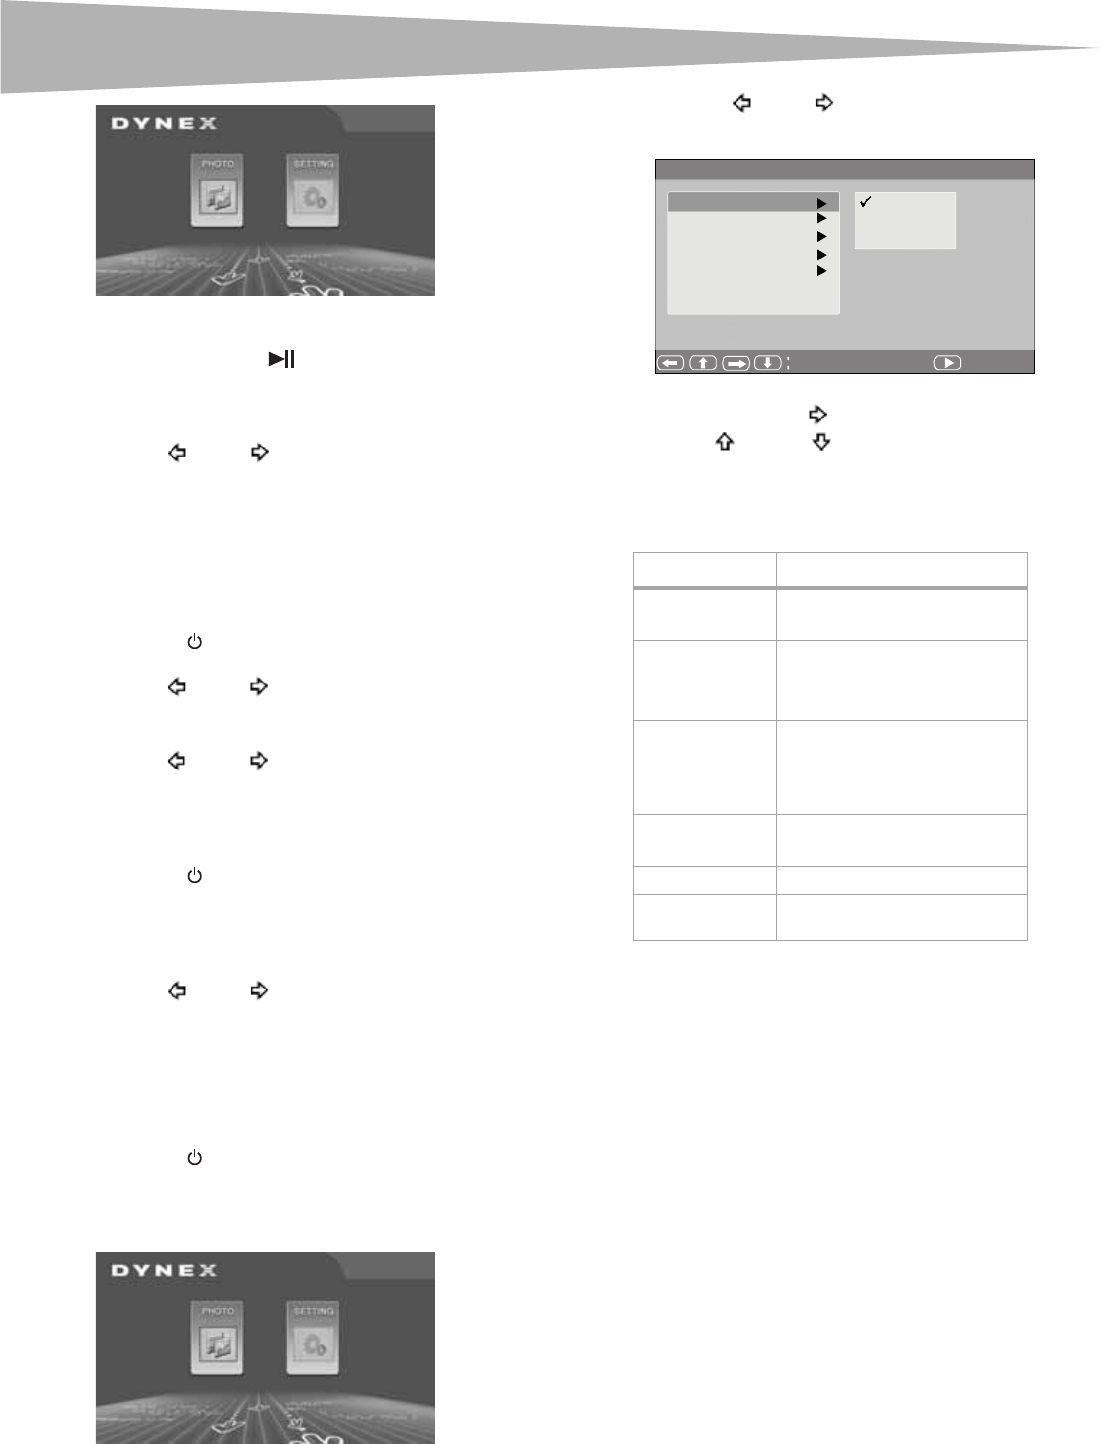
Configuring your digital picture frame
To configure your digital picture frame:
1 Press POWER on the top of your digital picture frame, the
frame turns on.
2 If your frame is in slide show mode, press EXIT. The Main Menu
opens. If the Main Menu is already open, go to the next step.
3 Press PREV
or NEXT to select SETTING, then press
PLAY/PAUSE/MODE. The Setup Menu opens.
4 Press
PLAY/PAUSE/MODE to select one of the six submenus to
open, then press NEXT
to enter the submenu.
5 Press UP
, or DOWN to make your selection in the
submenu, then press
PLAY/PAUSE/MODE to confirm.
6 Press MENU to return to the previous menu.
The following table lists all the submenus and submenu options:
Maintaining your digital picture
frame
Cleaning the LCD Screen
Be very careful when you clean the LCD screen. The screen is made of
glass and can be scratched or broken.
To clean fingerprints or dust from the LCD screen, we recommend using
the cloth provided or a soft, non-abrasive cloth such as a camera lens
cloth.
If you use a commercial LCD cleaning kit, do not apply the cleaning liquid
directly to the LCD screen. Clean the LCD screen with the cleaning cloth
moistened with the liquid.
Cleaning your digital picture frame
Clean the outer surface of your digital picture frame (excluding the
screen) with a soft cloth dampened with water.
Submenu Settings
Brightness
•Standard
•Softness
• Enhanced
Slide Show Time
•5 sec.
• 10 sec.
• 30 sec.
• 15 min.
•1 hour
Transition Mode
•Random
• No Effect
•Cover Up
•Cover Down
•Cover Left
•Cover Right
OSD Language
•English
•French
•Spanish
Default
• Reset
Exit Setup Menu Press PLAY/PAUSE/MODE or
EXIT to exit the Setup Menu.
%UL JKW QHVV
6OL GH6KRZ7L PH
7UDQVLWLRQ0RGH
26 ' / D QJ XD J H
([L W 6HWXS 0HQX
'H I D XO W
6WDQGDUG
6RIWQHVV
(QKDQFHG
6HOHFW
&RQI L U P
Setup Menu


