18
Taking Pictures in M (Scene Recognition) Mode
2 Tip: Focus Lock
Use focus lock (pg. 34) to focus on subjects that are not
in the focus frame.
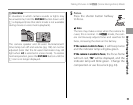
Auto back zoom
In the setup menu (pg. 101), you can change the set-
ting of the side lever. Select W SIDE LEVER then
AUTO BACK to enable auto back zoom. Auto back
zoom allows the camera to zoom out and in quickly.
It makes it easy to find the lost subject when zoom-
ing in.
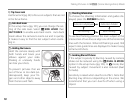
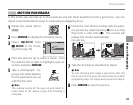
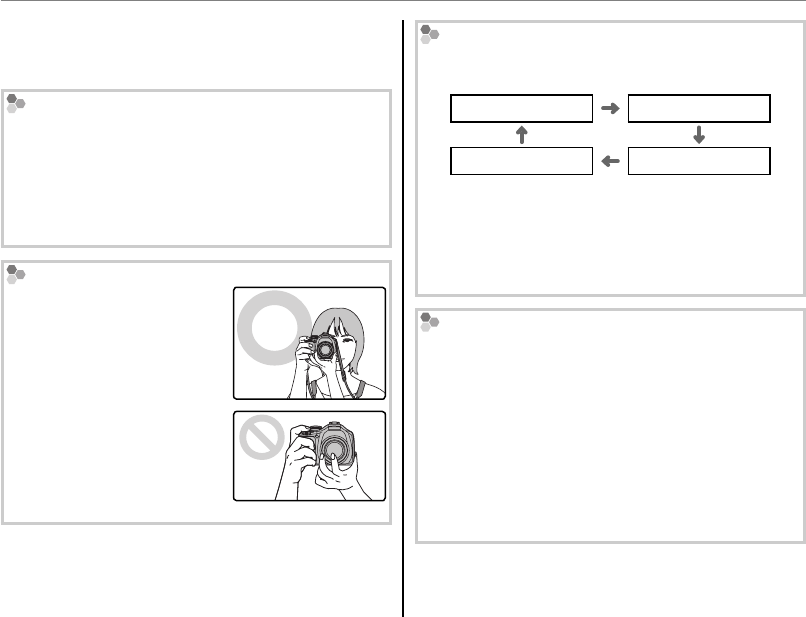
Holding the Camera
Hold the camera steady with
both hands and brace your
elbows against your sides.
Shaking or unsteady hands
can blur your shots.
To prevent pictures that are
out of focus or too dark (un-
derexposed), keep your fin-
gers and other objects away
from the lens and flash.
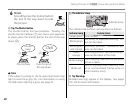
Shooting Information
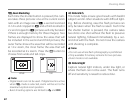
To choose the shooting information and guides dis-
played, press the DISP/BACK button.
Indicators displayed Indicators hidden
HD framing Best framing
To use best framing, position the main subject at the
intersection of two lines or align one of the horizontal
lines with the horizon. When HD framing is used, 16:9
aspect ratio guide lines are displayed to make it easy
to frame HD shots.
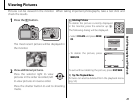
Avoiding Blurred Pictures
If the subject is poorly lit, blurring caused by camera
shake can be reduced using the L DUAL IS MODE
option in the setup menu (pg. 103). In B mode, blur
caused by subject movement is also reduced (dual
IS mode).
Sensitivity is raised when dual IS is in effect. Note that
blurring may still occur depending on the scene. We
recommend that you turn dual IS off when using a
tripod.


