


Beep
60 61
Advanced Features
3
PHOTOGRAPHY MENU
PHOTOGRAPHY MENU
CUSTOMCUSTOM
1
2
AUTOAUTO
AUTOAUTO
OFFOFF
SETSET
:
:
:
:
:
STDSTD
:
1
01
02
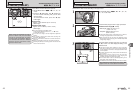
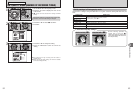
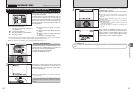
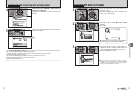
Use this setting to set the white balance for the
ambient natural or artificial lighting in images. Use
this setting to achieve special effects also.
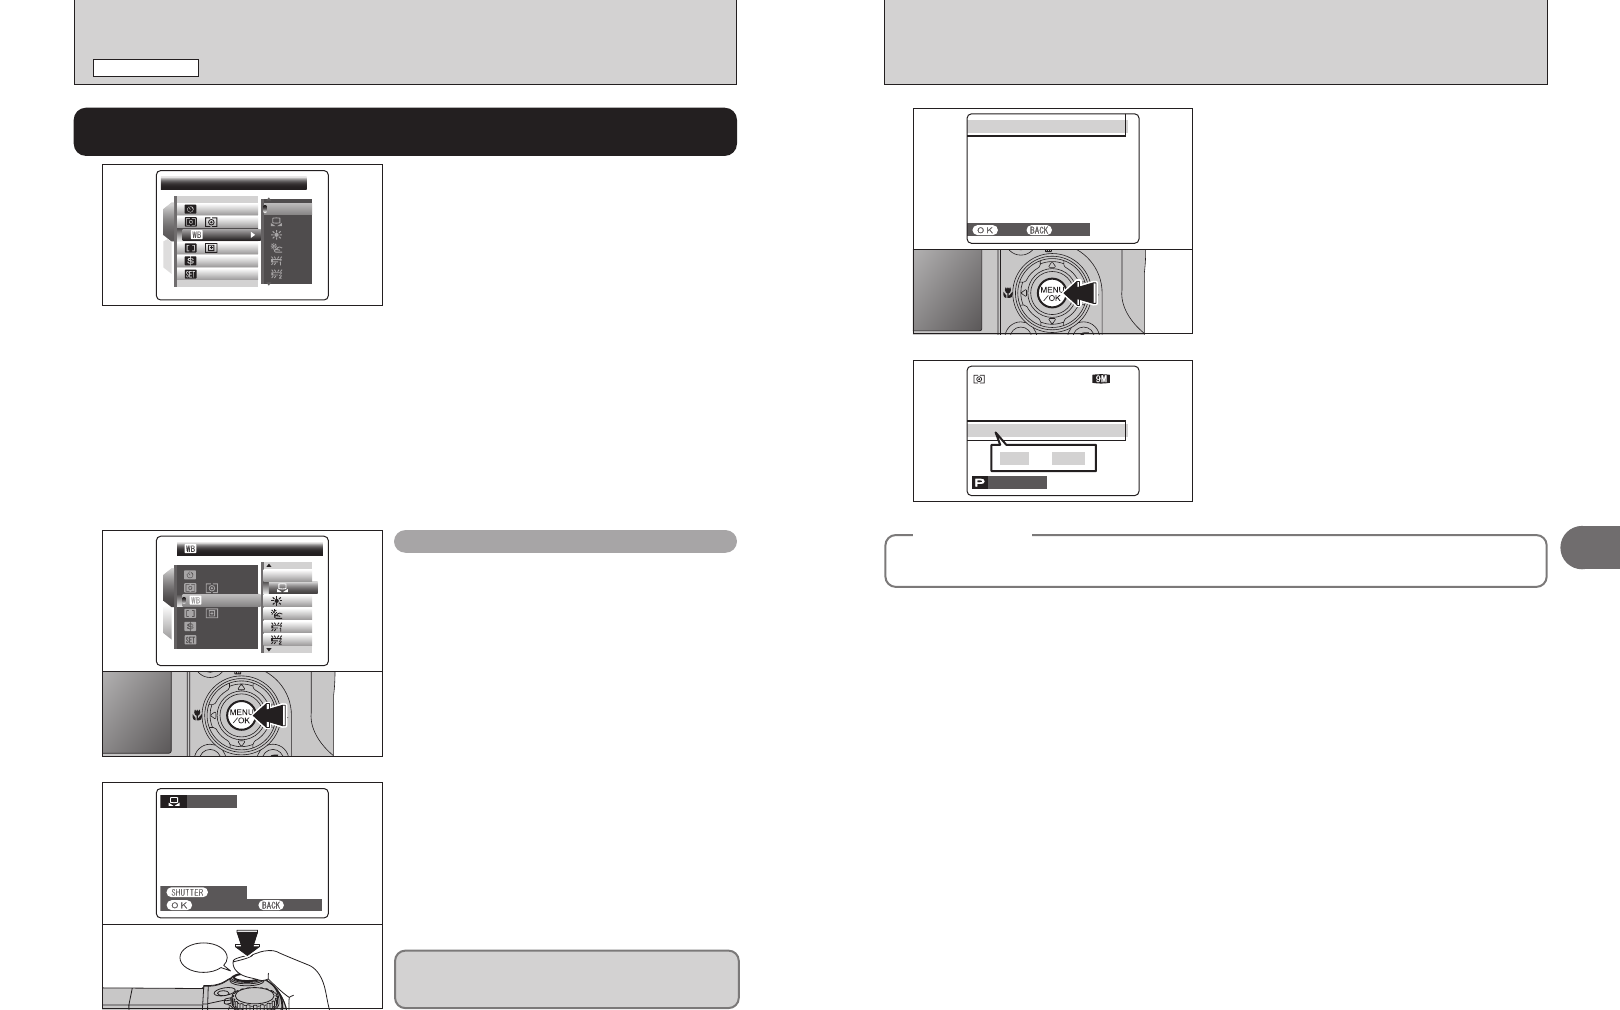
1Select “I” custom white balance.
2Press the “MENU/OK” button.
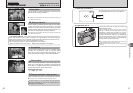
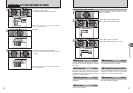
Custom white balance
2
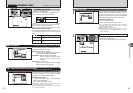
Hold a piece of white paper under the light source
for setting the white balance, so that it fills the
entire LCD monitor. Then press the shutter button
to set the white balance.
●
!
The white balance setting does not affect the image shown
on the LCD monitor.
To use the white balance set previously, press the
“MENU/OK” button without pressing the shutter
button.
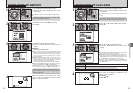
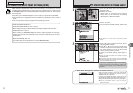
AUTO:Automatic adjustment
(shooting to show the ambience of
the light source)
I: Custom white balance
6: Shooting outdoors in good weather
7: Shooting in shade
9: Shooting under “Daylight” fluorescent
lamps
0: Shooting under “Warm White” fluorescent
lamps
-: Shooting under “Cool White” fluorescent
lamps
8: Shooting in incandescent light
✽ When the flash fires, the white balance setting (excluding custom white balance) for the flash is used. Consequently,
to achieve a particular effect, the flash mode should be set to Suppressed flash (➡P.47).
●
!
The color tones may vary depending on the shooting conditions (light source, etc.).
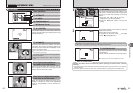
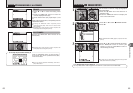
Change the white balance setting to suit for the
surroundings and lighting.
In AUTO mode, the correct white balance may not
be achieved for subjects such as close-ups of
people’s faces and pictures taken under a special
light source. Select the correct white balance for
the light source. See P.128 for more information on
the white balance.
SETSET
1
2
AUTOAUTO
OFFOFF
:
:
:
:
:
WHITE BALLANCE
WHITE BALLANCE
AUTOAUTO
STDSTD
:
✽ Displaying the menus (➡P.56)
»
WHITE BALANCE
(
SELECTING THE LIGHT SOURCE
)
Available Photography modes:
N, M, <, >
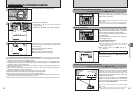
SETSET CANCELCANCEL
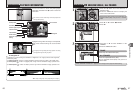
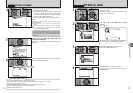
COMPLETEDCOMPLETED!
3
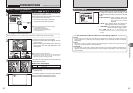
When the correct exposure is measured,
“COMPLETED !” appears.
Press the “MENU/OK” button to confirm the setting.
●
!
The specified custom white balance is retained until it is
reset. This setting is retained even if the batteries are
removed.
●
!
Adjust the custom white balance again when changing the
sensitivity setting.
●
!
After taking the picture, check the color (white balance)
setting for the image.
i Set “IMAGE DISP.” to “1.5 SEC”, “3 SEC” or “CONT” in the
“SET-UP” menu (➡P.93).
i Press the “
w” button to change to the Playback mode
(➡P.29).
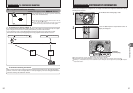
When “OVER” or “UNDER” appears, the white
balance was not measured at the correct exposure.
Set the exposure compensation again, using a
negative value (–) when “OVER” appears and a
positive value (+) when “UNDER” appears.
OVEROVER
F
---
----
66
NN
ISO
400
ISO
400
ISO
400
oror
OVEROVER UNDERUNDER
◆
Example
◆
You can change the white balance for a photographed image by using colored paper instead of white
paper.
CUSTOM WBCUSTOM WB
NOT CHANGENOT CHANGE
CANCELCANCEL
NEW WBNEW WB