


32 33
3
PHOTOGRAPHY MENU OPERATION
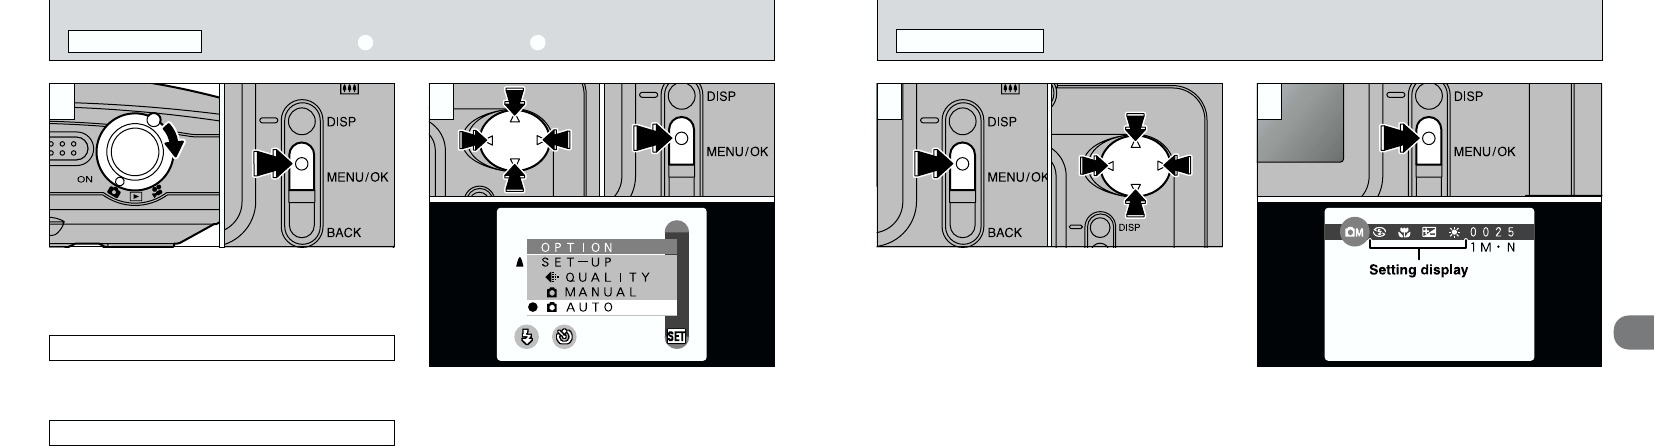
PHOTOGRAPHY MENU
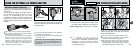
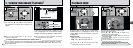
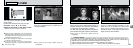
1Press the “MENU/OK” button to display the
menu.
2Use “d” and “c” to select the menu item and
“a” and “b” to change the setting.
Press the “MENU/OK” button to confirm the
selection.
When you validate the settings, the respective
icons appear at the top of the screen.
●
!
The settings available in the menu screen differ
depending on the still image mode. See P.31 for
details.
1 2
01 02
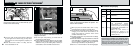
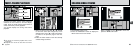
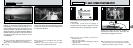
1Set the Mode switch to “q”.
2Press the “MENU/OK” button to display the
menu on the LCD monitor.
This is the easiest mode for taking pictures and
can be used in a wide range of conditions.
This mode allows you to set the “EV” and “White
balance” settings.
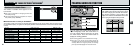
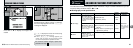
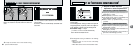
1
Use “a ”, “b”, “d” and “c ” to select
“q AUTO” or “q MANUAL” from the
“dOPTION” menu.
2Press the “MENU/OK” button to confirm the
selection.
1 AUTO
2 MANUAL
1 2
01 02 01 02
●
!
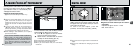
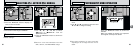
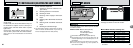
See P.52 – 55 for more information on the “FILE
SIZE”, “SET-UP”, “LCD BRIGHTNESS” settings.
2
SELECTING 1 AUTO OR 2 MANUAL
STILL IMAGE MODE