


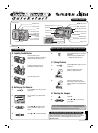
Viewing Images on your PC
Windows XP
A The “Found New Hardware” help message appears in the
bottom-right corner of your screen. This message will close
when the settings are completed. No action is required.
B Specify the settings in the “AutoPlay” dialog box.
C Select “Viewing images using FinePixViewer” and then
select the “Always do the selected action” checkbox.
For more information
Refer to “How to use FinePixViewer” in the HELP menu, or “Software
Installation” in the Owner’s Manual, or visit Fujifilm “Q&A Search” in
the following website.
( http://home.fujifilm.com/products/digital/ )
For Macintosh users, refer to “Software Installation” in the Owner’s
Manual.
7.
A. Installing Software
Do not connect the camera to your PC until the software
installation is completed.
1. Turn on your PC and start up Windows.
●
!
Users of Windows 2000 Professional or Windows XP
should log in by using a system administrator account (e.g.
“Administrator”).
2. Quit all other active applications until no applications are
shown in the taskbar.
3. Load the enclosed CD-ROM into
the CD-ROM drive. The installer
starts up automatically.
4. The Setup screen appears.
Click the [Installing
FinePixViewer] button.
5. After installation completed, press [Close] button.
B. Connecting the Camera to your PC
1. Insert the xD-Picture Card with images into the camera.
2.
C. Saving the Images
1. The Save Image Wizard starts up. Click the [NEXT] button.
2. Check that the files are downloaded from the camera to your
PC and that a folder with the date is created.
Ex. \My Documents \ My Pictures \ 2006_0124 Image
2.
Select “Preview” in the View menu to display an enlarged image.
D. Viewing the Images
1. Click the [Show List of Images]
button.
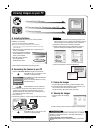
Press w for about 1 second to turn the
camera on in Playback mode.
Select @ DSC in L USB MODE in
the SET-UP menu.
Refer to the Owner’s Manual for “Using
the SET-UP menu”.
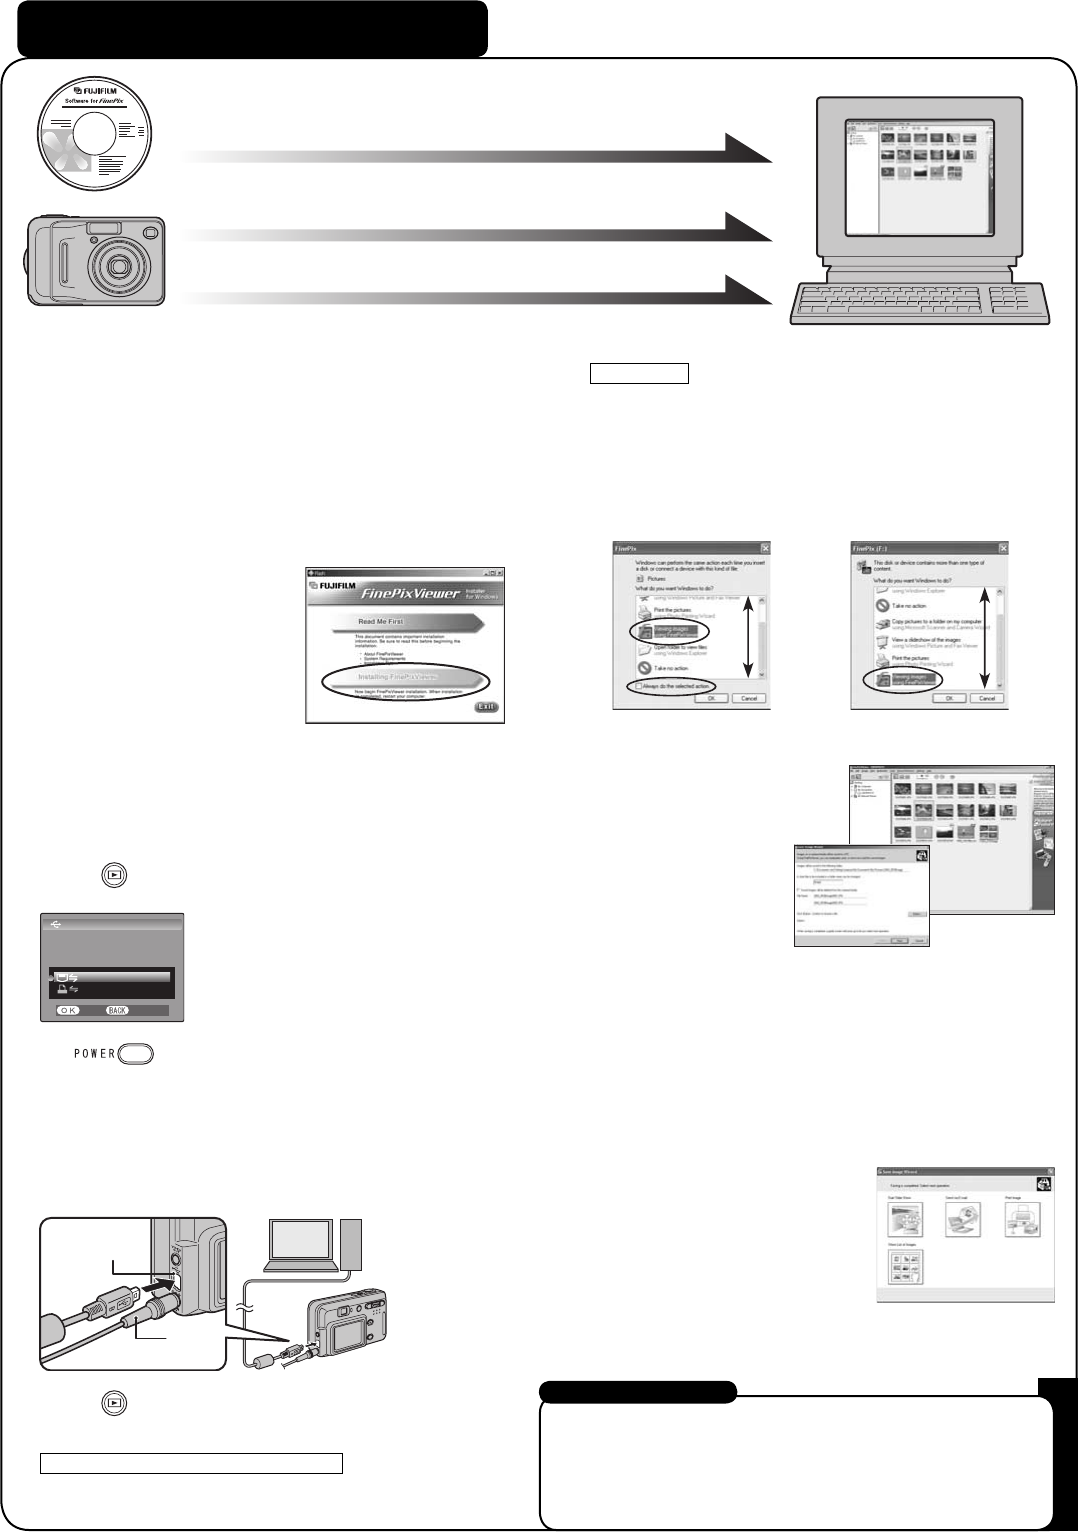
4. If you have one, plug the AC power adapter connector into
the “DC IN 3V” socket on the camera and then plug the
adapter itself into the main power outlet, otherwise be sure
your batteries are fresh and charged.
5. Turn your PC on.
6. Connect the camera to your PC using the USB cable (mini-B).
3. Press POWER to turn the camera off.
Press w for about 1 second to turn the
camera on in Playback mode.
USB MODE
THIS MODE IS FOR
SENDING IMAGE DATA
TO PC.
SET CANCEL
PICTBRIDGE
DSC
D Click the [OK] button to launch FinePixViewer.
8.
Windows 98/98 SE/Me/2000 Professional
FinePixViewer starts up automatically.
A.Installing Software
A.Installing Software
B.Connecting the Camera to your PC
B.Connecting the Camera to your PC
C.Saving Images
C.Saving Images
;
USB socket
(mini-B)
AC-3VX
(sold separately)