


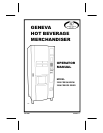


GENEVA
-
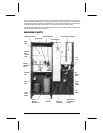
HOT BEVERAGE MERCHANDISER • 3205 • 3206 • 4214803
7
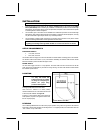
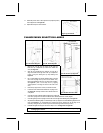
13. Rotate the product chute so that it points down (dispense position)
to the whipper bowl. See Figure 5b.
14. Repeat above steps for other canisters.
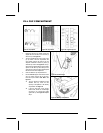
Figure 5g. Do Not Pack
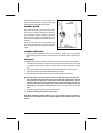
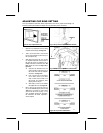
CHANGE MENU SELECTION LABELS
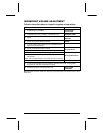
Figure 6a. Bottom Wing Nut
Figure 6b. Inside Wing Nuts
Figure 6c. Remove Top Sign Front
1. Remove and save the wing nut located on the right side
below the cup compartment (as viewed from behind the
door). See Figure 6a.
2. Open the cup compartment door. Remove and save the 3
wing nuts located on the right side of the cup compartment.
Loosen 2 wing nuts holding the Top Cap Molding. See
Figure 6b.
3. Lift Top Cap Molding and loosen Retaining Strip on the left
side of the Top Sign Front (on the front of cabinet door).
Remove the Retaining Strip and Top Sign Front assembly.
See Figure 6c. (This is most easily done by applying
outward pressure on the wing nut screws on the inside of the
door.)
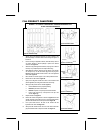
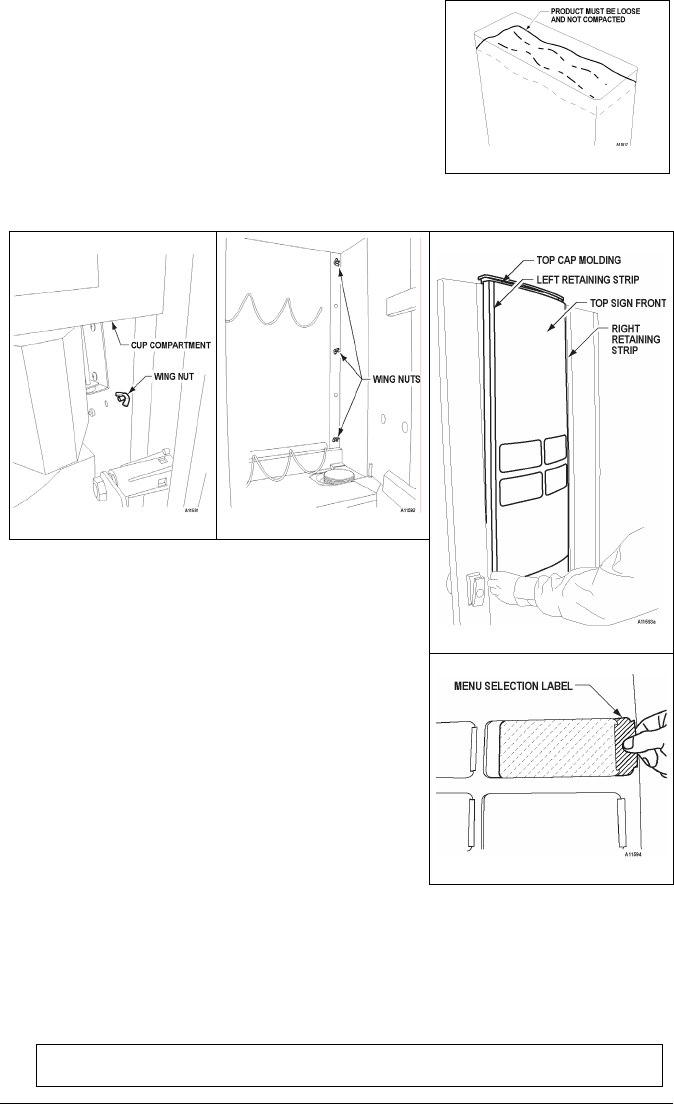
4. Place the Top Sign Front on a clean, non-abrasive surface.
5. Locate the menu selection label behind the Top Sign Front.
See Figure 6d. Carefully slide the menu selection label out
of its pocket.
Figure 6d. Menu Selection Label
6. Insert the new menu selection label through the slots. Check the
front of the Top Sign Front to make sure that the menu selection labels are correctly aligned.
7. Insert the right edge of the Top Sign Front into the slot of the right side Retaining Strip. See Figure 6c.
8. Slip the left side Retaining Strip over the left edge of the Top Sign Front. Push the Retaining Strip back into
place. See Figure 6c. (To accommodate the rounded front design, carefully bow the left edge of the
assembly to the right until you are able to press the three retaining screws back into position.)
9. Reinstall and tighten the wing nuts saved from steps 1 and 2. See Figure 6a and Figure 6b.
NOTE: These steps change only the beverage label. Only the Trained Technician may change
beverage type or content.